Strangozzi al Polipi
Recently, our good friend Tanya, of Chica Andaluza fame, shared a recipe for Carpaccio of Octopus. (Do check out that recipe and, while you’re at it, take a few minutes to explore the rest of her fantastic blog.) I’d not thought about octopus in years and that post reminded me that my family once cooked octopus, polipo. I spoke to Zia about it and we decided to prepare it the next time I visited her. That visit took place last month and, with Monday having been Columbus Day, I thought octopus would make a fine way to commemorate his voyage across the Atlantic. After all, there were those that believed his ships would be sunk by a giant octopus long before they fell off the edge of the Earth.
* * *

Strangozzi al Polipi
* * *
It’s been quite some time since an octopus was given the place of honor at a Bartolini dinner — more than half a century, but who’s counting? We really have no reason for it not being served since then. The dish is delicious, reminiscent of calamari in umido, and it isn’t at all difficult to prepare. No matter. The dish was prepared by my family at one time and thereby has earned a page on this blog.
Back in the day, we would have prepared the octopus in umido, which in this case means stewed in a tomato sauce. Served in bowls with a chunk of good, crusty bread, the dish is delicious and, in some homes, is one of the dishes on the menu for the Feast of the Seven Fishes on Christmas Eve. Originally, I had planned to prepare today’s recipe in umido until reality intervened.
As of now, I know of only one place to buy octopus and that’s at my Italian market. Unfortunately, they only sell very small or very large octopi and each poses a problem for us. When you cook something in umido, it is best that the protein be in large pieces. This is not a soup but a stew, after all, and the pieces should reflect that. Well, the small octopi are so small that it would take 4 to equal a pound (450 g). When chopped, the
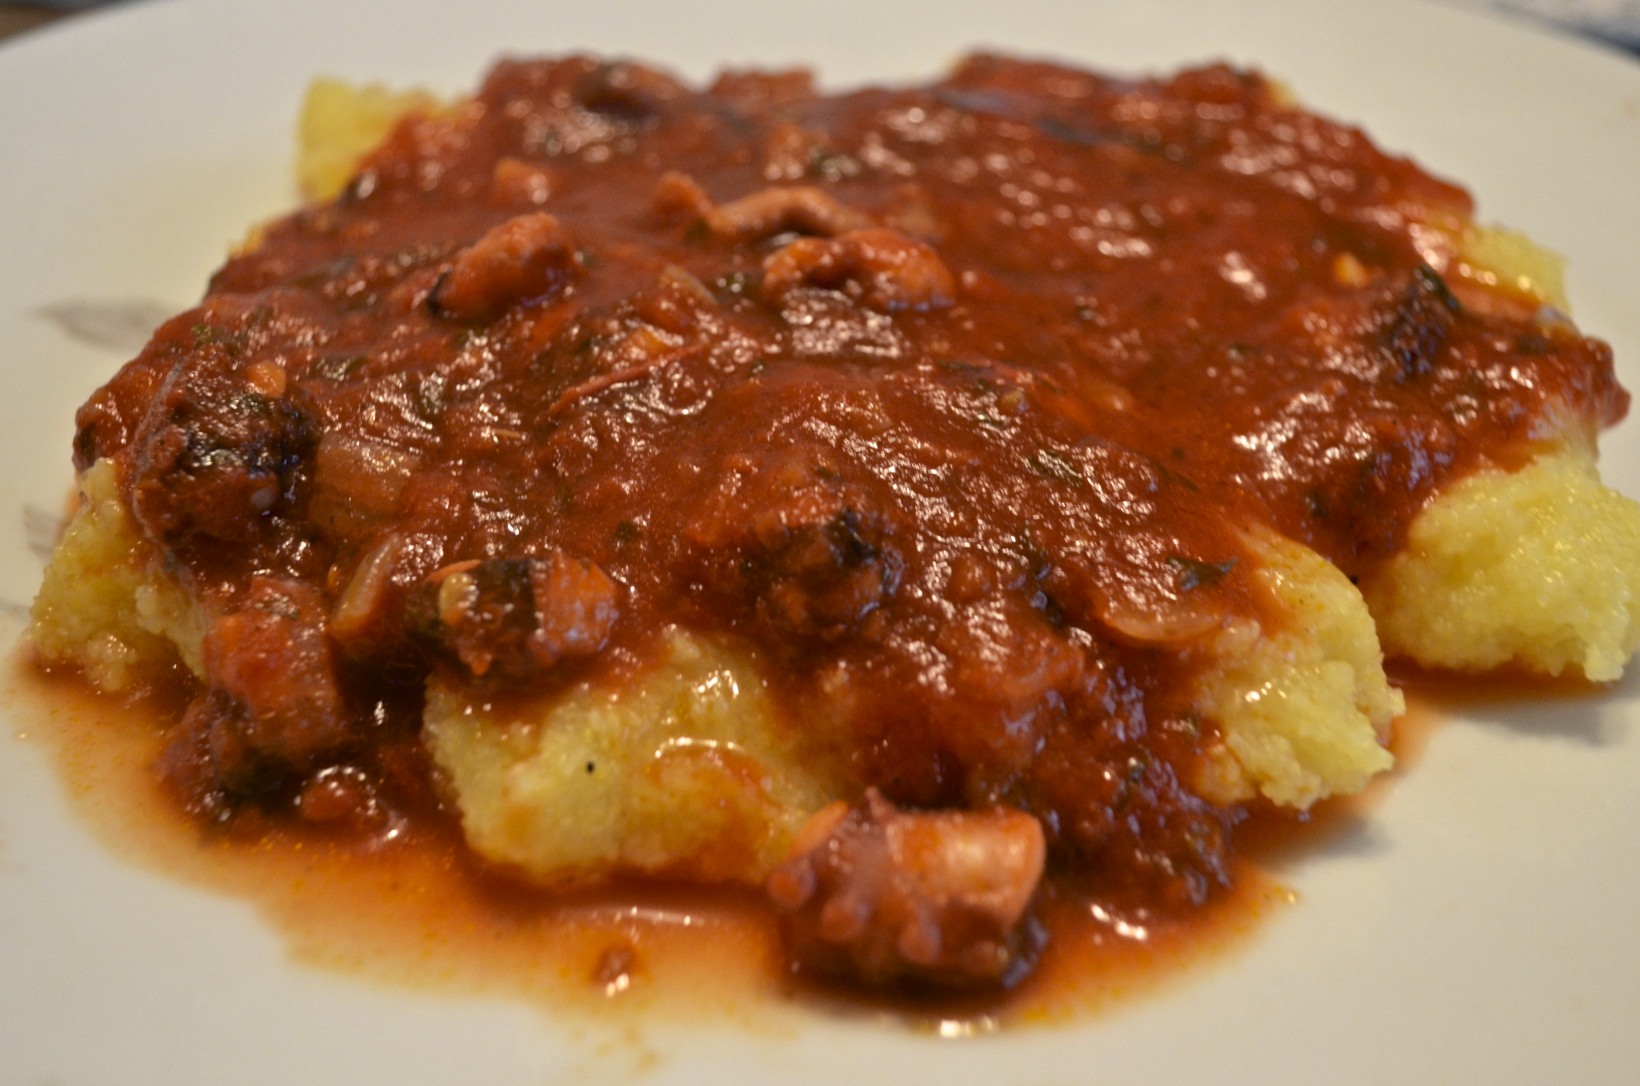
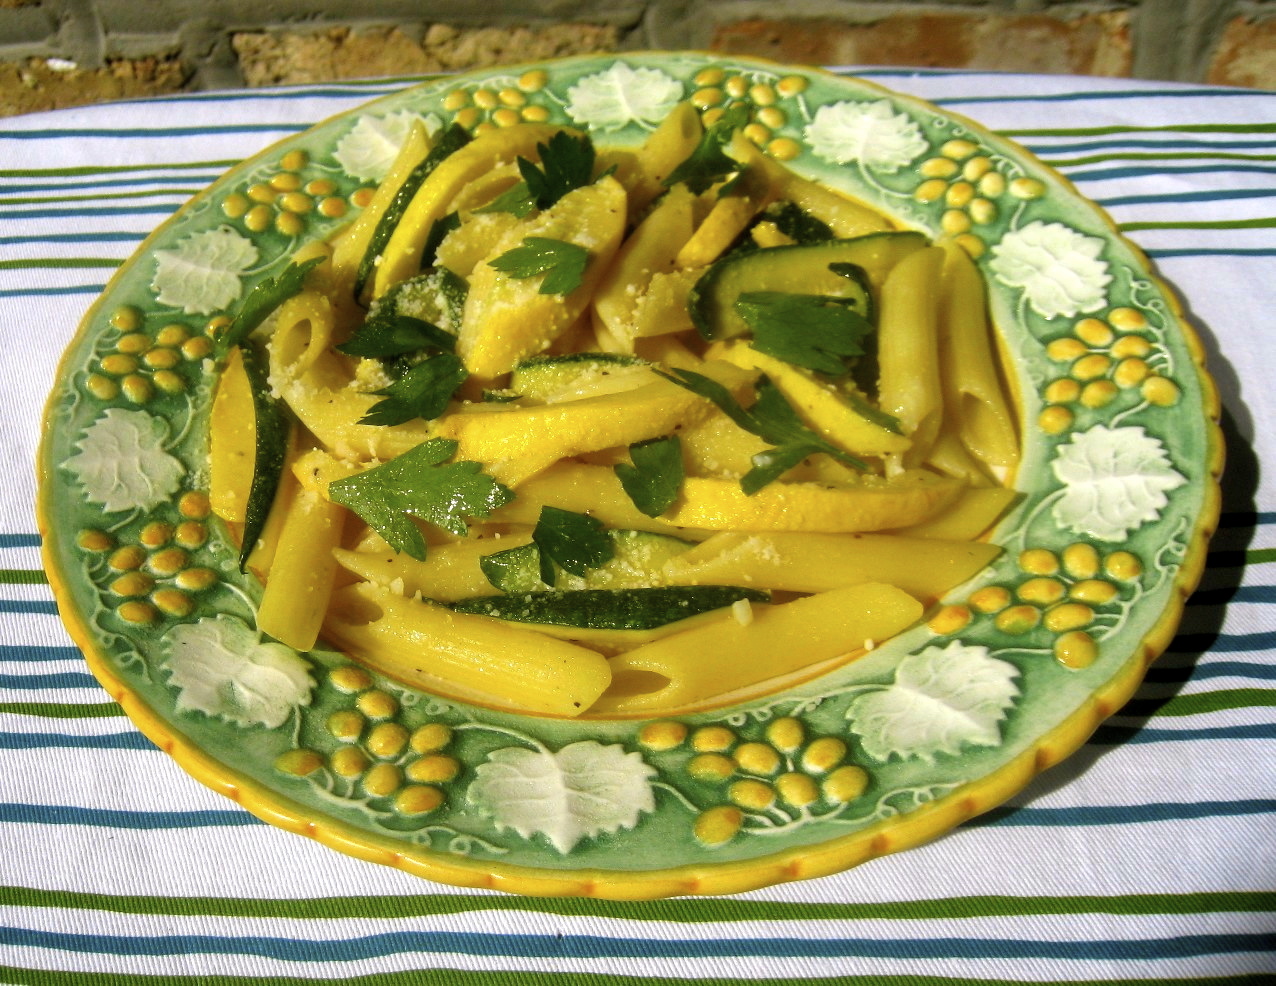
Octopus over Polenta
pieces are far too small for in umido presentation. In fact, Zia and I attempted to serve them over polenta and, though tasty, all but a few pieces were too small even for that. On the other end of the spectrum, the market sells frozen octopi that are 4 and 5 lbs. apiece. Though that would be wonderful to prepare for a Bartolini family dinner, an octopus that size is far too large for a meal for Zia and I. So, although we had to change the dish to suit the circumstances, the search is on now for an octopus weighing 1 pound. When I find one, I’ll either create a separate Polipo in Umido post or amend this one to include that recipe. Bear in mind, though, that the ingredients used in the in umido recipe are the same as those used here for this sauce. Differences, if there are any, will be in the amounts listed. I’ll only be sure of that once I find an octopus in the right size.
Since we couldn’t serve the octopus as we had originally intended, in umido, Zia and I served it over polenta. As I mentioned earlier, that dish didn’t quite work as well as we  thought it would. Again the octopus pieces needed to be larger. Once home, I bought 3 more small octopi and decided to serve them over pasta. As luck would have it, a few weeks earlier my blogging friend, Lidia, had noticed something while shopping and sent her discovery to me. (Not only does she share the name of one of my favorite chefs, Lidia has a wonderful blog, Oh Lidia, and I hope you take time to have a look.) You can imagine my surprise when I opened the carton and found 3 pastas manufactured by a company called “Bartolini”. I can’t think of a better pasta to serve with this old family recipe than one that shares our family name. So, of the 3 sent, I chose to prepare strangozzi.
In an earlier post, I demonstrated how to make strozzapreti pasta and gave an account of how it got its name. (See It’s déjà vu all over again … ) Strozzapreti, you see, means priest choker and one legend states that this pasta was so delicious that priests choked when eating it for the first time. What does this have to do with strangozzi? Well, it is thought that the word strangozzi is derived from the Italian word for shoelaces, stringhe, yet this pasta has come to mean priest stranglers. Huh? Stay with me. Centuries ago, in Umbria, the clergy was not looked upon kindly by the villagers. Legend says that they chased down the worst of the clergy and those that were caught were strangled with their shoelaces. These long pasta ribbons are thought to resemble those shoelaces. Death by shoelace immortalized in pasta. Ya gotta love it!
In reality, strangozzi are about the size of what we would call linguine, the only difference being in their thickness. Our linguine are cut from thin pasta sheets; strangozzi is cut from sheets twice as thick. The result is a hearty pasta that is perfect for heavier or meat-based sauces.
* * *
Before beginning the recipe, the octopus must be cleaned and readied. The head is actually a hood and the contents of its interior need to be removed. It is easy enough to do and you can slice its side to make it even easier. Next, the eyes must be removed. Make a small slice on either side of each eye, creating a small wedge. Remove each wedge and the eye with it. Since these octopi were so small, I sliced the octopus just above both eyes and again below, creating a ring. I then cut the eyes off of the ring. One last thing to be removed is the beak. Turning the octopus upside-down, you’ll notice a small whole at the center of the 8 legs. With your fingers, carefully feel the beak and note its size. With a sharp knife, cut around the beak and remove. Now that it’s cleaned, cut the legs section in half, creating 2 parts with 4 legs apiece. Cut those pieces in half again, and then again. In the end, you will have separated all 8 legs. Do not chop them but leave them whole and proceed with the recipe.
* * *


Click to see any/all photos enlarged.
* * *
Strangozzi Pasta with Octopus Recipe
Ingredients
- octopus (See Notes)
- 3 tbsp extra virgin olive oil
- 1/4 tsp red pepper flakes (more or less to taste)
- 1 small onion, diced
- 2 cloves garlic, minced or grated
- 1/3 cup chopped parsley
- 1 large can, 28 oz (800 g), whole tomatoes – hand-torn
- 1/2 tsp dried marjoram (2 tsp fresh)
- 3 to 4 oz dry white wine
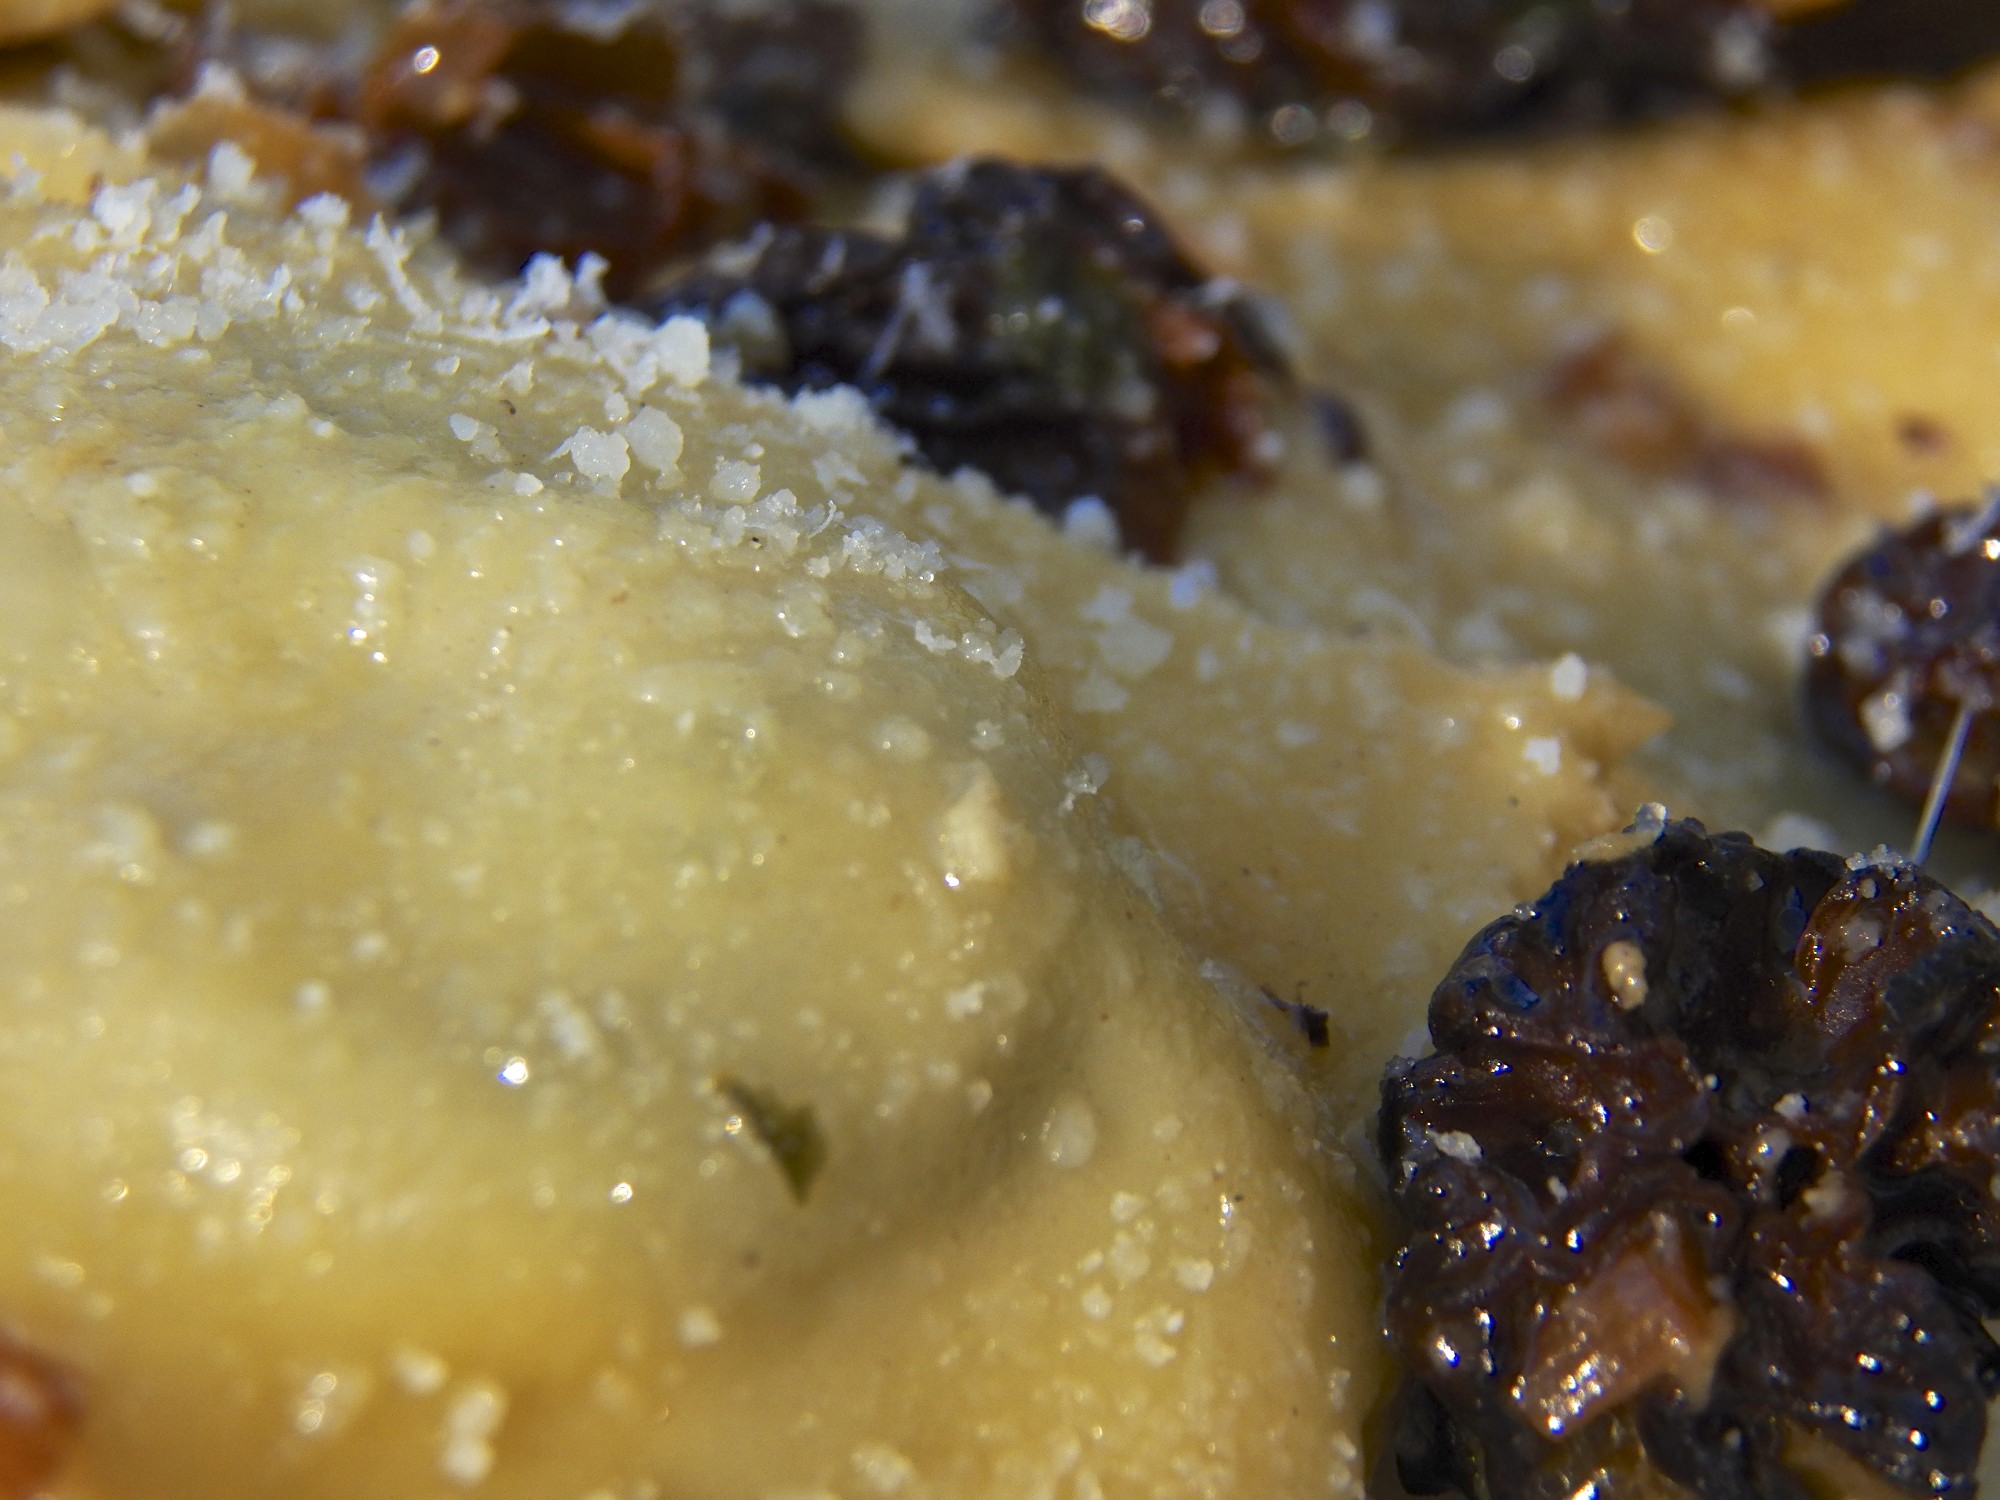
- 1 lb (450 g) cooked Strangozzi pasta — or whatever pasta you prefer — cooked al dente
- reserved pasta water
Directions
- In a medium saucepan over med-high heat, bring to boil enough water to cover the octopus. Add the octopus and allow to simmer for 1 to 2 minutes after the pot returns to the boil. Small octopus should boil for 1 minute. Larger should be allowed to boil closer to 2 minutes. Remove the octopus and place in an ice bath to stop the cooking process and reserve. Once cooled, see Notes for chopping considerations.
- Over med-high heat, add olive oil in a medium sauce pan.
- Add red pepper flakes, onion, garlic, and parsley. Season with salt and pepper before sautéing until the onion is translucent and garlic fragrant — about 6 to 8 minutes.
- Add the tomatoes, wine, and marjoram, stir to combine. Bring to a boil before reducing to a soft simmer.
- After the sauce has thickened and darkened a bit — about 30 minutes — add the chopped octopus and continue to simmer.
- If using small octopi, it should be finished cooking in about 20 minutes. Taste a piece after 15 minutes to test for doneness and to check the seasoning. If necessary, add some of the reserved pasta water. (See Notes)
- Meanwhile, the pasta should have been cooked al dente and strained. Be sure to reserve some of the pasta water.
- In a large bowl or serving platter, combine the octopus sauce with the cooked pasta and mix. If the pasta seems too dry, add some of the reserved pasta water.
- Serve immediately.
- Like all mildly flavored seafood pastas, grated cheese is not recommended for it will overpower the dish.
* * *


* * *
Notes
The dish will determine the size of the pieces when chopping the octopus.
- For pasta dishes, I would suggest chopping small octopi into pieces about 3/4 inches (2 cm). These pieces will shrink a little during cooking and will be easily managed no matter what pasta you choose.
- For in umido, a larger octopus should be used and, when chopped, the pieces should be larger. Ultimately, the size will depend upon how comfortable you are dealing with the pieces while eating. Even so, I would suggest that all pieces be no less than an inch (2.5 cm) long. (Since this recipe was posted, I did find and prepare a 1 lb. octopus in umido. You can see that recipe by clicking HERE.)
No matter the preparation or the size of the pieces, do try to keep them all the same size. Doing so will ensure that all the octopus is evenly cooked.
Understandably, the larger the octopus, the longer it should simmer in the tomato sauce. A small octopus should take 15 to 20 minutes, as was stated in the recipe above. Larger octopi will take up to 30 minutes, maybe more. Be careful not to overcook lest the octopus become rubbery. If in doubt, taste a piece to see if it is cooked to your liking.
For reasons unknown to me, we’ve always discarded the water used to blanch the octopus. Even though the octopus is in it only briefly, the water does darken in color.
* * *
It’s déjà vu all over again …
Strozzapreti with Pesto
With all of this talk of strangling priests, it’s only logical that today’s look back would be to the strozzapreti post. Not only will you learn how to make the pasta by hand, you’ll also learn how a few of the common pastas got their names. All this can be yours just by clicking HERE.
* * *
Coming soon to a monitor near you …

Damson Plum Jam
* * *