* * *
Today’s recipe is a simple one and the post brief, so, I though I’d take the opportunity to share another Grandpa story. If you’re not interested, just scroll down until you reach the peanut photo. That’s where the recipe begins.
* * *
Grandpa was, by all accounts, a Jack of all Trades. Having owned a contracting business, few maintenance and repair jobs around the old two-flat fell outside of his skill set. At any given time, especially in the Summer, he could usually be found performing any one of a number of jobs around the building: cement work, carpentry, tile setting, painting, roof repair, and the occasional electrical project.
As children, we were often enlisted to help him with these projects. When very little, our main duty was to stay out-of-the-way. We soon graduated to beer fetchers and water bearers. “Go-fer” was the next position and, depending on the project and number of men involved, we could be kept running. Soon we were allowed to water the  dry ingredients to make cement, under supervision of course. Not long thereafter, we were permitted to use the hoe with 2 holes to mix the cement, as well as a variety of small jobs. You might, for example, fill buckets with cement, haul them, maybe cut a board or two, hammer a few nails, etc. And then, one day, you were deemed old enough and big enough to push a loaded wheelbarrow. That was the pinnacle of success for us laborers, for it meant that you big enough and strong enough to do man’s work. Make no mistake, pushing a wheelbarrow full of cement was certainly man’s work. especially under the watchful eyes of the adults present. You did not want it to tip over and there were plenty of opportunities, for every Summer there was at least one job that involved cement. To be sure, though, not all jobs required cement or even a work crew. For those jobs, Grandpa flew solo, like the time he painted the trim of the house.
Unlike bungalows and ranch-style homes, painting a two-flat’s trim was no easy task. As you can see in the photo below, much of the trim is about 25 feet above the ground, with the peak another 8 or so feet higher. To further complicate matters, there were 2 aluminum awnings attached to the front of the house, a small one over Zia’s living room, while a much larger awning shielded our windows and the entire porch minus the entryway. (The photo is current, the awnings having been removed sometime after we left in 1985.) When Grandpa decided the trim needed painting, he was about 71 years of age. This was long before “70 is the new 50”; 70 was 70. I was about 15.
One Summer afternoon, Grandpa called for me to give him a hand. By the time I got to the front of the house, Grandpa had already started up the ladder and was waiting for me. The ladder, however, was not long enough to reach the top, or even near the top, of the peak. Not only that but the awnings prevented it from resting against the building. Instead, it was on a bit of an incline as it laid across both awnings, its top-end suspended a little more than a foot from the wall.
When he saw me, I was instructed to stand on the bottom of the ladder. Grandpa then began to climb higher. In his hand was a hockey stick with a paint brush lashed to the end. I started pleading with him to stop. He ignored me and further up he went. I  didn’t know it but he had already placed a bucket of paint on top of the second awning. When he reached the end of the ladder, and with his left arm acting as a brace against the side of the building, he started painting the building’s peak, dipping his hockey stick brush into the paint can below him and then swinging it over his head. Whether because he heard my voice or just by luck, a neighbor came out and, horrified, ran to help me steady the ladder, all the while yelling, “Bart, get down!” Grandpa, of course, ignored him, as well. There was a job to be done, after all. Within minutes, more neighbors came, all pleading with him to stop. All for naught.
As I’ve mentioned in other posts, the parish school was across the street and at the end of the block. At the time, Mom worked there as the school’s secretary. That day, being it was Summer, Mom left her office at 4:00 pm. She didn’t walk far before she noticed a crowd gathering on our lawn and quickened her pace. When she got close enough, she noticed Grandpa on the ladder, swinging a hockey stick. Now running, and a few doors away, Mom was yelling, “Pa! Get Down!” Unperturbed, Grandpa kept painting.
When he had finished, the entire episode having lasted about 30 minutes, Grandpa calmly came down the ladder, handed his hockey stick to someone, went back up for the paint can, and came back down again for the last time. Mom and the neighbors demanded that he stop painting and he complied. In reality, his compliance was by no means submission. The peak was the last of the trim to be painted. His work was done.
The men helped Grandpa put away the ladder and paint supplies. For that, he invited them back to “see my tomatoes.” The invitation had little to do with tomatoes but that’s better left for another post. For now, there’s peanut butter to make.
* * *
When I first decided to make peanut butter for Max, he was still a puppy. Then, like now, he loved peanut butter over all other treats. Well, when I read the label of a jar of peanut butter, I decided to make my own. It’s easy enough, as you’ll soon see.
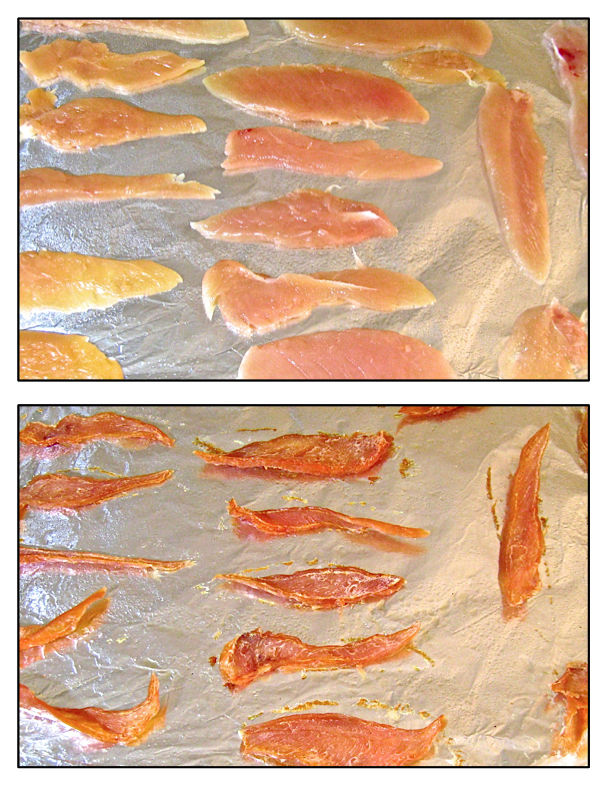
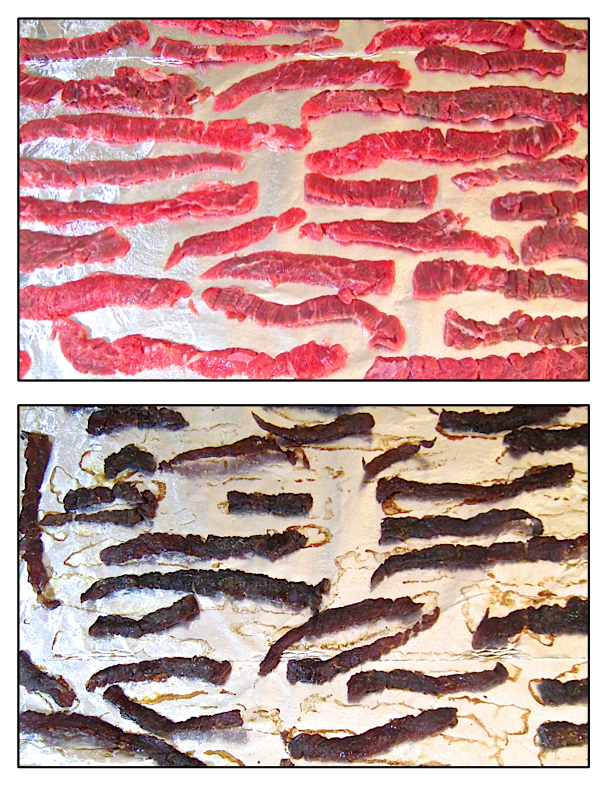
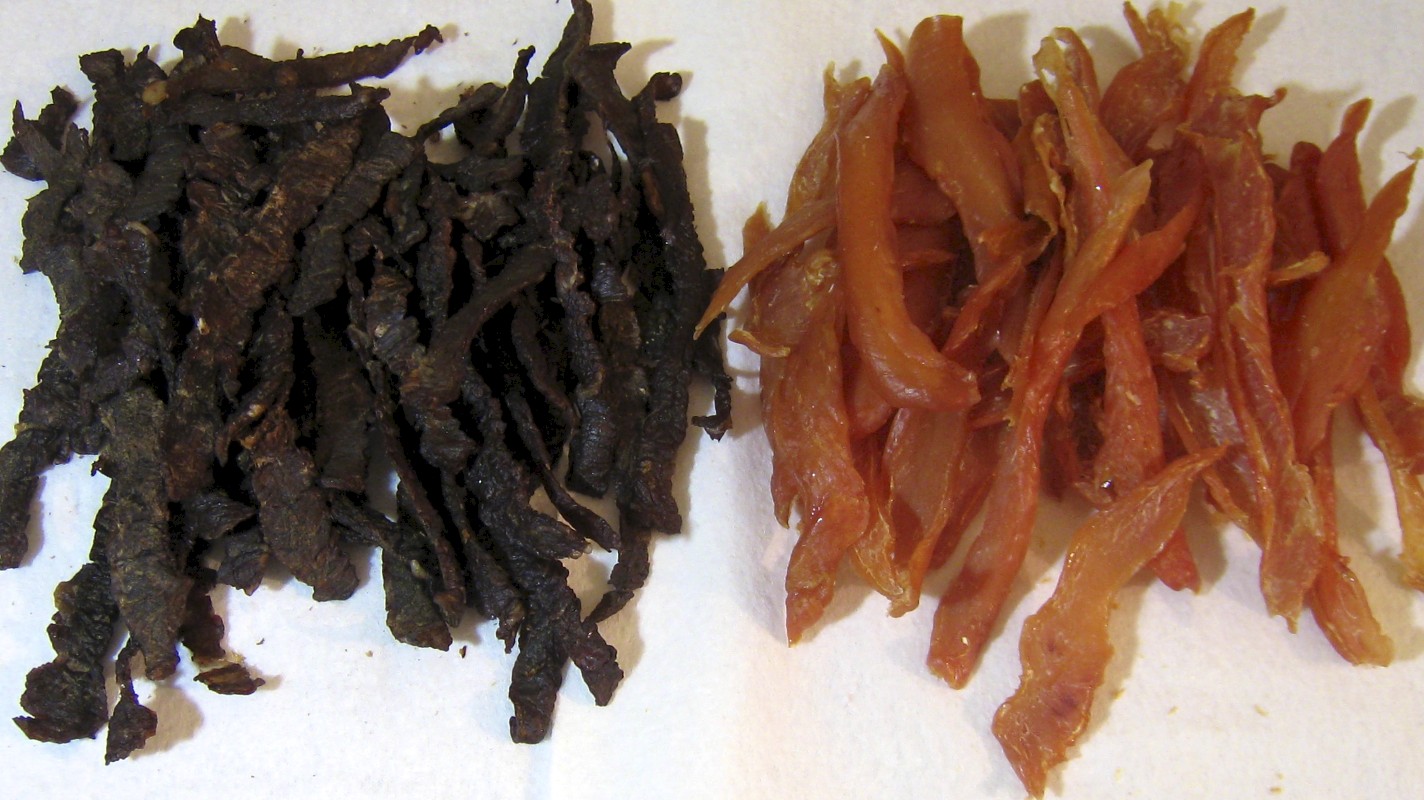
I’ve chosen to remove the shells, roast the peanuts, and then remove most of the “paper skins” before making the butter. You must remove the shells but whether you roast and/or remove the skins is up to you, although I did read that roasting peanuts increases their anti-oxidant effects. That’s about all there is to the recipe. Yes, it really is that simple and your pooch can enjoy a treat without any additives whatsoever.
* * *

* * *
Roasted Peanut Butter Recipe
Ingredients
yield: 1 pint
- 3 cups unsalted, raw peanuts, shelled (use organic if you can find them)
Directions
- Pre-heat oven to 350˚ F (175˚ C)
- Place peanuts, single layer, on a baking sheet and roast for 20 minutes. Stir midway through for even roasting.
- Remove from oven and set aside until cool enough to handle.
- Once cooled, take the baking sheet & peanuts outdoors. Rub a handful of peanuts between your palms. The clean nuts will drop and their “paper skins” will float away on the breeze. (See Notes)
- Once cleaned to your liking, place the nuts in a food processor and run.
- The peanuts will go through stages:
- The nuts will go from coarse to finely chopped in a couple of minutes.
- Soon a “dough ball” will form.
- A couple of minutes more and a creamy peanut butter will develop. The longer you process it, the more fluid it will be.
- Place in an airtight container and store in the refrigerator.
* * *

* * *
Variations
If using peanuts in the shell, roast for 25 minutes. Once cooled, remove shells and as much of the “paper skins” as you prefer.
If your pooch prefers chunky-style peanut butter — very helpful if this is to be used to hide pills — remove up to 1/2 cup of the nuts after they’ve been coarsely chopped. Add them back to the peanut butter once it has reached the preferred consistency. Stir by hand to combine.
To make peanut butter for the two-legged members of your household, follow the same method as dictated above. When the peanuts are first added to the food processor, you may wish to add salt, and/or a sweetener like honey or sugar, to taste. If you prefer your peanut butter to be more smooth, add a teaspoon or two of a neutral-tasting oil.
Notes
I’ve seen no documentation that states the “paper skins” are harmful or should be removed from the peanuts, whether the peanut butter is intended for use by humans or dogs. Nonetheless, I remove the majority of them, though I’m nowhere near having them 100% cleaned.
As I’ve mentioned, Max loves peanut butter. He has 2 hollow bones that I bought him years ago from a pet store. I put a couple of tablespoons of peanut butter in each and put them in the freezer. If I have to crate him, I give him one of these bones and it keeps him occupied.
Dogs do not sweat as we do. They cool themselves by panting, sending cooler air over the tongue. Giving your dog a frozen treat on the hottest of Summer’s days will help him to keep his cool. With that in mind, I reward my puppy with ice cubes. When fully grown and Summer’s heat is at its worst, I give my dog an ice cube “treat”. He loves it and it will cool him off.
* * *
It’s déjà vu all over again …
In my part of the country, the farmers markets are at their peak. Sure, some fruits and 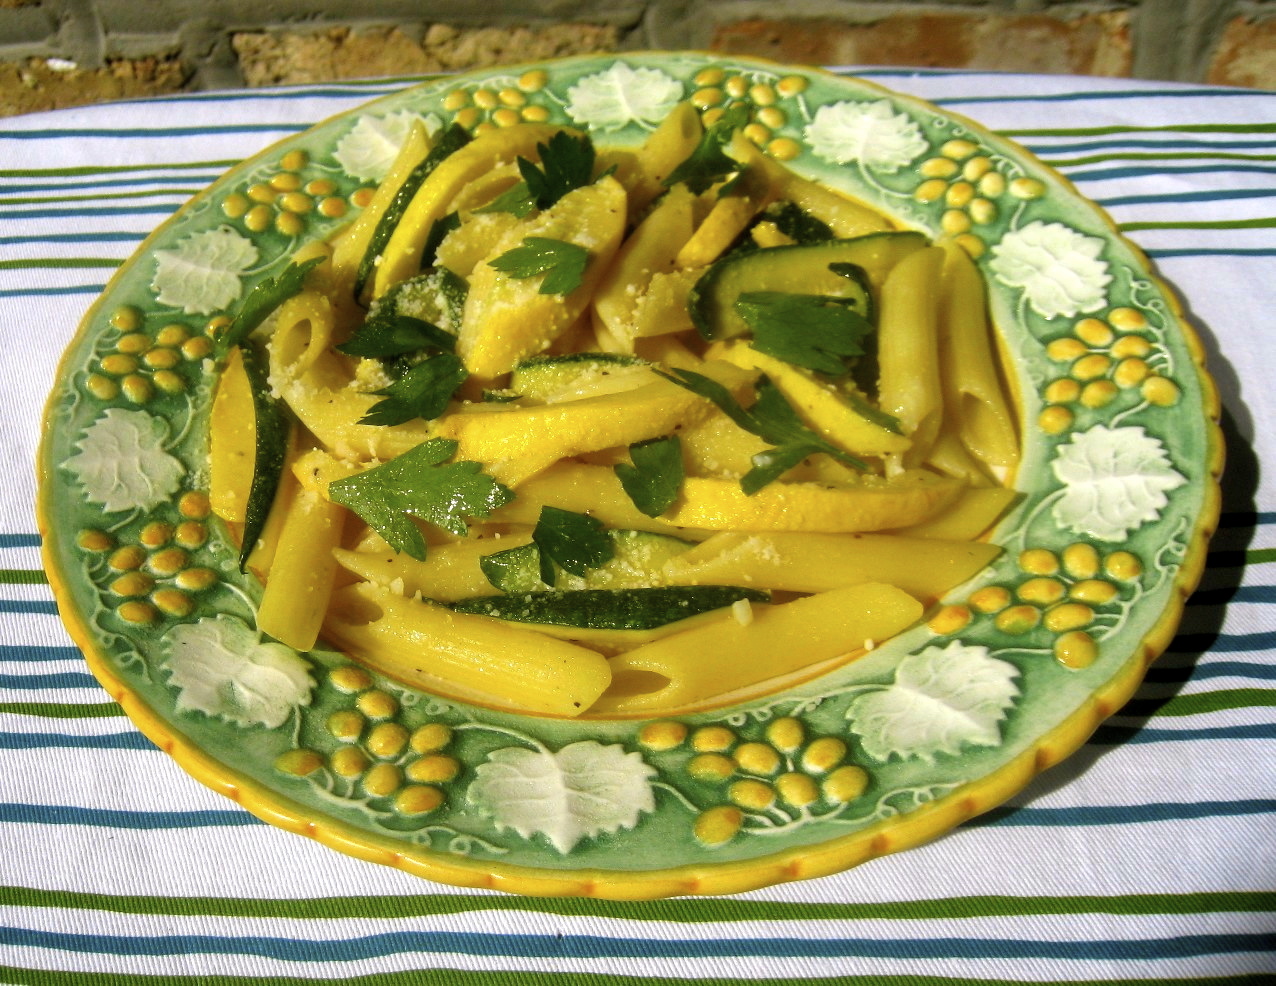 berries are gone for the year but the vendor stalls are bursting with many other fruits and vegetables. Judging by what I’ve seen, my use of zucchini blossoms earlier this season didn’t affect their harvest in the slightest. There’s enough zucchini and Summer squash left to go around — and then some. If you’re looking to use some of these squash, while cutting back on carbs, you might wish to check out this recipe for penne with zucchini and Summer squash.
* * *
Coming soon to a monitor near you …

Tomato Jam
* * *