Those of you who follow me on Instagram know that I’ve been recently waylaid by a rather unfortunate run-in with a bit of black walnut-shell. In perhaps the most unkindest cut of all, the blow was delivered by one of my beloved post-Thanksgiving turkey sammiches. (I knew The Fates could be cruel but who knew they had a taste for irony, as well?) The resultant series of appointments meant that I’ve not been around WordPress very much of late. Although there’s more work to be done, I’m happy to say that the worst of the ordeal is now behind me. I’ll be back at 100% before you know it but, please, I’m begging you, no more jokes about whistling merry Christmas.
Neither of today’s dishes — I wouldn’t really call them recipes — are in any way complicated or difficult to prepare. Given my current situation, they are just what the dentists ordered. In my mind, however, both are closely tied to the upcoming holidays. The first, red snapper, was a favorite of my Dad. It’s also my last post before Christmas Eve and I’ve a tradition of offering a seafood dish for those preparing a Feast of the Seven Fishes. The second dish shared today, roasted chestnuts, was the very last Mom served on the holidays.
I’ve wanted to post a red snapper recipe for some time but it’s a little complicated. You see, snapper is endangered depending upon where and how it’s harvested. If caught by hook and line in the Gulf of Mexico, it’s OK to purchase. Red snapper caught in the South Atlantic, however, should be avoided. Ruby snapper — its Hawaiian cousin — is OK to purchase. (Source: Monterey Bay Aquarium Seafood Watch). I’ve often seen red snapper for sale but, as a rule of thumb, if the monger cannot tell me where or how a fish is caught, I choose another fish or, in some cases, another monger. Over the years, I’ve passed up a lot of red snapper. That’s not so complicated. Well, stay with me.
* * *
* * *
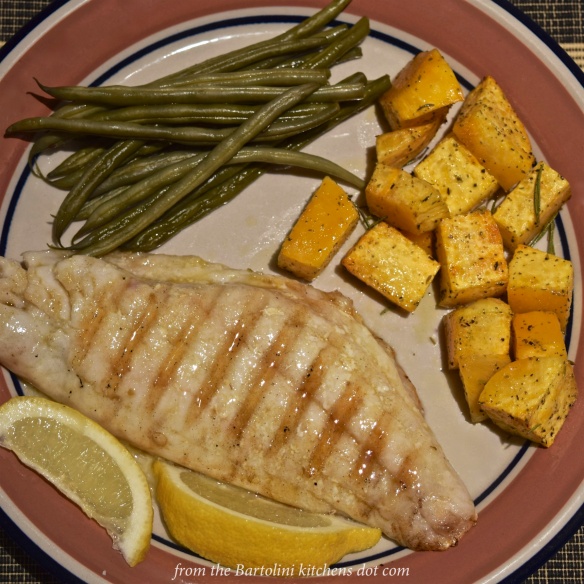
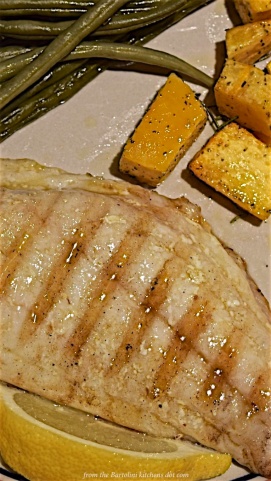
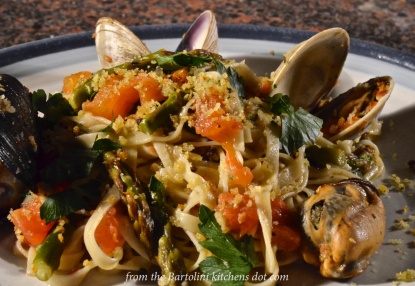
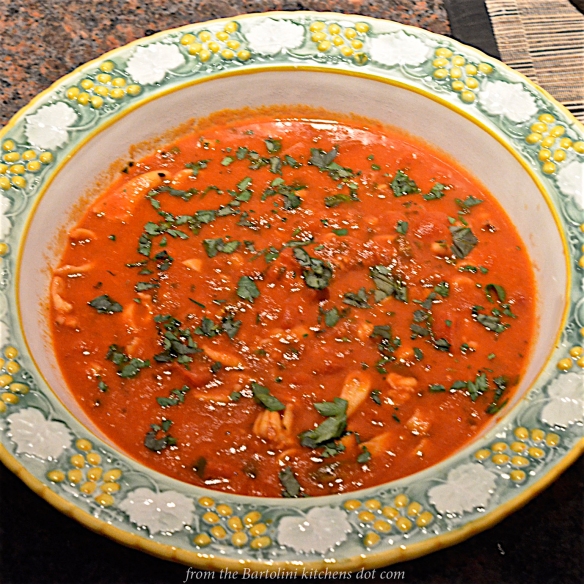
Recently, my fish monger had fresh red snapper and I eagerly bought 2 fillets, one to be grilled that night and the second to be prepared the following night. See the opening photo? That’s proof that I actually grilled red snapper. Unfortunately, it’s the only photo that I have because moments later my grill ran out of propane. I finished cooking the fillet on a grill pan.
That was a Friday 2 weeks ago. The following day, Saturday, we were hit with a snowstorm.(We’ve had snow on each of the past 3 weekends with more expected tomorrow.) I spent my day pushing the snow off of the walkways. For some reason, replacing my grill’s propane tank never crossed my mind — until dinner time. That’s when I made an executive decision. I wasn’t going anywhere and fired up the grill pan, instead.
Complications aside, this is about the easiest preparation for a dish that I’ve ever posted. It’s not so much the fish but the memories that go along with it. Yes, it was Dad’s favorite fish but he wanted it grilled. No matter the season, no matter the weather, if red snapper fillets were on the menu that night, Dad was at the barbecue getting the grill ready.
 As I’ve mentioned in other posts, our barbecue was made of brick and built by Grandpa in the late1950s. Mention that barbecue and In my mind’s eye, I see Dad standing before it, preparing our main course. Once, during a summer storm, Dad was wearing a trench coat over a pair of shorts, his bare legs extending beyond the coat’s hem. His right hand was tending our meal while his left hand struggled to maintain control of the wind-whipped umbrella. Now that’s dedication.
 Although I can’t say for certain what he was grilling on that foul weather day, it would be a pretty good bet to say that it was red snapper. That’s how much he enjoyed grilled red snapper fillets! I do, too, maybe not to that extent but I do enjoy red snapper when grilled.
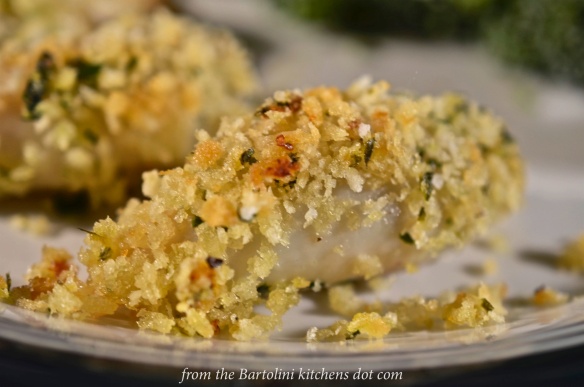
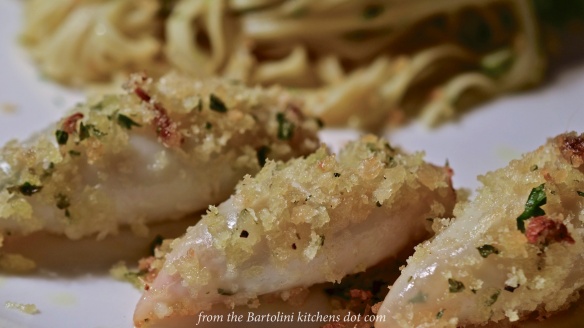
The fish is easy enough to prepare. Season both sides of the fillet with salt & pepper before drizzling with olive oil. Light the grill and while it heats, place equal amounts of butter and lemon juice in a small sauce pan over low heat. Softly simmer the two while the fish cooks. Red snapper fillets flake easily so we, Dad and I, use(d) a fish basket to hold them in place on the grill. There’s nothing worse than watching part of your dinner fall between the spaces in your grill plates. Depending upon how hot your grill is, the fillets should cook in about 3 to 4 minutes for the first side and about 2 minutes for the other. Place the fish skin-side down to start. (See NOTES) Once finished, remove the fillets to a serving platter and drizzle with lemon butter sauce. Serve immediately with lemon wedges. See? Couldn’t be easier but oh, so very good!
* * *
Since the red snapper dish was so simple to prepare, I thought I’d make this post a two-fer. Recently my Brother asked where my post for roasted chestnuts was located. Um … it wasn’t. I’d forgotten all about them. So, here’s another easy recipe that also means holiday to me.
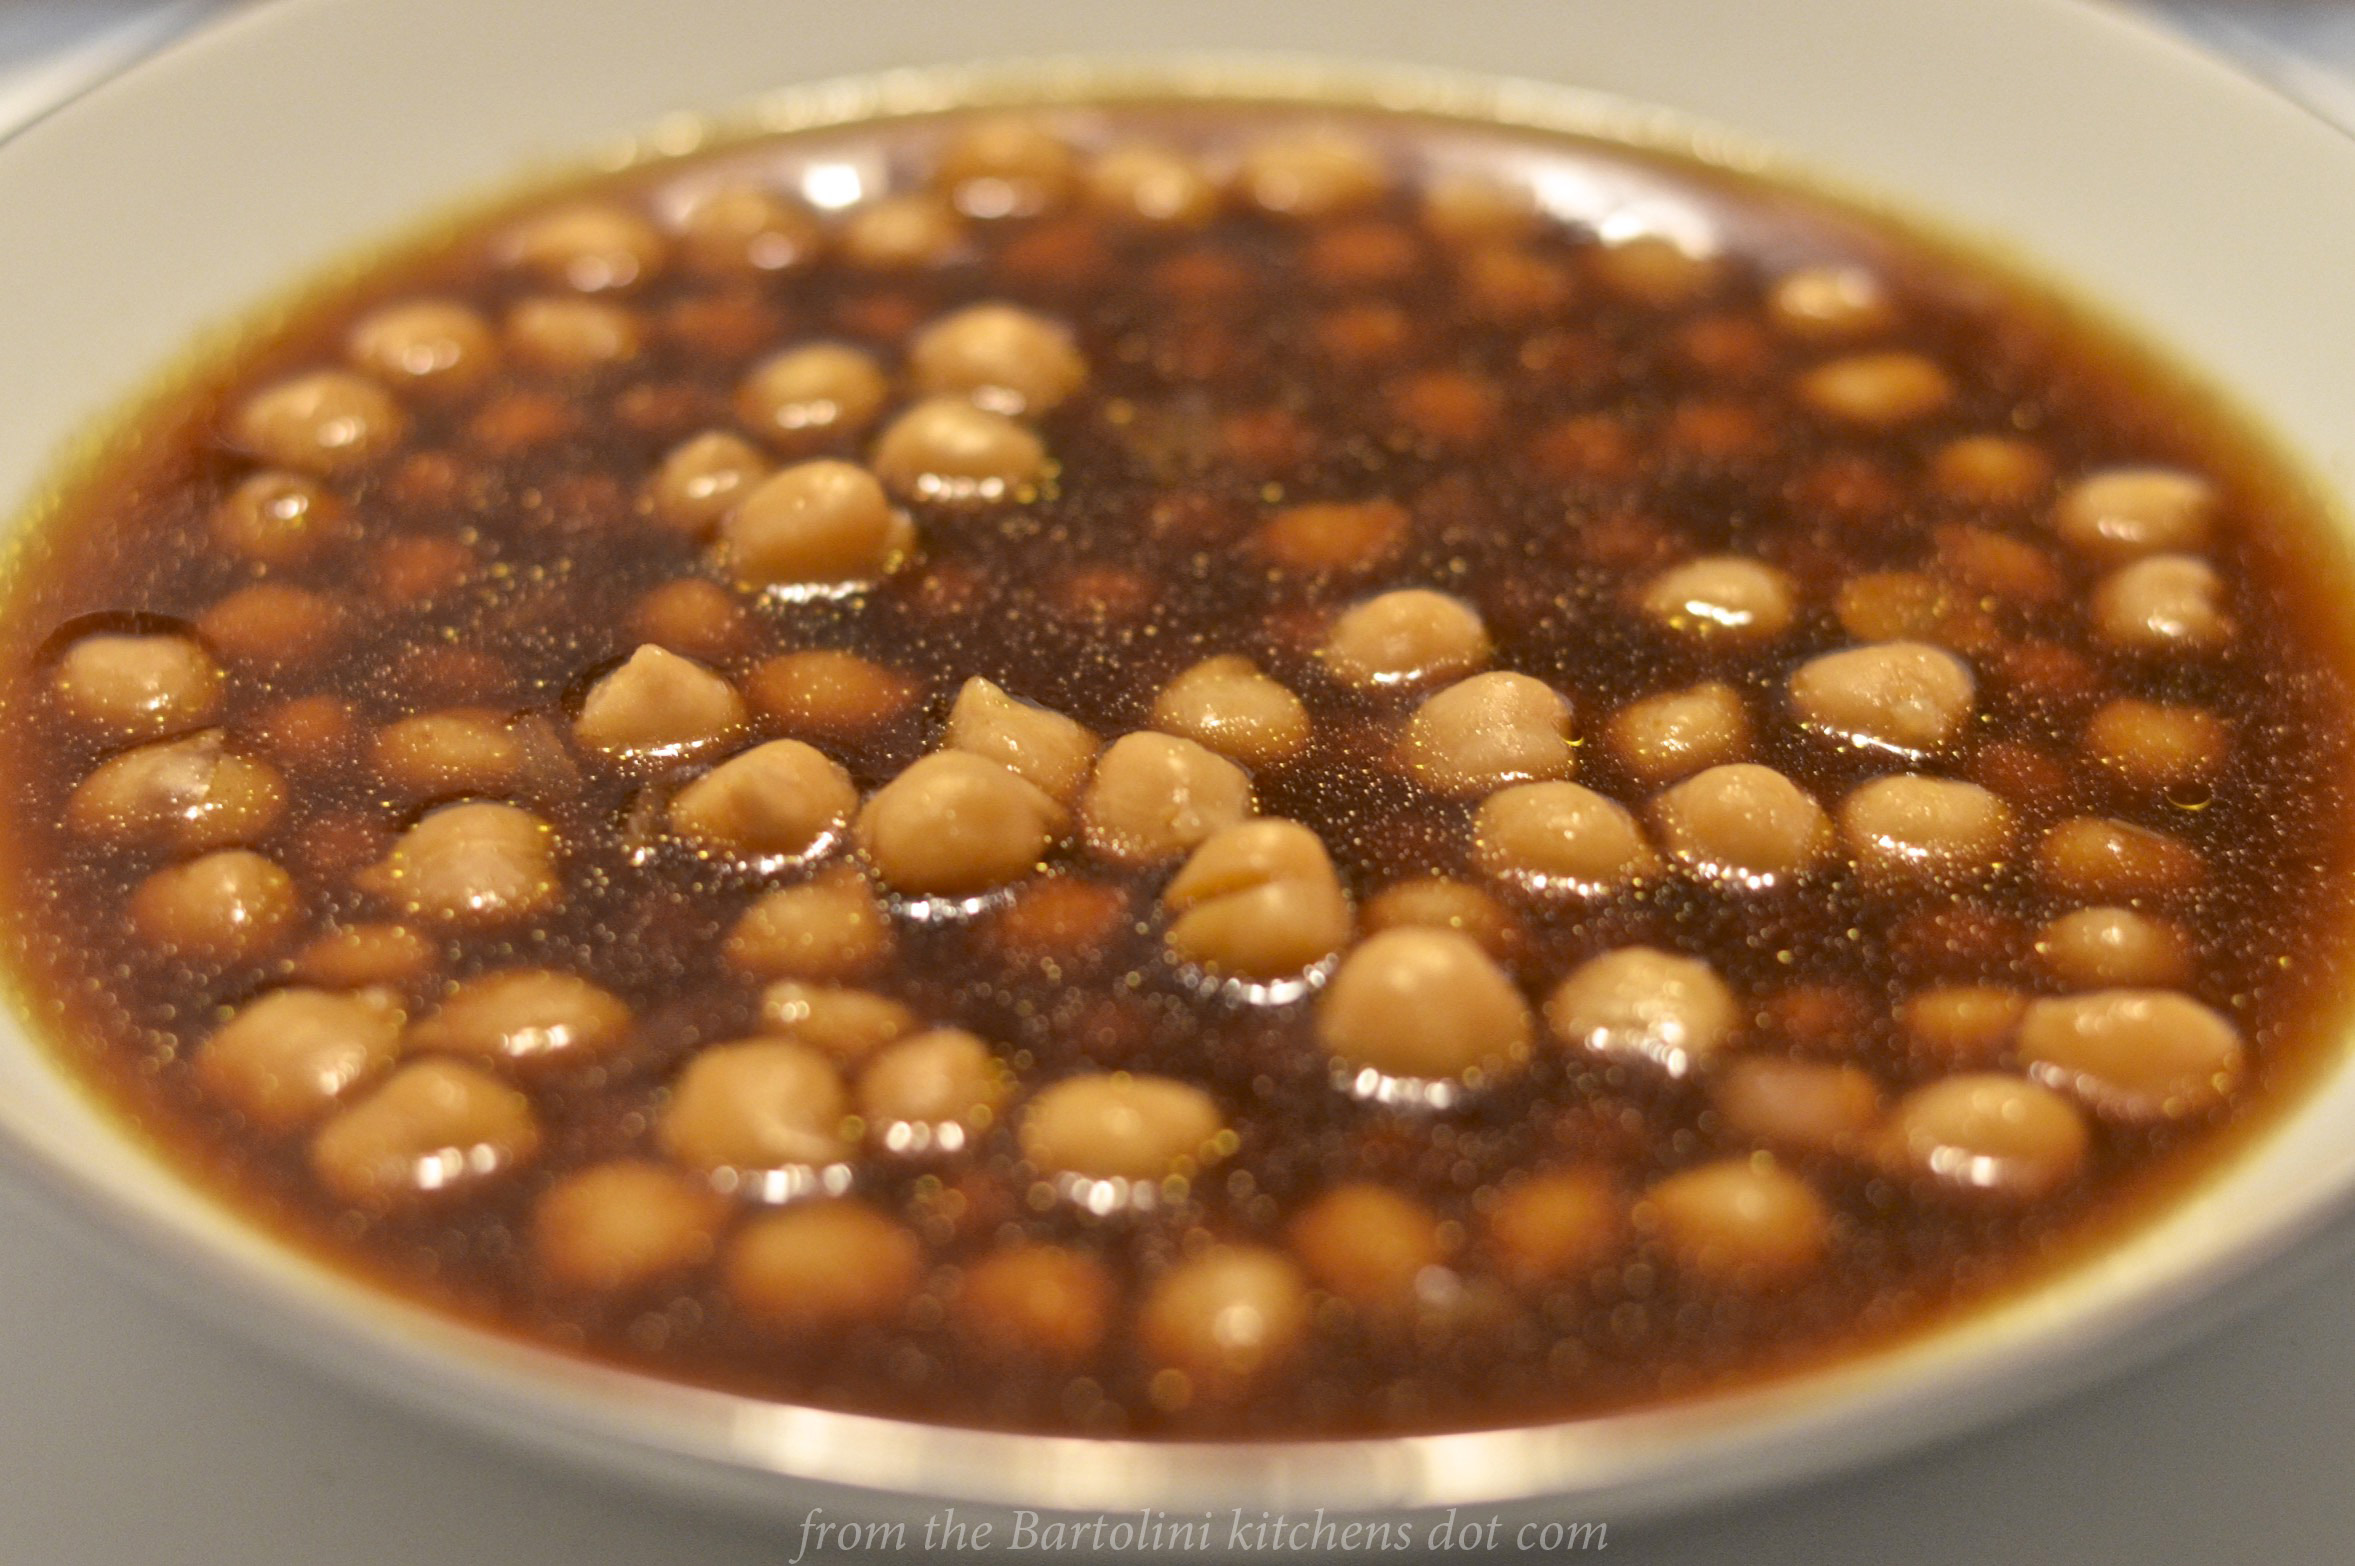
On Thanksgiving, Christmas, and New Years Day, once the deserts had been served and the table cleared, while the adults dipped anise-flavored biscotti into their caffè and chatted, Mom would bring freshly roasted chestnuts, castagne, to the table. No matter how sated, everyone at that table managed to eat a few chestnuts, You see, much like the old Jell-O advert, there’s aways room for castagne.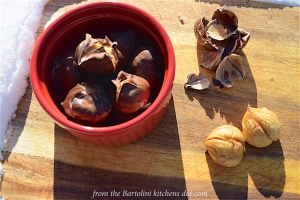
Sometime that afternoon or early evening, Dad would use his penknife to slice an “X” in the rounded side of each chestnut. Later, they would be placed on a baking sheet which was then put into a 425˚ F pre-heated oven. After about 20 to 25 minutes, the chestnuts were removed and allowed to cool slightly before being served.
I wish I could be more precise but much depends upon how fresh the nuts are and whether all have been properly roasted. You see, a chestnut has a shell within a shell. We’re all familiar with the brown outer shell but the one on the inside will give you fits. It’s inedible, paper-thin, fuzzy, and can stick to the chestnut like glue. If your chestnut is roasted for tool long or too short, you can expect problems with that inner shell. Oh! There’s an added bonus to roasting them for too long: the chestnuts become rock-hard.
Now, there are those who par-boil their nuts before roasting but I’ve never tried that. Mom boiled a few and, once chopped, included them in her turkey stuffing. If I remember correctly, she didn’t fare any better with the boiled chestnuts than we did later that evening with them roasted. Problems aside, a few roasted chestnuts to end the meal are as much a part of my holiday feast memories as are those of the much-beloved platters of ravioli that began them.
Speaking of the holidays, we at the Bartolini kitchens wish you all a holiday season most memorable, with a new year filled with wonder and joy.
* * *
Notes
The red snapper fillets can easily be prepared on a grill pan or under the broiler. In the first case, heat the grill pan as you would a barbecue. Cook the fish as if it were on a grill, skin-side down, for a few minutes before turning it over for about another 2 minutes. If you broil the fillets, place them skin-side down on an unheated broiler pan/tray about 4 inches under the heating element, They should be ready in about 4 minutes but keep a close eye on them. If you’ve used a broiler with seafood, you know exactly what I mean.
* * *
It’s déjà vu all over again …
Tomorrow is Christmas Eve so why not take a look back at a dish traditionally served on that night? I’m talking about eels and though I only remember it being served once when I was very young, peering into a sink full of eels definitely left an impression. You can see how they’re prepared by clicking HERE.
* * *
Coming soon to a monitor near you …

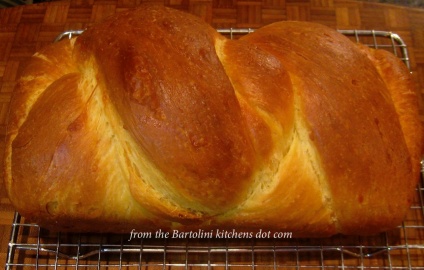
Panettone: A Bread with Promise
* * *


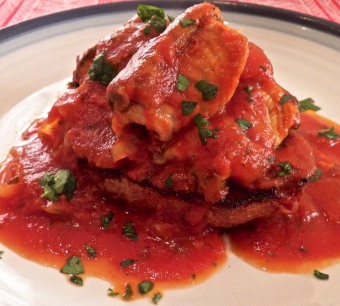
 Stovetop Braised Rabbit