When I look at most of my holiday dinners, many are of the meat and potato variety. (OK, there’s more likely to be pasta or polenta on the table but they do start with a “p” and that should qualify them.) Up until several years ago, those potatoes were either mashed or baked au gratin. That’s when I decided enough with the plain potatoes. Sorry, Idaho. Bring on the sweet potatoes!
Initially, I made them as I would my potatoes au gratin: with milk, Swiss cheese, and a little butter. Over time, I swapped out some of the ingredients and in the process these potatoes earned a standing invite to my holiday tables.
The recipe below is the latest version. Earlier editions included pancetta, bacon, garlic, and/or nutmeg. Although I liked each, the individual flavors worked better with normal potatoes, their flavors being a bit too much for the sweet potatoes. You may feel that way about the onions used here. If too much for your tastes, substitute diced shallots in their place.
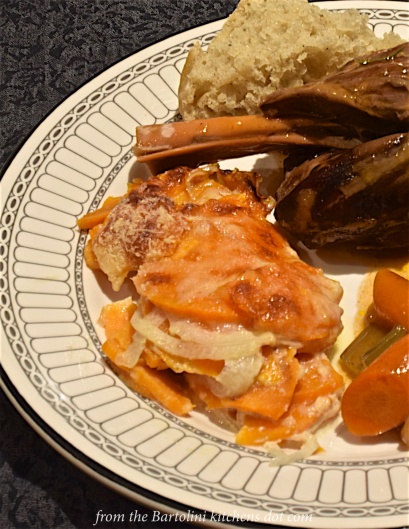
One more thing to remember. Do not bring these potatoes from the oven directly to the table for serving. They really do need to sit for no fewer than 10 minutes — 15 is better — so that they set. You want to serve creamy potatoes not a runny mess.
* * *
* * *
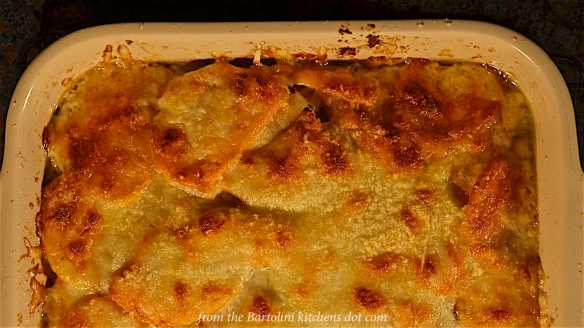
Sweet Potatoes au Gratin Recipe
Ingredients
- butter or cooking spray
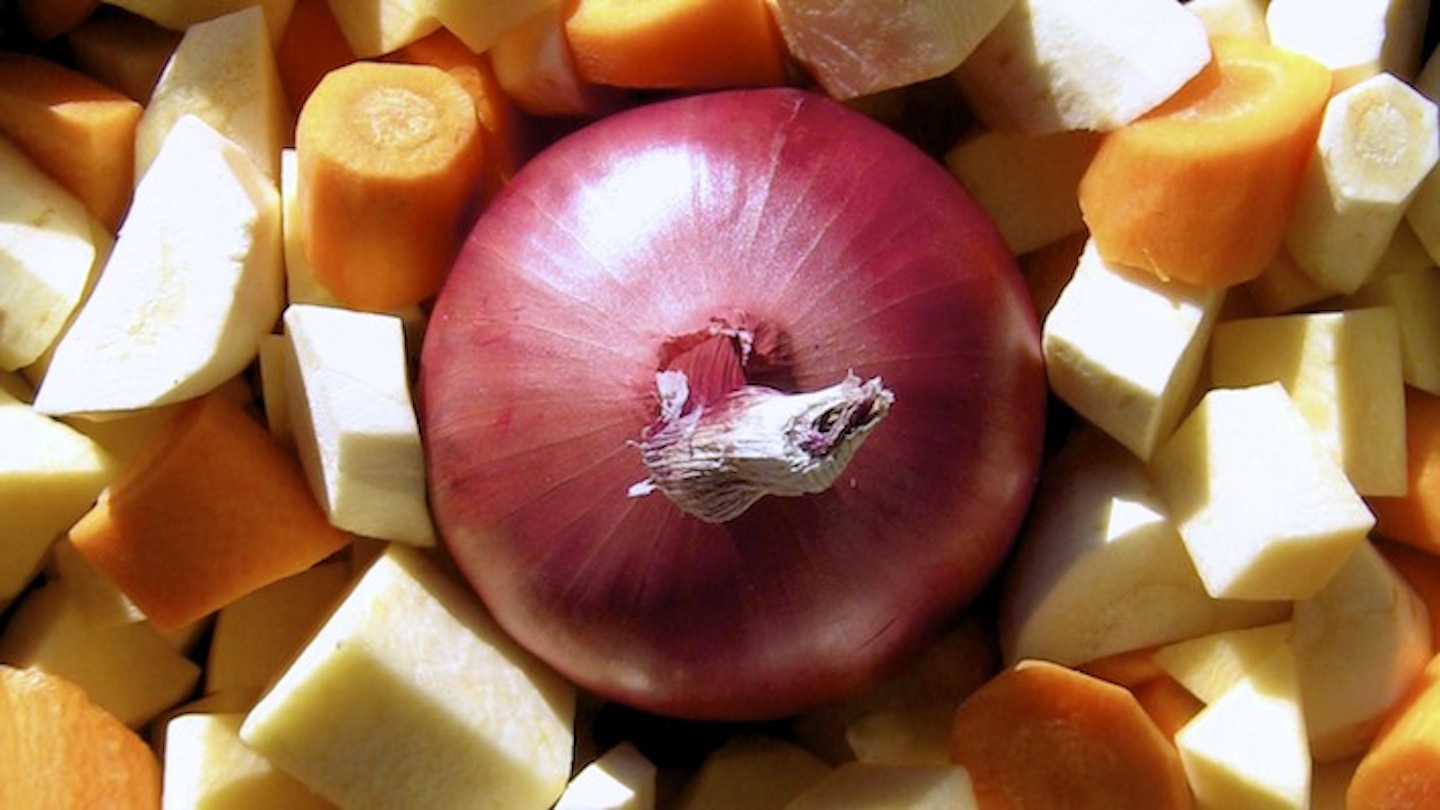
- about 1,5 lbs. (680 g) sweet potatoes, peeled and sliced (See Notes)
- 1 medium onion, thinly sliced
- 5 to 6 oz (140 – 170 g) Gruyère cheese, grated (Swiss, Fontina, or Emmental, among others, may be substituted)
- 6 oz (118 ml) heavy cream
- 3 tbsp arrowroot (flour or cornstarch may be substituted)
- 1 tbsp butter, cut into 8 pieces
- 1/4 c (25 g) grated Parmigiano Reggiano (Pecorino Romano may be substituted)
- salt and pepper to taste
Directions
- Use cooking spray or a tab of butter to liberally grease an oven-proof baking dish.
- Make a slurry using 1/2 of the heavy cream and the arrowroot. Once thoroughly combined, add the remaining cream, stir, and set aside,
- Pre-heat oven to 375˚ F (190˚ C).
- Use 1/3 of the sliced sweet potatoes to create a layer covering the bottom of the baking dish,
- Cover that layer with 1/2 of the sliced onion.
- Season lightly with salt and pepper.
- Use 1/3 of the grated Gruyère to cover the onions and potatoes.
- Repeat steps 4, 5, and 6. using all the remaining onion in the process.
- Use the last of the sweet potatoes to cover the dish’s contents.
- Stir the cream slurry before pouring it evenly over the top of the dish.
- Cover the dish with the remaining Gruyère.
- Season lightly with salt and pepper.
- Dot the surface with the butter pieces.
- Sprinkle the grated Parmigiano Reggiano to evenly cover the entire dish.
- Bake in a pre-heated oven for 45 to 50 minutes or until the potatoes are nicely browned.
- Allow to rest at least 10 minutes before serving.
* * *
* * *
Notes
I used a 9 inch (23 cm) square baking dish and the potatoes weren’t sliced too thinly. (.15 inches, 4 mm). More or less of the posted ingredients may be needed if the size of your baking dish differs appreciably from the one used here.
The recipe, as written, is gluten-free. If you haven’t arrowroot but wish to keep it GF, add an equal amount of cornstarch into the cream. Of course, if you and your guests have no issues with gluten, flour can be used as the thickening agent.
WIth its heavy cream, butter, and cheeses, this is not a low-calorie dish. (That’s why I only serve it on special occasions and holidays.) If you’re looking for something a little more waist and heart-friendly, hop on over to Fanny Reggiori’s blog, foodidies, where she recently posted a delicious, lighter sweet potato au gratin recipe. No matter the recipe you choose to prepare, you really cannot go wrong.
Since we’re talking healthy, which do you think is healthier, baking potatoes or sweet? Click HERE to find out. And if that kind of info floats you boat, go HERE to see a list of similar comparisons. Some of the results may surprise you.
* * *
It’s déjà vu all over again …
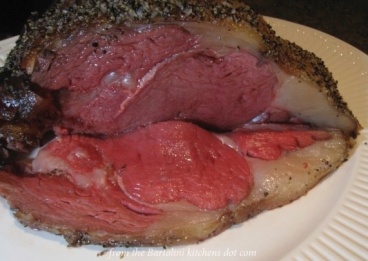
Since we’re talking holidays, here’s a look back at the method I use to prepare standing rib roast every New Year’s Day. You can catch a glimpse of one in the first photo of this post.) It’s easy to prepare but much depends upon aging the roast in your fridge before cooking it. Interested? You can learn all about it HERE.
* * *
Coming soon to a monitor near you …
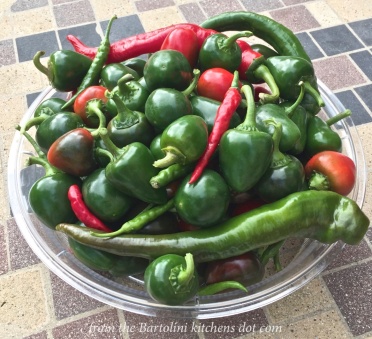
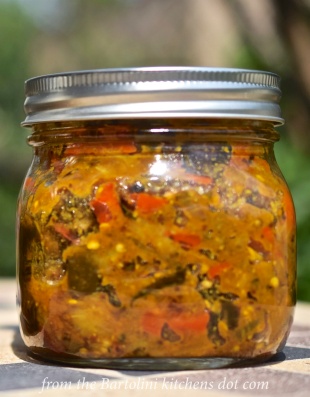
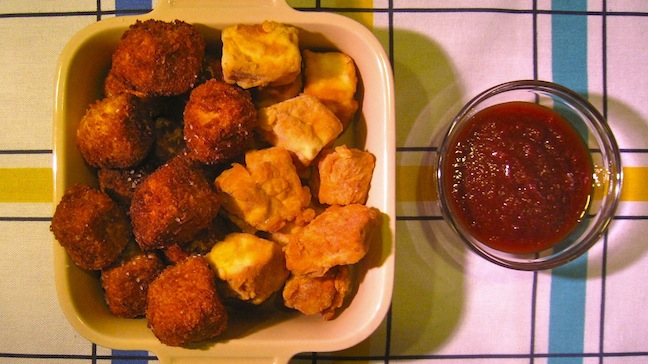
Hot Pepper Relish
* * *