This was not the best year for my garden. You already know about my zucchini troubles but those were only the beginning. My tomato plants, as well as those of my neighbors, just didn’t do well. Yes, I harvested cherry tomatoes but nowhere near as many as I have in prior years. The San Marzano tomatoes were no bigger than 1/4 of their normal size, while the Brandywine didn’t even bloom until mid-August. I gladly yanked them out of the ground during the 1st week of October.
On the other hand, my eggplants did far better than I ever imagined and I have trays of eggplant lasagna in my freezer to prove it. I picked the last of the eggplant on about Halloween and sadly cleared those plants from the bed.
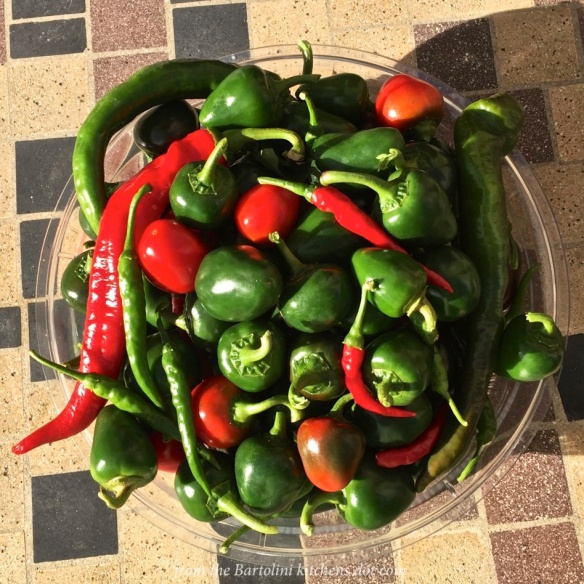
Left standing were the chile/pepper plants. They, too, produced a great deal right up until the morning of November 11th, when everything was picked from that raised bed but I held off pulling them because there were still peppers ripening. That morning, I took stock of this season’s pickled pepper inventory. There would be no more pepper pickling this year. Great! Now, what?
Well, I did what most of us do under similar circumstances. I called upon Mr. Google. First, I checked to see whether green peppers would be as hot as fully ripened red peppers. I was swamped with every reply imaginable. Yes, green peppers are just as hot. No, they’re much more mild. They’re the same but red — no, make that green — are sweeter. The only response I didn’t see was that young peppers were inedible or, worse yet, poisonous. So, I went searching for a recipe.
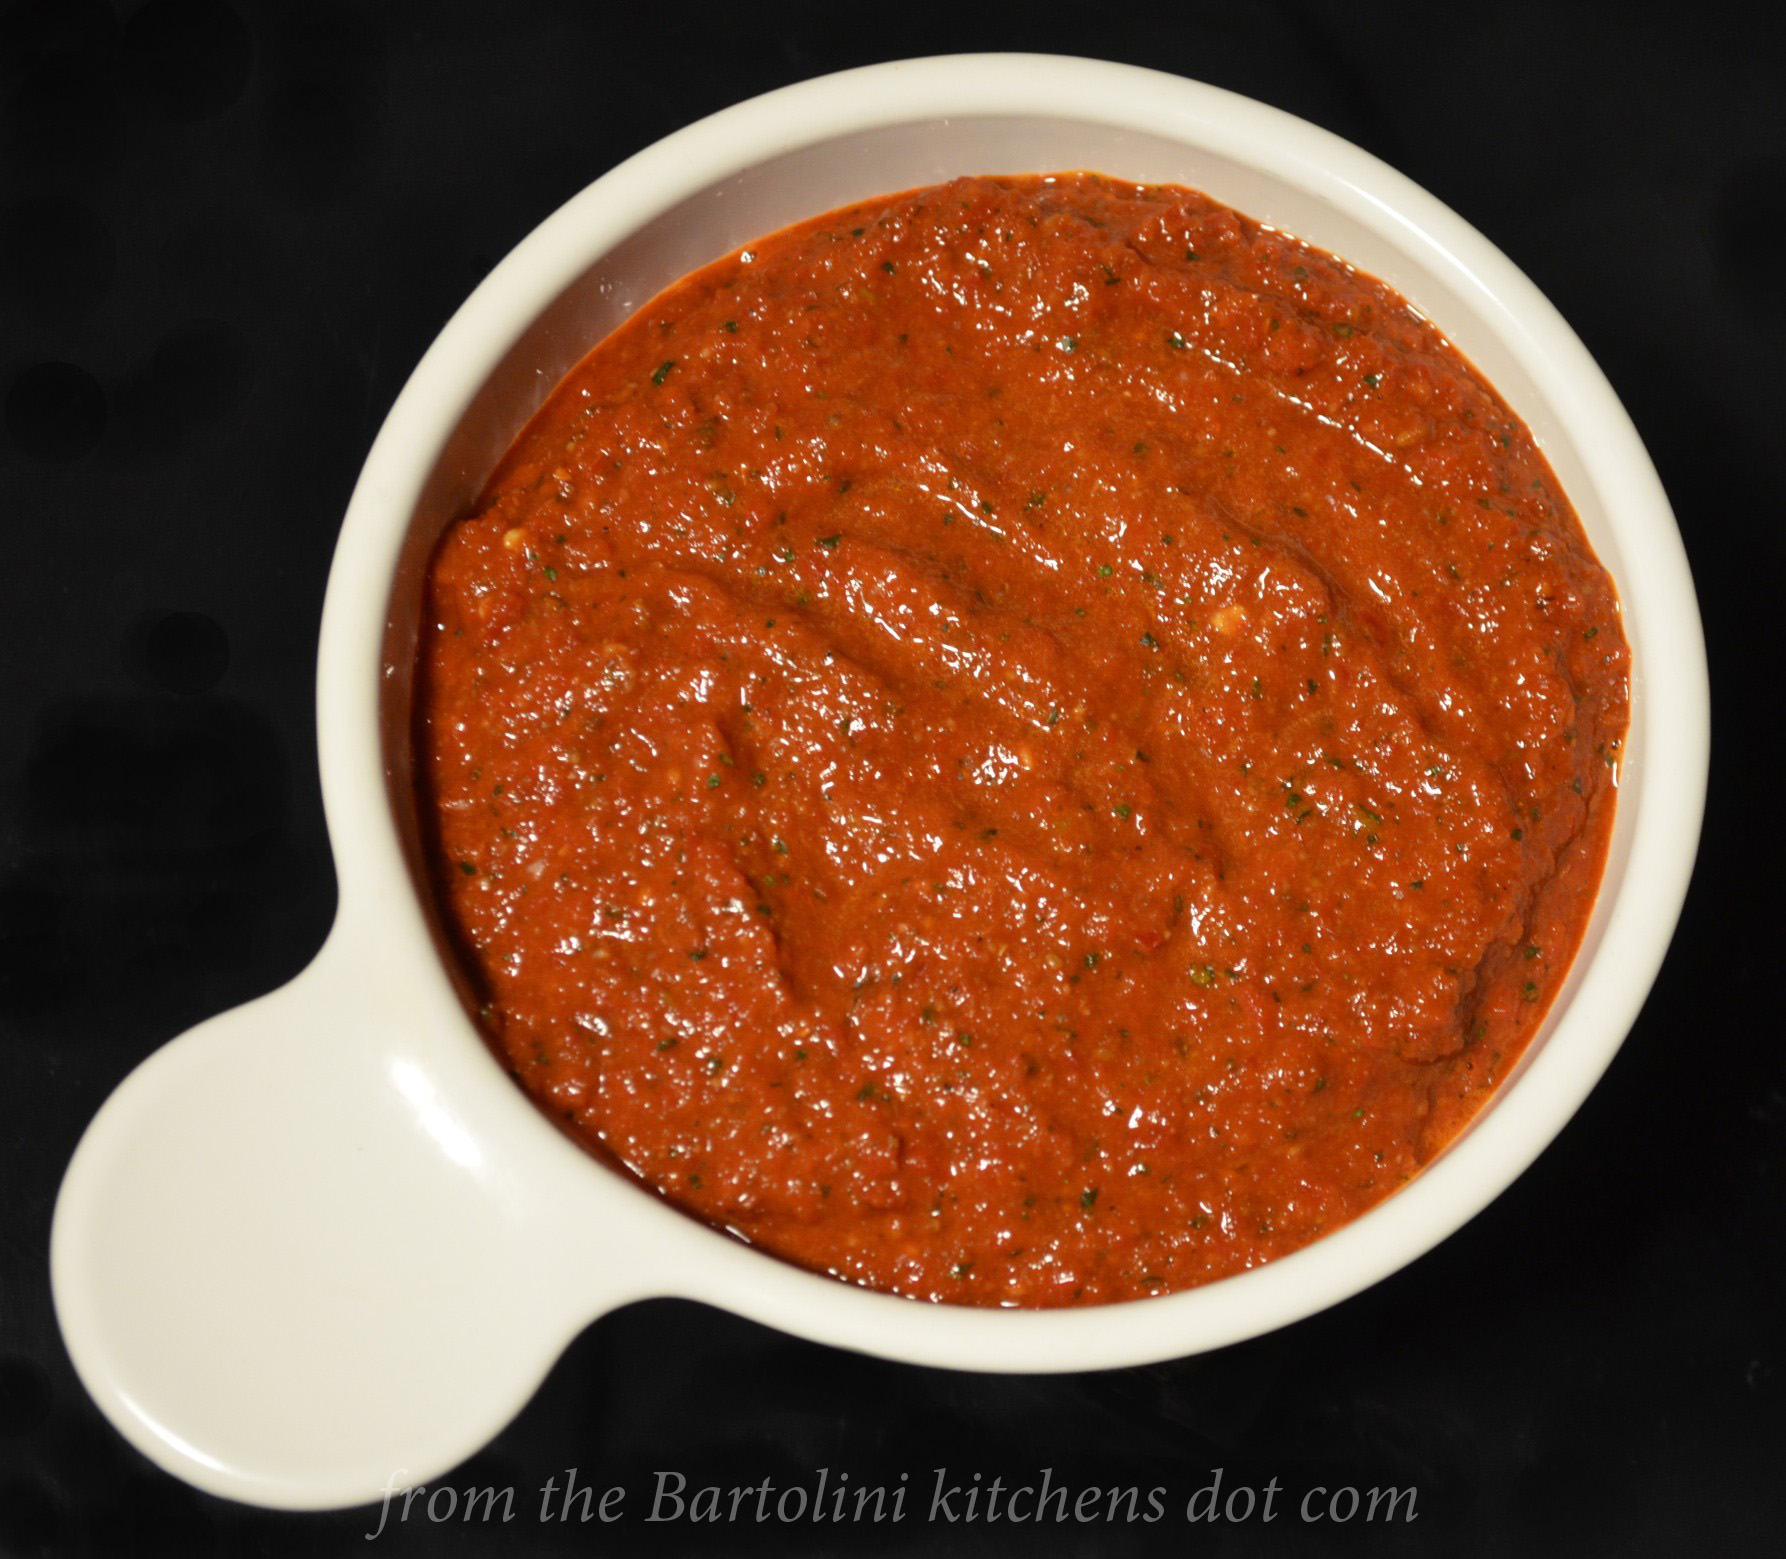
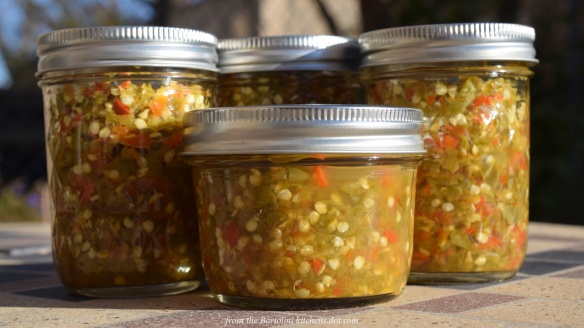
I chose today’s recipe because it was so simple to prepare and, best of all, I already had all the ingredients. There would be no mad dash to the grocery today! So, here’s the relish recipe that I followed. To prepare the peppers, all I did was remove the top of each, leaving the seeds and ribs intact. I did nothing to limit the heat of the relish. The result? One spicy relish but not so hot to ruin your palate midway through the meal. Perfect.
* * *
* * *
Hot Pepper Relish
Ingredients
- 3.5 lbs (1600 g) mix of cayennes, jalapeños, and cherry bomb peppers, tops trimmed and roughly chopped
- 2 cups cider vinegar
- 1 cup white vinegar
- 2 tbsp light brown sugar
- 1 tbsp granulated sugar
- 1.5 tsp pickling salt
- 3/4 tsp black peppercorns
- 3/8 tsp yellow mustard seed
- 3/8 tsp celery seed
- 1 clove garlic, smashed
* * *

* * *
Directions
- Use a food processor to finely chop the peppers. (A knife may be used to dice them.)
- Add the remaining ingredients into a saucepan and bring to a boil before simmering for a few minutes. Lower heat to keep liquid warm.
- Fill clean, sterile jars with the chopped chile mixture.
- Remove the garlic before adding the hot liquid to each jar, filling to 1/2 inch (1.25 cm) from the top.
- If you like, strain the liquid before using to fill the jars
- Seal each jar until “finger tight”. (See Notes).
- Place in a boiling water bath for 15 minutes. Start the timer after the water returns to the boil.
- Remove from the bath and place atop a clean kitchen towel away from drafts. Do not disturb for 24 hours.
- Store on a shelf in a cool, dark place. Use within 1 year. (See Notes)
Based on the recipe, “Hellish” Hot Pepper Relish, by BKLaRue.
* * *

* * *
Notes
When dealing Large quantities of peppers and chiles, be sure to wear rubber gloves and do not touch your face as long as you’re wearing them. If you choose not to wear gloves and absent-mindedly rub an eye, I guarantee you’ll wear them next time.
This recipe resulted in 4 pints of relish but can be easily adjusted to suit the amount of peppers on-hand. Just be sure to maintain the relative amounts of the vinegars, sugars, and salt. The rest of the spices can be changed to suit your own tastes.
When preserving in jars, it is very important to seal the jars but not too tightly. “Finger tight” means to fully tighten the jar and then loosen it just a bit to allow for the contents to expand during processing in the hot water bath. Failure to do this may result in shattered jars. (Been there.)
Relish that has been properly preserved will last up to a year on a dark, cool shelf. Refrigerate after opening, however, and use within a few weeks.
You needn’t preserve the relish. If you prefer, it can be prepared as described and then refrigerated rather than being further processed in hot water. Be aware that relish stored in the fridge will remain good for a few weeks and not a year like its preserved counterparts. On the plus side, relish stored in the fridge will retain its vibrant colors and crispness.
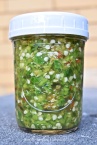 Our weather was most unseasonably warm when I wrote this post so I did not pull my pepper/chile plants right away. In fact, they remained until after the first killing frost during the early morning hours of November 20th. As a result, I had another batch of peppers to pick from which I made 2 half-pints of relish, though neither was processed and preserved. Call them a “Quick Relish.”, if you like but, whatever the name, è finito!
If you find that a jar has not sealed properly during processing, just store it in the fridge and use as you would a jar that you’ve opened.
For information regarding canning/preserving, please refer to the USDA Principles of Home Canning guide.
For information on preserving virtually any/all vegetables, fruit, and berries, be sure to check out the Pick Your Own website.
* * *
It’s déjà vu all over again …
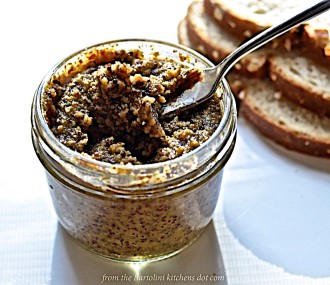
A few weeks ago, when I shared our recipe for Olio Santo, that post’s look back took you to our recipe for tomato ketchup. Well, with today’s recipe a relish, why not take a look back at one of the honey mustard recipes that I shared a couple of years ago? It’s a great little recipe and if you prepare gift baskets for the upcoming holidays, these 3 condiments make perfect additions to accompany the Olio Santo. You can see how we make honey mustard by clicking HERE.
* * *
Coming soon to a monitor near you …
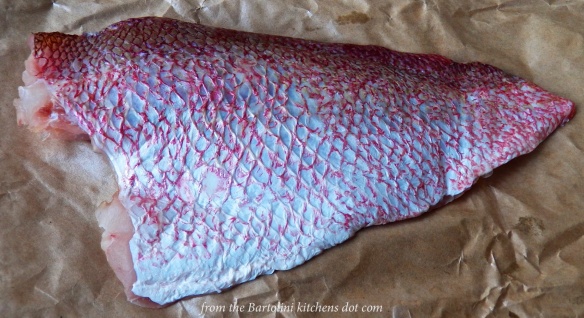
Dad’s Red Snapper
* * *