Palle di Marinella
This recipe has been a long time coming. In fact, this is actually the 4th rewrite. Each of the prior versions included time-sensitive references that no longer apply. (Let that be a lesson for us all.) Even this post is time-dependent, making me all the more determined to publish it post-haste — but more about that later.
My wonderful cousin, Marinella, graciously shared her meatball recipe with me the last time I was in San Marino — two years ago! While sitting around Zia Pina’s kitchen table one evening, I recorded a number of recipes in a small notebook and stored it safely away — never to be seen again. Well, I did find a meatball ingredient list on a piece of paper in my luggage but nothing more. Why did I write this list and how did it, alone, get into a pocket of my luggage are 2 questions that will probably never be answered.
“Wait a minute. ‘Luggage”? What was he doing with his luggage?” you might be asking.
Well, I’ll be heading back to Italy in but a few days and San Marino will be among the places we’ll visit. There’s no way I’d go to Italy without paying my Zia and cousins a visit. This time my niece, “G”, will be joining me for her first trip abroad, as will her brother, “M”, who accompanied me 2 years ago. We’ve planned our stops so that they can spend their days touring while I relax on a terrace and watch the watery horizon, if I so choose. A good time is sure to be had by all.
So, with our trip pending, I contacted Marinella and she guided me through this recipe. Perhaps its posting will soften the blow of my being so incredibly absent-minded. I can only hope …
* * *

* * *
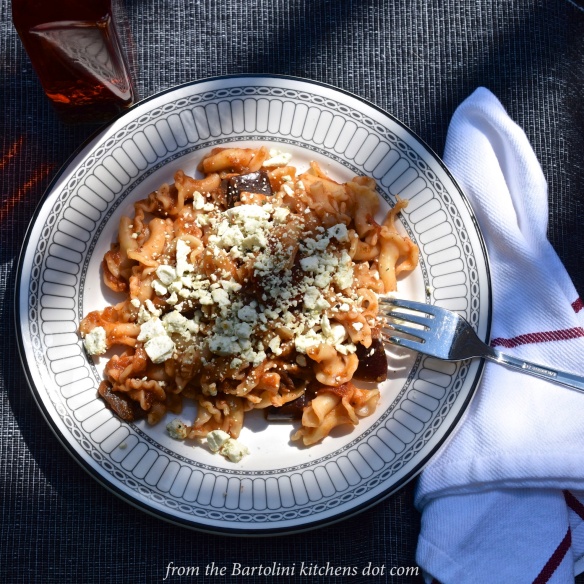
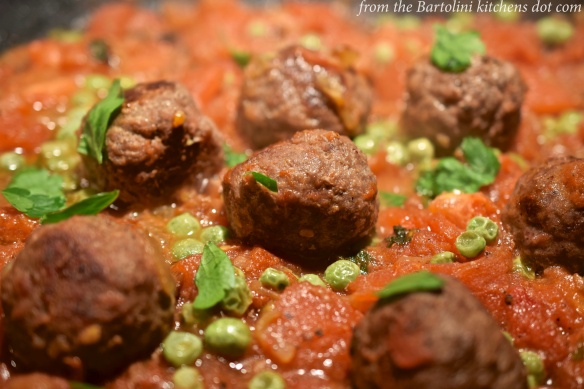
You may have looked upon the opening photo and wondered, “Where’s the spaghetti?” The fact is that the quintessential dish, spaghetti with meatballs, is not Italian in origin. The dish was actually created here in the States by Italian immigrants some time around 1900. Needless to say, the dish “caught on” and has become a staple of Italian restaurants — on this side of the Atlantic. Oh, sure, you may see “polpette” (Italian for meatballs) on menus in Italy but they will not be served with spaghetti. In fact, if you do see “spaghetti e polpette” on a menu, you’re probably in a place that is trying to attract American tourists.
Another difference you may notice is their size. In Italy, polpette are about golf ball-sized. Here, meatballs can be over twice that size or, when served as appetizers, quite small No matter what size you choose to prepare, an ice cream scoop makes the process much easier.
That being said, let’s get to the recipe …
* * *
* * *
Finding that ingredient list resulted in the first of many contacts with my cousin, all of which were necessary. You see, left to my own devices, I ended up with a number of tasty meat sauces with nary a meatball between them. In each case, the meatballs disintegrated in the sauce. Once I learned the correct amounts for the ingredients, our discussions turned to her method of preparation. Below, I’ve detailed her methods, as well as my recipes for meatball appetizers and meatballs simmered in marinara sauce.
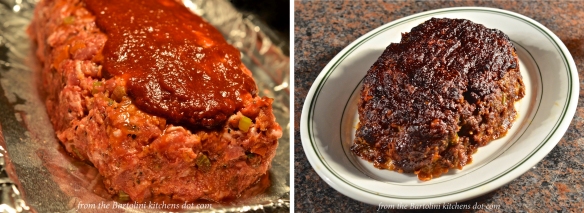
The meatball recipe is actually quite simple. Grind/mince equal parts beef, veal, and mortadella (an Italian bologna-like product). Add a few tablespoons of chopped parsley, and season with salt & pepper to taste. Now add the ricotta. When I made today’s meatballs, I used 450 g (16 oz) of each meat. I used 150 g (5 oz) of freshly made and drained ricotta. (See Notes) To the mixture, add a splash of red wine and a slightly beaten egg. (See Notes.) Be careful when combining ingredients. Do not overwork the meat or the meatballs will be too dense. Pan fry a little of the meat mixture and taste for seasoning. Cover and refrigerate for a short while to allow the meat to set-up before proceeding. See Notes for tips on storage.
Once rested, form the balls in whatever size you prefer. To prepare, Marinella will sauté onion in a little olive oil until translucent. Add the meatballs and continue to sauté, moving the balls across the pan to ensure even browning. After 5 to 10 minutes, depending upon the balls’ size, add some chopped parsley and several plum tomatoes that have been peeled, seeded, and chopped. (See Notes) Continue to simmer for about 20 to 25 minutes. If you like, add a handful of peas — fresh or frozen — and continue cooking until peas are cooked to your preference. Serve. (See Notes)
* * *
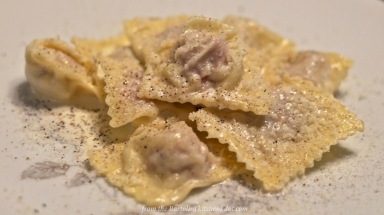
 Mini-meatballs, “polpettini“, in red wine reduction, garnished with crumbled fried sage leaves.
* * *
These meatballs are not heavily spiced, relying upon mortadella to deliver fantastic flavors. As such, care should be taken lest their flavor be lost in the preparation. This is especially true if serving them as appetizers with a wine reduction. After some experimentation, I found it best to bake the meatballs separately — (350˚ F, 175˚ C, for 20 minutes) — before adding them to the sauce just prior to serving. That will ensure that you taste both the meatballs and the sauce, with neither hogging the spotlight.
The wine reduction is easy, too. Sauté some shallots in a little olive oil until transparent. Add equal amounts of beef stock and red wine. (I used 1/2 cup of each, the wine being Pinot Noir.) Continue to simmer until the sauce is reduced by half. Pour the sauce through a fine mesh strainer and return to the pan. Whisk while adding a teaspoon of butter. Add the sauce to the bottom of a serving plate. Place the meatballs on to the sauce in the dish and serve. (Optional: garnish with crumbled fried sage.)
* * *

A delight on both sides of the Atlantic
* * *
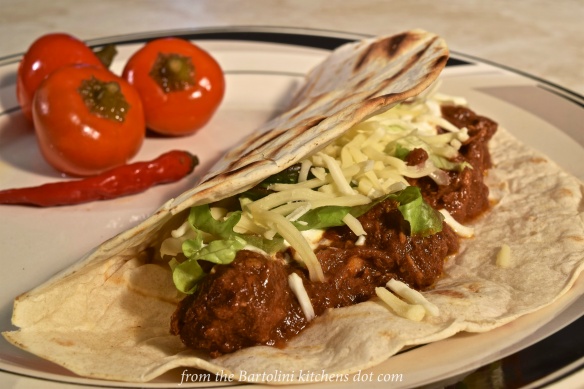
Whether you call it a meatball sammich or uno panino con le polpette, something magical happens when meatballs meet marinara sauce and bread. If you ask me this sammich is the main reason for making meatballs but, as you know, I’ve a soft spot for sammiches.
First, start by creating a marinara sauce, Here I make a sauce that’s even less complicated than the one I shared HERE. Chop an onion and sauté in olive oil, over medium heat, until soft. Add sliced mushrooms, if using. Once the mushrooms have softened, add 2 cloves of minced or grated garlic. When you can smell the garlic (about 90 seconds), add 2 tbsp tomato paste. Cook for about 3 minute before adding about 4 ounces of red wine or 3 ounces of balsamic vinegar. Your choice. Continue to simmer until most of the liquid — and all the alcohol — has evaporated. Add 2 large (28 oz) cans of diced tomatoes. Season with salt, pepper, and marjoram, to taste. Stir thoroughly. Bring to a boil before lowering to a soft simmer.
After 30 minutes, give the sauce a good stir before carefully adding the meatballs. Do not stir the pot again for at least 20 minutes more. Stirring before the meatballs have a chance to set-up a bit may cause them to break apart. Continue simmering the sauce, carefully stirring occasionally, for another 45 minutes. Taste and season with salt and pepper, as required.
Now, turn your attention to the bread. I prefer a roll with a not-too-hard crust but the choice is all yours. Slice each roll lengthwise and remove some of the bread from both top and bottom. This will help keep the meatballs from falling and rolling “off of the table and on to the floor …” Spoon a bit of sauce into the trough you’ve just created and, with a slotted spoon, add as many meatballs to the bun as will comfortably fit. Place a slice or two of cheese — provolone, mozzarella, asiago, etc., — atop the meatballs before adding a garnish of fresh basil leaves. Buon appetito!
* * *

* * *
You really didn’t think I could look upon a pot of sauce with meatballs in my fridge and not whip up a dish of spaghetti with meatballs, did you? In fact, I found the sight so moving that I pulled out the pasta machine and made the spaghetti, too.
* * *
Notes
I prepare my own ricotta for use in this recipe. You can see how easy it is to prepare HERE.
Use caution when using smaller amounts of meat for the meatballs. I learned, the hard way, that too much liquid will cause the meatballs to crumble during cooking. A delicious tomato sauce resulted but that’s not quite what I had in mind.
You can use white or red wine for your wine reduction sauce. You can also add whatever herbs you prefer. If added early on you’ll derive more flavor from them, especially given that the sauce is being reduced. It’s for that reason, I prefer to add them at the end, to be briefly simmered before the sauce is strained.
The meatballs can be refrigerated, covered, for a short period, although it’s never safe to keep ground/minced meat in the fridge for long. Frozen, they will keep for weeks. Whether I cook them before freezing depends upon how I intend to use them. If making appetizers, I’ll bake the meatballs before freezing. If using them in tomato sauce, I’ll freeze the meatballs raw, to be thawed before being placed into the sauce. Both the sauce and meatballs will benefit being simmered together.
How you serve the meatballs will determine how much tomato will be needed. Less will be needed for sandwiches, for example, than is required for to create a marinara sauce.
* * *
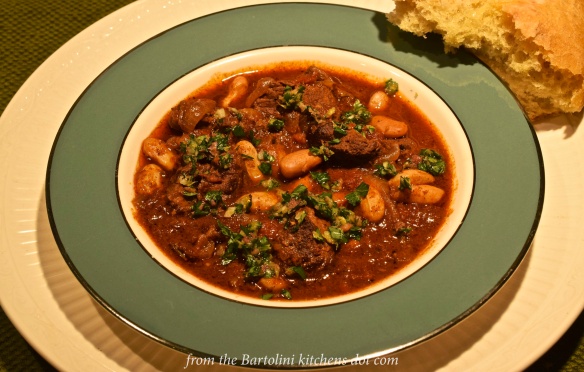
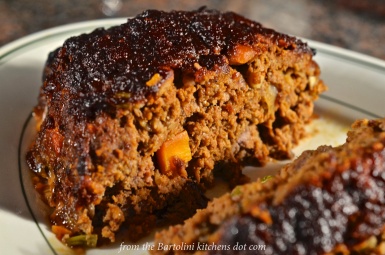
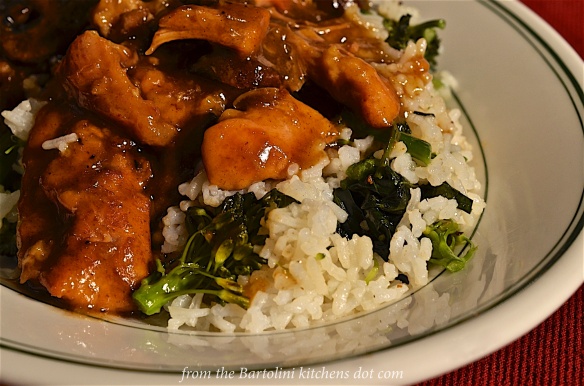
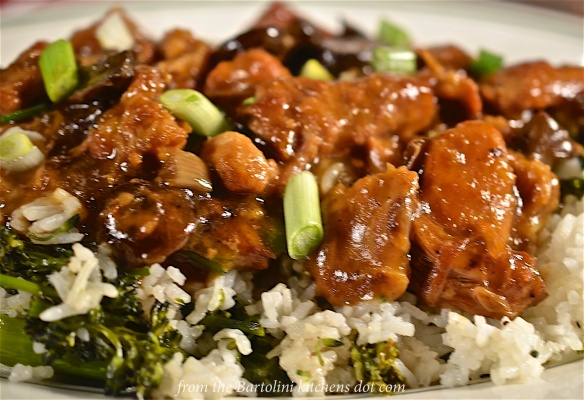
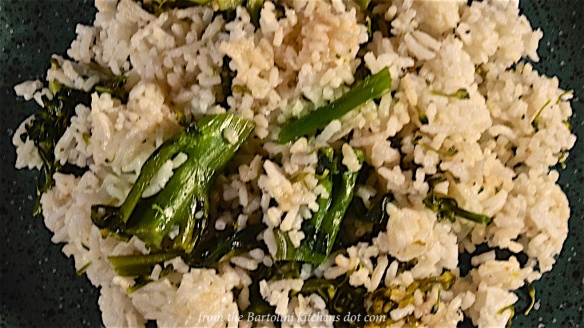
It’s déjà vu all over again …
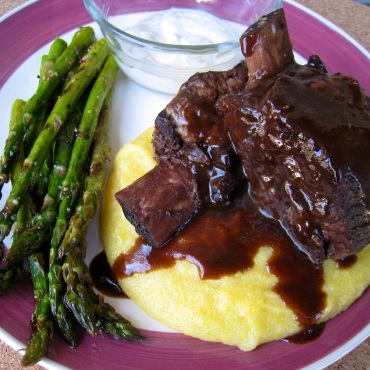
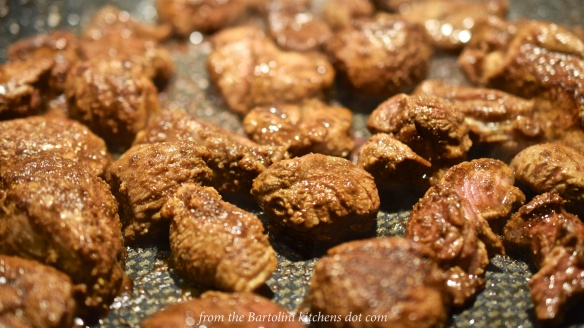
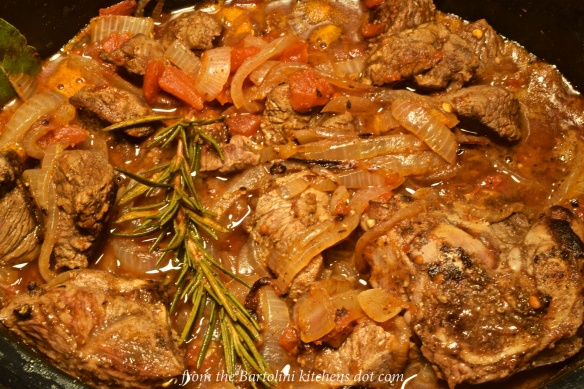
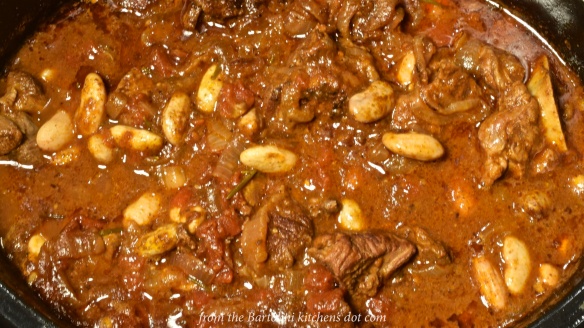
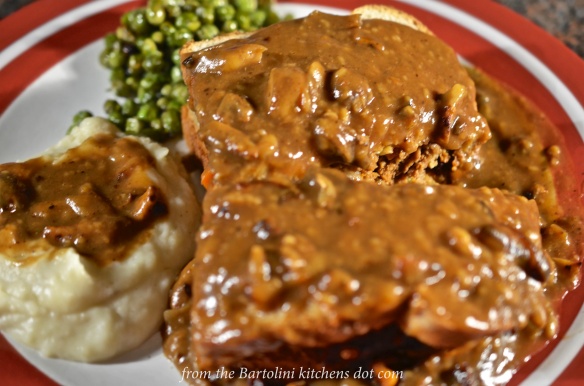
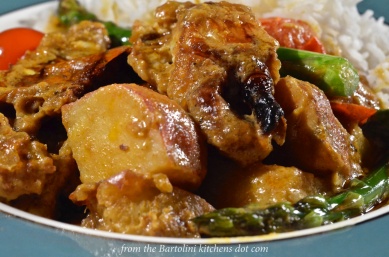
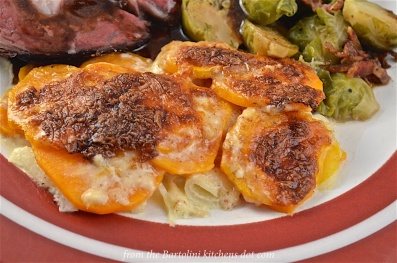
As of this rewrite, we are coming out of what is hopefully winter’s last stand. So, before saying farewell to comfort food for the season, let’s take a look at the short rib recipe I posted way back in March, 2012. The recipe was very well-received and it remains a personal favorite. I’m currently looking into modifying the recipe to utilize a pressure cooker. If all goes well, I’ll either write a new post or update the old. In the meantime, you can check out the original recipe HERE.
* * *
Coming soon to a monitor near you …

* * *
Arrivederci! A presto …
* * *