Such Promise
* * *
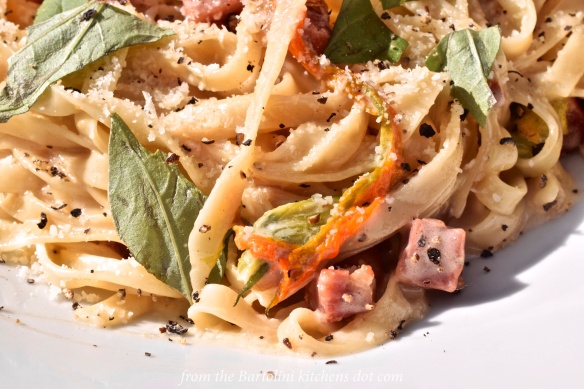
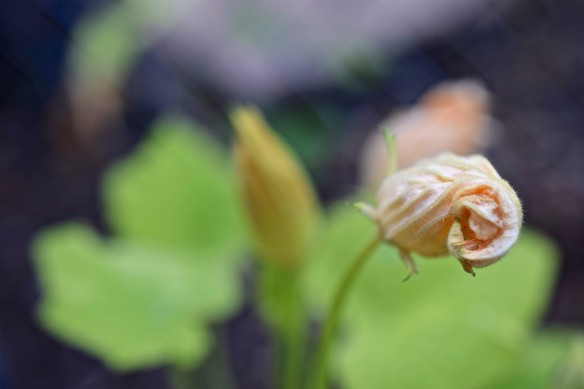
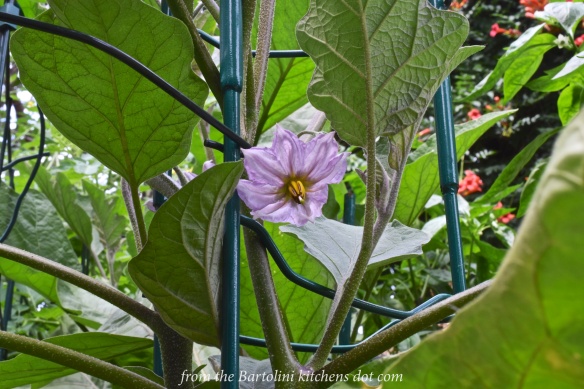
It all started innocently enough, with a blossom identical to the one pictured above. I had learned my lesson well, or so I thought. See, last year’s 2 eggplants were just about smothered by my tomato plants. The tomatoes quite literally took over my then-new raised garden bed as if the soil had been smuggled out of Chernobyl. I picked only 1 eggplant and it was a Japanese variety, not at all what I had expected. This type of thing has happened enough times to convince me that there are people who delight in swapping name tags between differing varieties of the same vegetable. This spring’s cuckoo was a jalapeño masquerading as a cayenne pepper.
* * *
Growing Up Eggplant
* * *
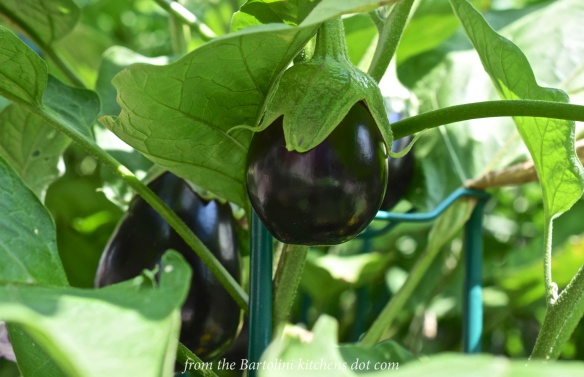
This year, I planted 3 eggplants with the conviction that I would keep my eye — and pruning shears — on the neighboring tomato plants. I won’t bore you with the details but I was partly successful, with two plants growing nicely. The 3rd, well, is now engulfed. All facts considered, I really cannot complain. The 2 remaining plants have managed to produce more of the bulb-shaped vegetables than I thought botanically possible. (I really must get that soil tested.) As a result, I’ve pulled out every eggplant recipe at my disposal in trying to stay ahead of these 2 overly productive plants.
* * *

The 1st Eggplant Harvest
* * *
Here are the dishes that I’ve prepared thus far. I’ve supplied the recipe for the first dish and links for the rest, the exceptions being the eggplant lasagna and a pickled eggplant. Both of those recipes are in the works.
* * *
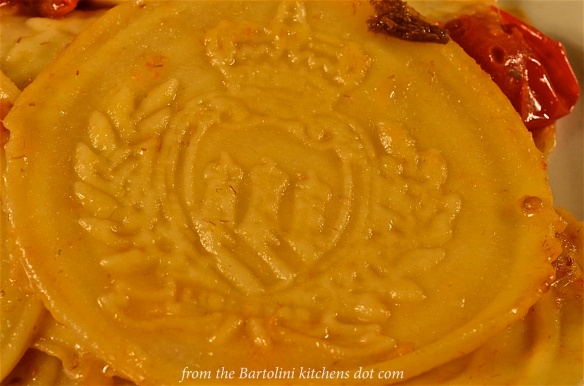
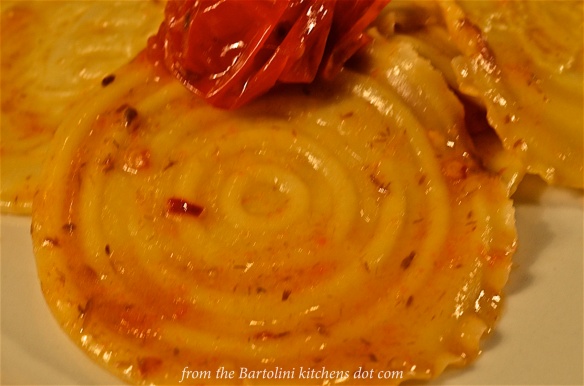
Grilled Eggplant & Tomato
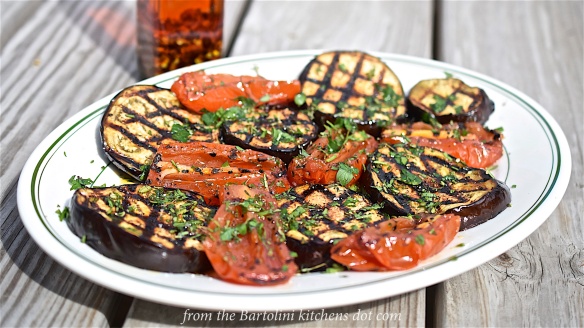
Pre-heat the barbecue or grill pan. Slice the eggplant into approximately 3/4 inch (2 cm) rings. Cut the plum tomatoes in half, removing the seeds if you like. Use a pastry brush to sparingly coat the eggplant with olive oil. Lightly drizzle the tomato halves with olive oil and then season everything with salt and pepper. Giving the eggplant slices a head start, grill both vegetables until cooked to your satisfaction. Remove to a platter. Garnish the vegetables with a mixture of chopped fresh rosemary, thyme, basil, and parsley. Season with salt & pepper before adding a drizzle of extra virgin olive oil or Olio Santo (See Coming soon … ).
This vegetarian dish may be served hot, warm, or at room temperature, and will make a great light lunch or tasty side for any meal.
* * *
Pasta alla Norma
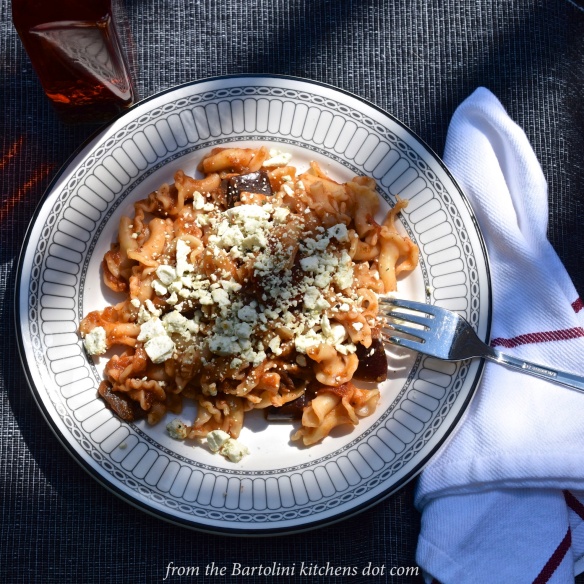
A favorite of Sicily, this eggplant & tomato sauce was created in honor of the Bellini opera of the same name. You needn’t travel to Sicily nor the nearest opera house to enjoy this dish, however. Just take this LINK to see the recipe that I posted.
The recipe calls for a garnish of ricotta salata. If you cannot find this cheese, crumbled feta is a great substitute and more readily available.
* * *
Caponata
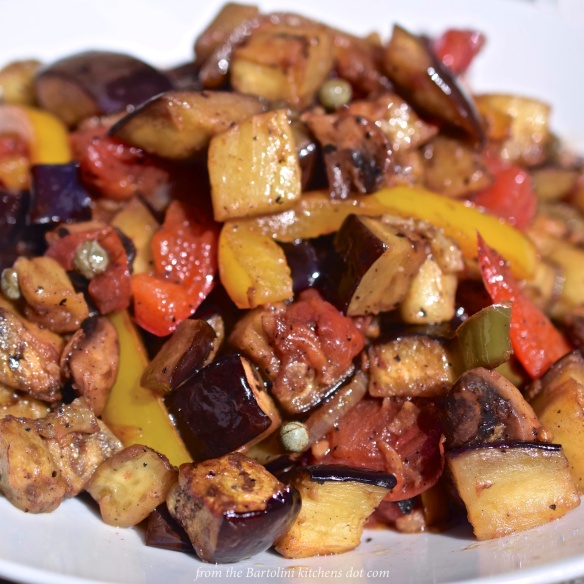
Also originating in Sicily, caponata is another dish that celebrates the eggplant. Today, it is found throughout Italy with ingredients that often vary from region to region. I’ve shared Mom’s recipe, which you can find HERE.
Don’t forget to make more than needed. Add a few beaten eggs to the leftovers to make a tasty frittata the next day.
* * *
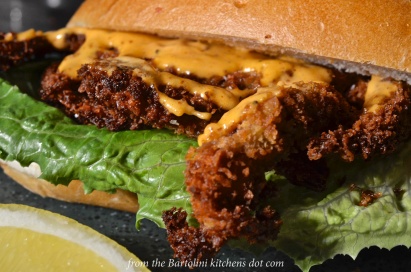
Stuffed Eggplant
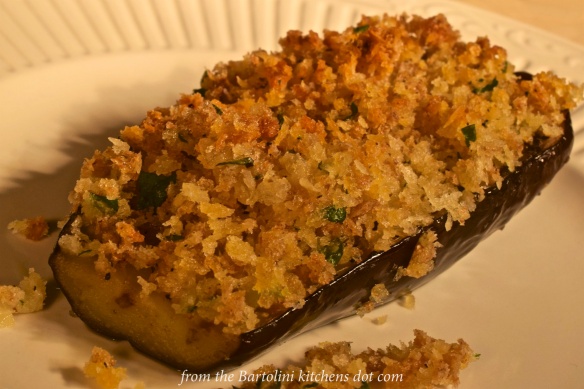
Grandma served this dish to her girls, Mom & Zia, when they were young. You can well-imagine my surprise when my Zia in San Marino also served stuffed eggplant during my recent visit. The recipe for this tasty contorno — and popular in both sides of my family — can be found HERE.
Any of the stuffed vegetables in the linked recipe can be used to make a great tasting sandwich for your lunch the following day.
* * *
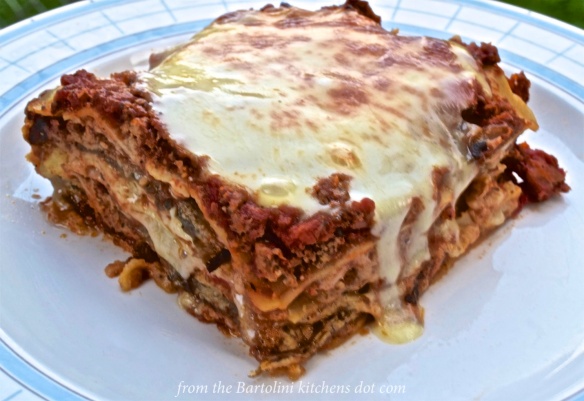
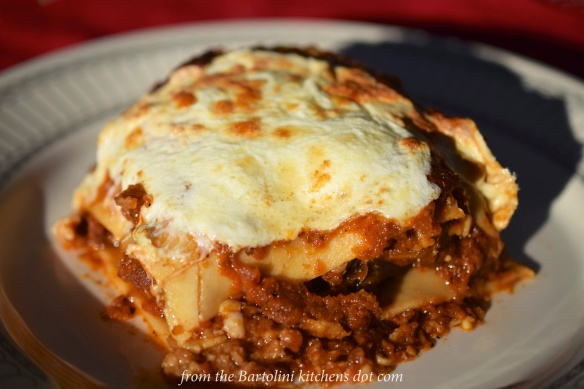
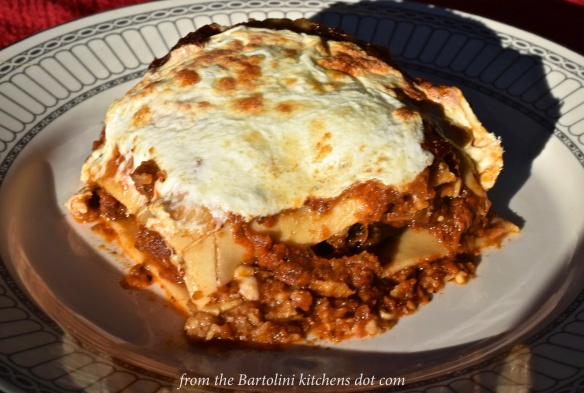
Eggplant Lasagna
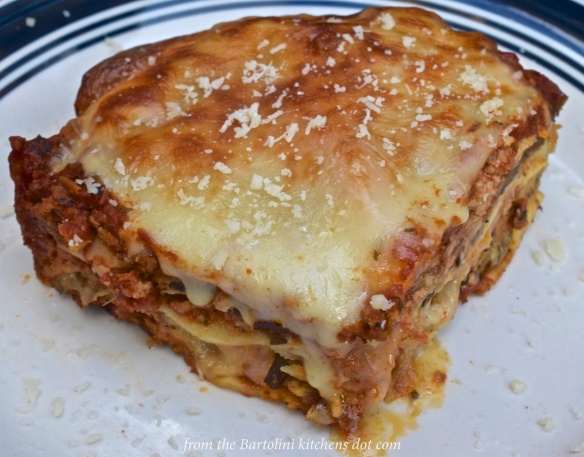
A layered dish, eggplant lasagna features pasta sheets, baked eggplant slices, and a tomato sauce, with or without meat. Oh! I almost forgot the cheeses. Asiago, mozzarella, and Pecorino Romano combine to make this one flavorful main course.
True confession time: I had thought that I’d already published this recipe and was surprised to learn that I had yet to share it. Not to worry. That oversight will be corrected in the weeks to come.
* * *
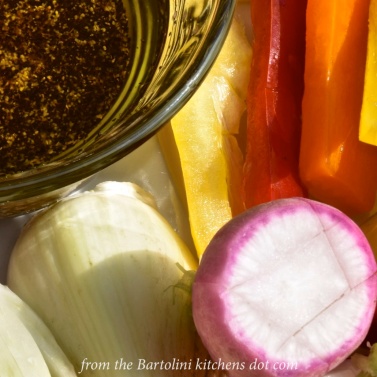
Jamie Oliver’s Pickled & Marinated Eggplant
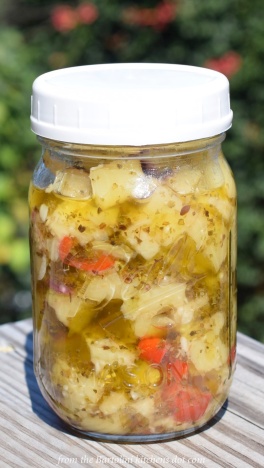
Jamie has done it again. In his recipe, eggplant is chopped, bathed in a pickling liquid, and then marinated in herbed olive oil. Best of all, this same technique may be used with mushrooms, onions, small peppers, zucchini, and fennel, with each vegetable having its own suggested herb to include. You can check them all out by taking this LINK.
I did make one substitution to his recipe. In place of oregano, I used marjoram. For those unfamiliar, marjoram is related to oregano but is a bit more mild and is favored in Le Marche, the ancestral home of the Bartolini.
* * *
Indian-Style Pickled Eggplant
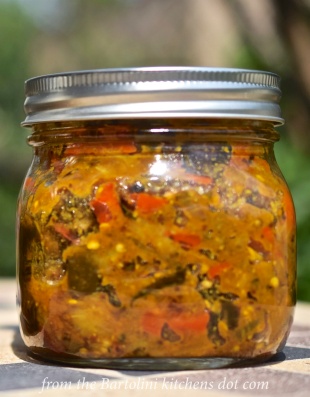
Looking for something with a bit more heat? Well, with my cayenne pepper plants competing with my eggplants for top honors, I went web surfing for recipes. With many to choose from, the final recipe is an amalgam, using ingredients that I had on-hand or that could be easily sourced. The result was a spicy dish that I really enjoy. Best of all, it’s reduced my eggplant AND cayenne pepper inventories. A bit too involved to be shared here — this post is long enough already — I’ll publish the final recipe in the weeks ahead.
This eggplant dish supplies the heat that Jamie’s pickle was missing.
* * *
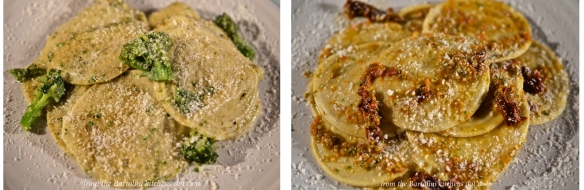
Baba Ganouj
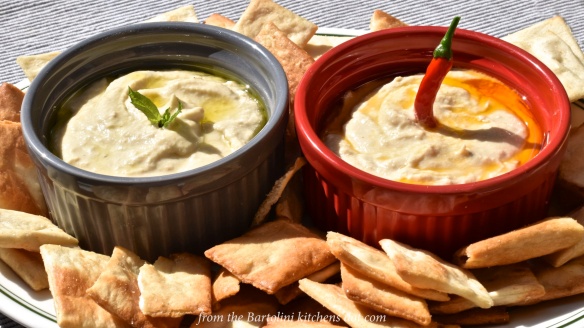
Can you detect which has been garnished with a drizzle of Olio Santo?
Although I’ve enjoyed baba ganouj far too many times to count, I’ve never actually prepared it, relying instead on one that I purchase from my favorite Middle Eastern grocery. Well, with a glut of eggplant filling my vegetable crisper, baba ganouj seemed like yet another great use of the melanzane and I sought help from the blog of our resident Middle Eastern food expert Sawsan, The Chef in Disguise. Her blog is brimming with delicious recipes and you can view her baba ganouj recipe HERE.
* * *
And there you have it. This is my way of handling 2 incredibly productive eggplants. If you think I’ve eaten plenty of eggplant lately, well, you’d be correct — and you haven’t even seen the inside of my freezers. I’ll be enjoying(?) eggplant dishes for months to come.
If I’ve missed an eggplant dish that you’re particularly fond of, or, you prepare a tasty variation of one of the recipes that I’ve just highlighted, don’t be shy. Please share the recipe or link in the Comments section below. These plants just won’t quit!
* * *

The Honey Haul

Max and his Whisperer

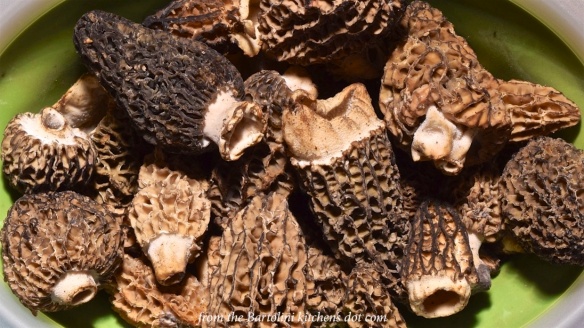
The Puffball Harvest
* * *
You may have noticed …
… My recent absence from the blogging world. This is Honey Time in Michigan’s Thumb and my Cousin and his Wife graciously offered to open Zia’s home so that I could get honey for my friends and neighbors. That’s the official explanation. In reality, my Cousin – aka “The Max Whisperer” – hadn’t seen Max in about a year and missed their “nature hikes”. In the photo above, the 2 BFFs are returning from their last hike of the visit. Also above is a photo of 2 of the 3 cases of the honey that I brought back. All told, our little group of honeycombers purchased about 6 cases of honey that day.
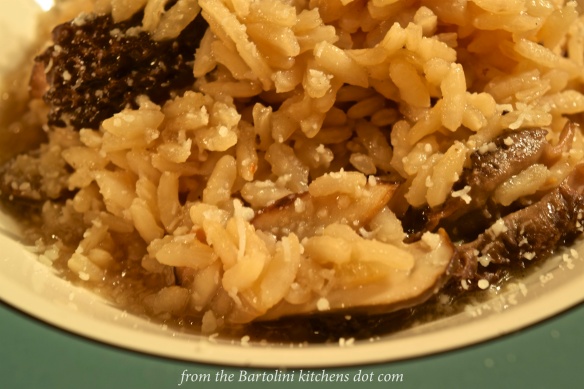
As luck would have it, my Cousin found a baseball-sized puffball growing in the yard. When picked 3 days later, it had grown to the size of a cantaloupe. As of this writing, I’ve yet to prepare it — but I will!
* * *
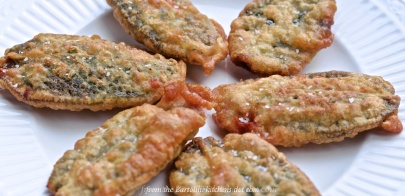
It’s déjà vu all over again …

Eggplant parmesan is the one dish in my repertoire that I’ve yet to prepare using the current harvest. Having made 2 trays of eggplant lasagna – one of which is still in my freezer – I took a pass on eggplant parmesan. Who knows? If we don’t have a killing frost soon, I just may turn to eggplant parmesan to help me deal with this surplus. Worse things could happen. You can see the recipe that I’ll be following simply by clicking HERE.
* * *
Coming soon to a monitor near you …
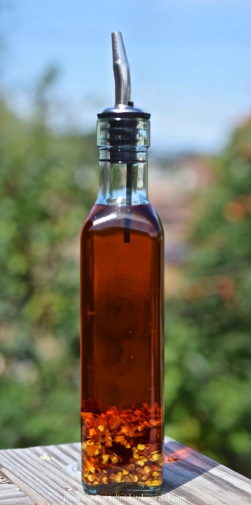
Olio Santo
* * *