As you can see, there’s been a change in programing. I had planned to share my cousin’s meatball recipe but the return of winter sent me back to Comfort Food Land. While I was preparing today’s dish for my dinner, I realized that I could just as easily share its recipe. So, I pulled out the camera, snapped a few photos, and wrote the post. (Then I spent the next 4 days editing but never mind that.) Perhaps some of you may find the recipe useful in the weeks ahead, while others in the winter yet to come.
If you follow me on Instagram, you may have noticed that judging by the photo trail, I’ve grown quite fond of pho, ramen, and hot-pots. Throughout much of fall and all of this past winter, when out-and-about on a chilly/frigid day, I was likely to stop for lunch at any one of a number of nearby restaurants specializing in these delicious bowls of comfort. It wasn’t long before I began to wonder whether I could prepare any of them here at home. Discovering an Asian super-mart only fueled my curiosity. One afternoon, while searching Vietnamese cookbook summaries, I came upon “The Pho Cookbook: Easy to Adventurous Recipes for Vietnam’s Favorite Soup and Noodles.” Written by Andrea Nguyen, it has become my go-to reference book whenever I need information about my newfound loves.
* * *

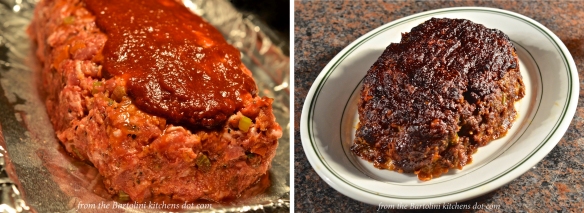
Cooked noodles first
* * *
Ms. Nguyen offers a wealth of information to go along with her great recipes. Believe me. This neophyte Asian cook can use all the help that I can get. Virtually every aspect of the cooking process and ingredient list is explained. Not only will you learn the secrets to pho preparation but she also shares methods for preparing a number of the sauces common to Asian cooking. Not to worry. She also gives suggestions for the commercially produced versions. If you’ve ever stood before an Asian market’s soy or fish sauce-filled shelves, you’ll realize the value of these suggestions.
Aside from the wealth of information presented, Ms. Nguyen offers more than 1 method for preparing some dishes, If you’ve time, follow the standard method. In a rush? Pull out the pressure cooker. Still too long? She offers quick recipes for beef, chicken, and vegetarian pho that you can easily prepare in well under an hour. Today’s recipe is one of these. In future posts, I’ll share her recipes for chicken and beef broths. We’re talking “quick” here, however, and those broths will have to wait their turn.
* * *

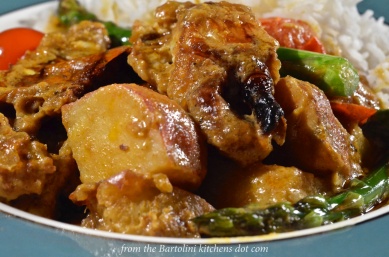
Add the beef
* * *
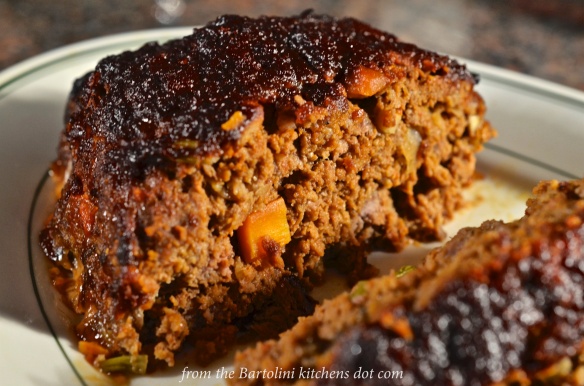
No matter the country of origin, the heart of any bowl of soup is its broth and pho is certainly no exception. In fact, when I first saw that this recipe was labelled “quick”, I was skeptical — and I was proved wrong. This pho is both aromatic and deeply flavored. Easy to prepare, the recipe can be doubled or tripled with little problem. (See Notes)
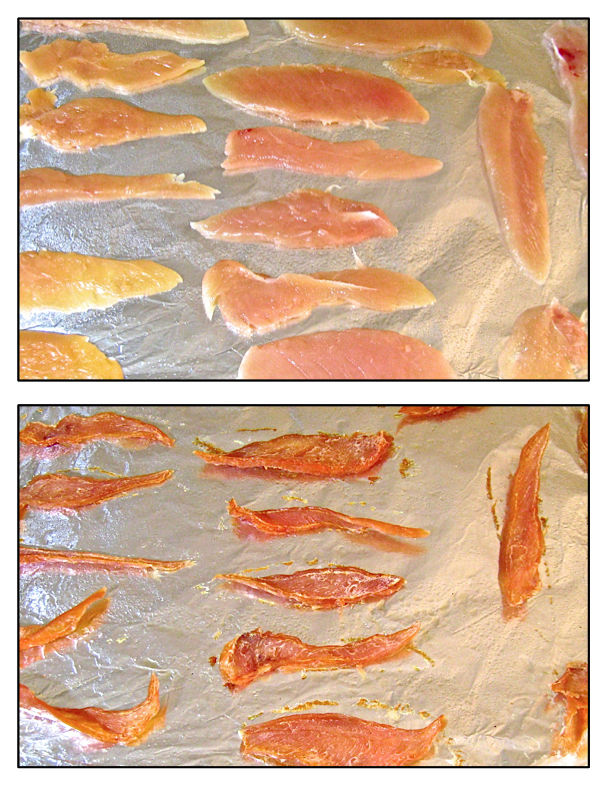
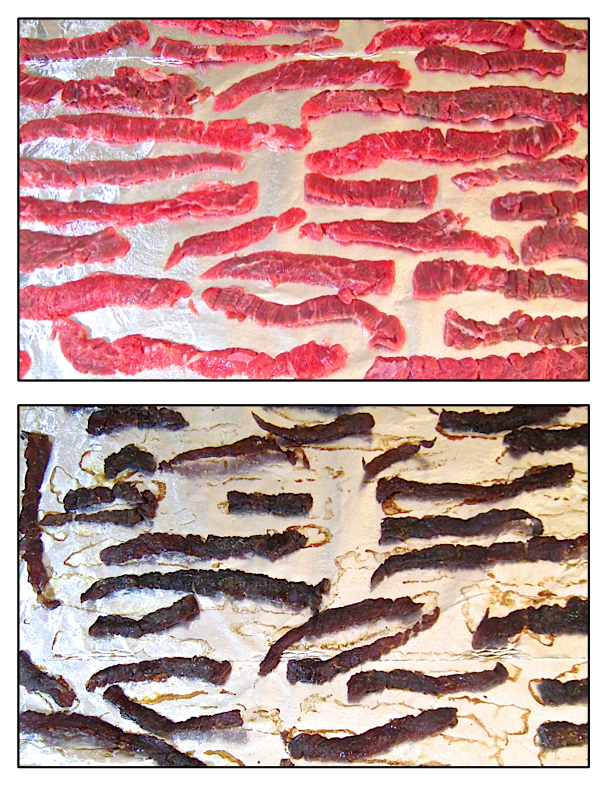
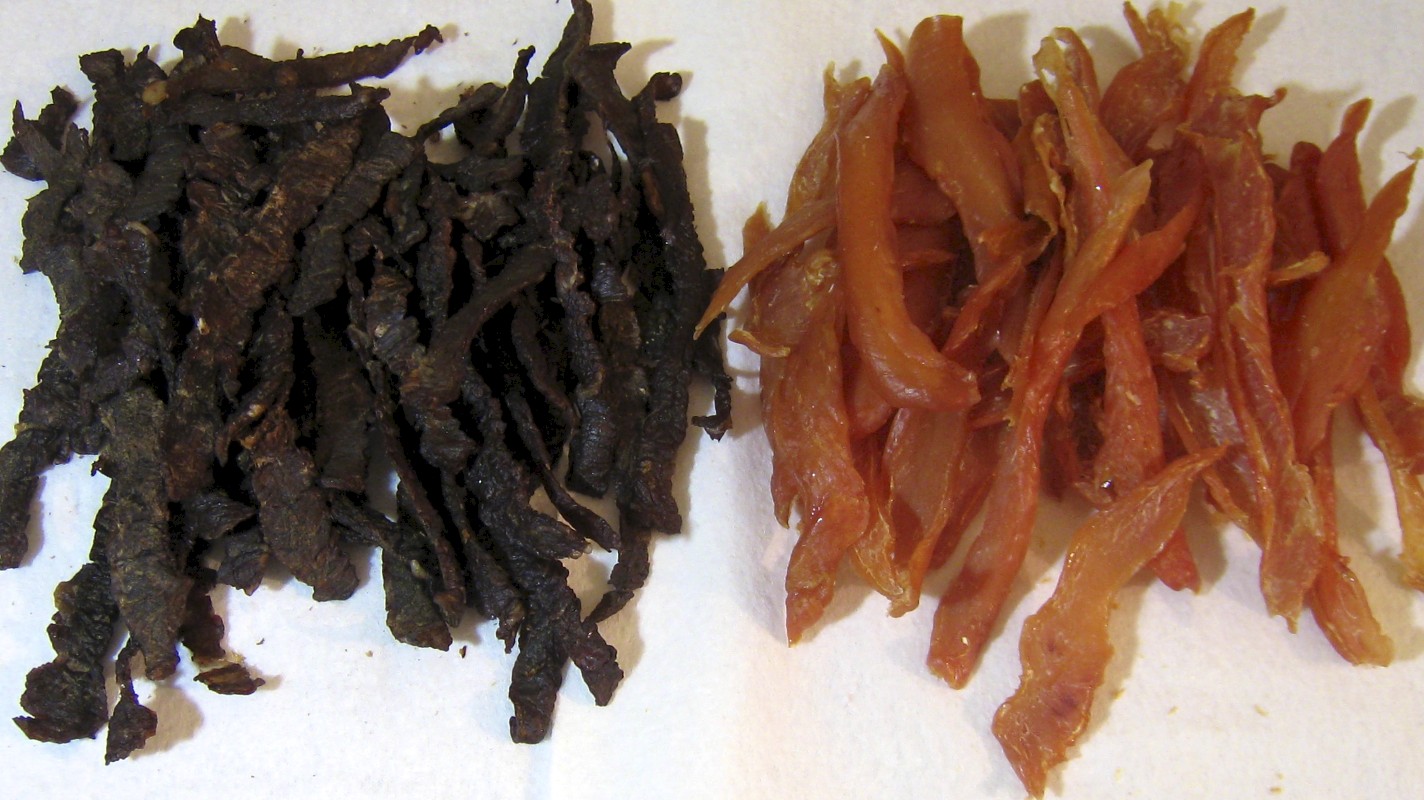
One other point to make concerns the beef. Ms. Nguyen suggests using cooked roast beef or steak, very thinly sliced. If you like, in this recipe you can substitute thinly sliced roast beef that can be purchased at any deli counter. There’s even a third option. If like me, you live near a Korean market or well-stocked Asian market, you might find thinly sliced cuts of beef and pork. For today’s recipe, I used sliced rib eye steak, although I have used sliced beef brisket, as well.
* * *

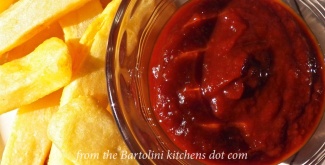
Now’s the time for garnishes
* * *
Quick Beef Pho Recipe
Ingredients
- 3/4 inch (2cm) ginger, peeled and cut into slices.
- 2 spring onions
- 1 star anise
- 1 cinnamon stick
- 2 whole cloves
- 2 cups (1/2 liter) low-sodium beef broth (see Notes)
- 2 cups 1/2 liter)) low-sodium chicken stock
- 2 cups (1/2 liter) water
- 1/2 teaspoon salt
- 5 oz ( 150 g) flat rice noodles (see Notes)
- 4 to 5 oz (115 – to 150 g) cooked roast beef or steak, or, raw beef, all sliced very thin (see Notes)
- 2 to 3 tsp fish sauce
- 1/2 tsp sugar – optional (1 tsp maple syrup may be substituted)
- 2 tsp fresh cilantro, chopped
- salt and pepper to taste
- for garnish (optional)
- Hoisin sauce, chili sauce, saté sauce (see Notes)
* * *

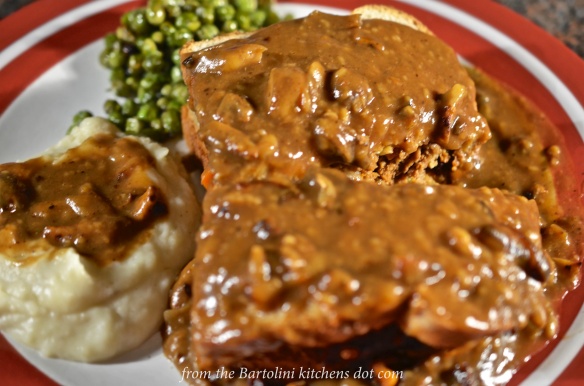
Cover with steaming broth and serve
* * *
Directions
- Bring the sliced beef to room temperature.
- Use the broad side of a knife to pound flat the sliced ginger.
- Trim off the green of the spring onions. Roughly chop the white portions and smash using the broadside of a knife. Thinly slice the green part and reserve for use as a garnish.
- In a medium-sized sauce pan, toast the star anise, cinnamon, and cloves over medium heat until fragrant — about a minute or so.
- Add the ginger and onion to the pot and stir until fragrant — about 30 seconds. Remove pot from heat.
- Briefly cool before adding the beef & chicken stocks, the water, and salt, Stir well and bring to a boil over med-high neat.
- Lower the heat and softly simmer, uncovered, for 30 minutes.
- Meanwhile, prepare the noodles. Make sure that they are ready when the broth has finished simmering. (See Notes)
- Once finished simmering, pour the broth through a fine mesh strainer over a bowl. For especially clear broth, use a piece of muslin to cover the strainer. You should have about 2 quarts (2 liters) of broth in the bowl. Discard the strained solids.
- Add the fish sauce and taste the broth. Add the sugar/maple syrup, to taste.
- Season with salt & pepper, to taste.
- Reheat the broth, place the noodle-filled strainer (see Notes) into the hot broth, and leave until heated through — no more than 1 minute.
- Split the noodles between the 2 bowls.
- Add the sliced meat to each bowl in a single layer. To ensure even cooking, avoid “stacking” the pieces. .
- Garnish with the reserved sliced onion greens, chopped cilantro, and black pepper.
- Ladle the now-steaming broth into each bowl and serve.

* * *
Notes
This is not the time to economize when buying the stocks. Be sure to choose your favorite stocks upon which to build the pho.
If doubling or tripling the stock recipe, freeze the excess for later use. Once thawed, you can prepare a bowl of beef pho in about the time it takes to prepare the noodles. This is why I always have a quart of this stock on-hand.
Follow the package directions for preparing the rice noodles but pour them into a strainer just shy of being done. When ready to assemble the dish, place the strainer into the hot broth to briefly re-heat the noodles before adding them to the bowls. (Truth in blogging: the noodles used in the dish pictured were not rice noodles. Due to my oversight — make that “lack of sight” — ramen egg noodles were bought instead of flat rice noodles.)
If you’re using thinly sliced, raw beef and you prefer your meat cooked well-done, you will probably want to pound the slices even thinner. This will ensure that the steaming broth cooks the meat to your liking. No matter whether you choose to pound the slices, trim off the fat and slice them into bite-sized piece before adding to each bowl. Not only will the beef be more appetizing but it will be far easier to use chopsticks when dining.

The garnishes listed are those indicated by Ms. Nguyen, although she encourages one to add whatever one prefers. I’ve grown accustomed to adding cilantro leaves, Thai basil, culantro, sliced jalapeño, bean sprouts, and a squeeze of fresh lime.
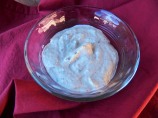
Some chefs are insulted when a patron adds sauce(s) to their pho. Placing the sauces in a small bowl allows one to dip the cooked meat(s) into the sauces, leaving the pho/ramen just as the chef intended, Here I’ve combined Hoisin and Sriracha sauces.
* * *
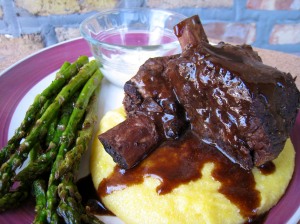
It’s déjà vu all over again …
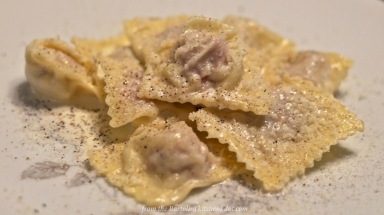
Hard to believe that it was 3 years ago when I shared an agnolotti recipe, the filling for which was prepared following the family recipe of a sous chef at a restaurant in Bologna. There’s a reason why my mind has drifted back to Italy but more about that in a later post. For now, if you want to see how these agnolotti were prepared, just click HERE.
* * *
Coming soon to a monitor near you …
 Marinella’s Meatballs (You aren’t the only ones kept waiting)
* * *