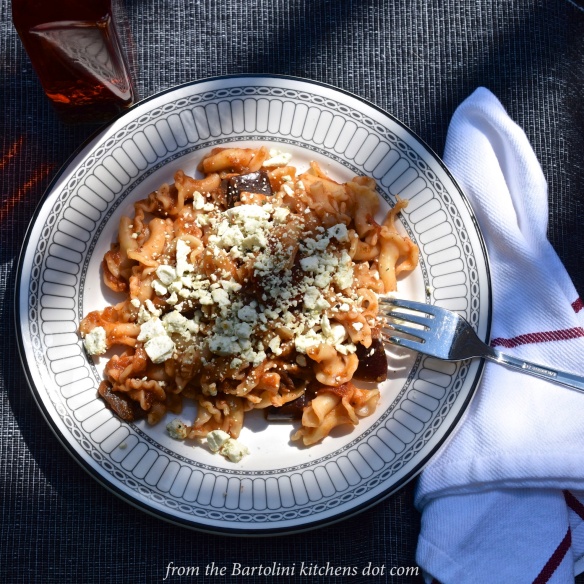
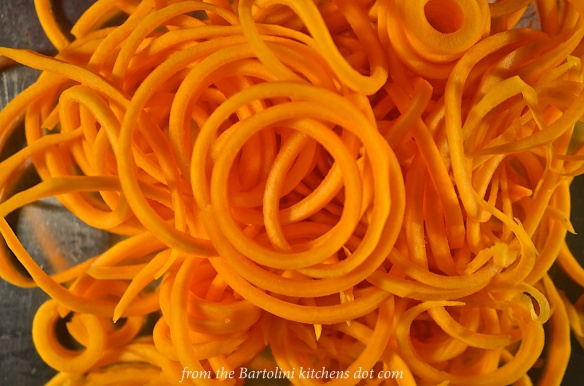
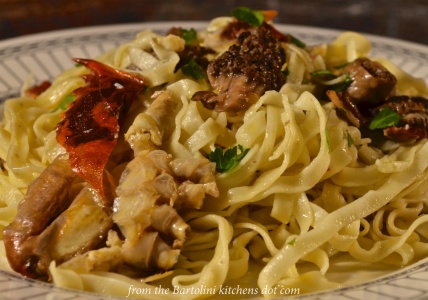
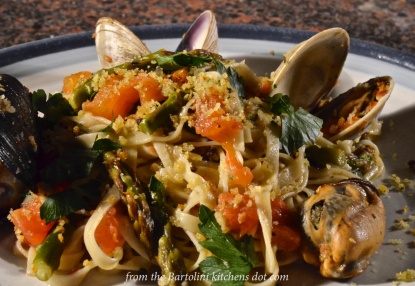
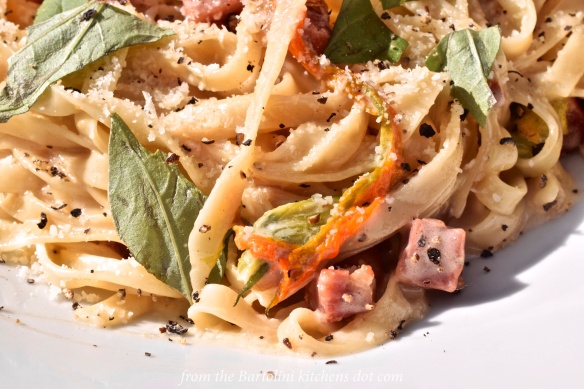
Trenette con Fiori di Zucchini e Panna
* * *
Ever notice that if someone asks whether you’ve spotted something unusual, something you’ve only seen rarely, if ever, that suddenly it becomes commonplace? Say, for example, you’re asked if you’ve ever seen a pink Cadillac. No matter your answer, over the next few days or weeks, you’ll see enough pink Cadillacs to make you wonder whether there’s a Mary Kay convention in town. (Now there’s an allusion that will send some of you to Mr. Google.)
I mention this because when in Italy in 2014, my friends and I noticed that boar was often on the menu. True enough, once it was mentioned, boar was seemingly served in virtually every restaurant we entered. Was it a question of boar suddenly being readily available, or, was it that we had finally noticed? It mattered little because I must admit that I did take full advantage of the situation, enjoying everything from lunches of boar prosciutto panini to suppers of tagliatelle dressed with a variety of sauces prepared with boar meat.
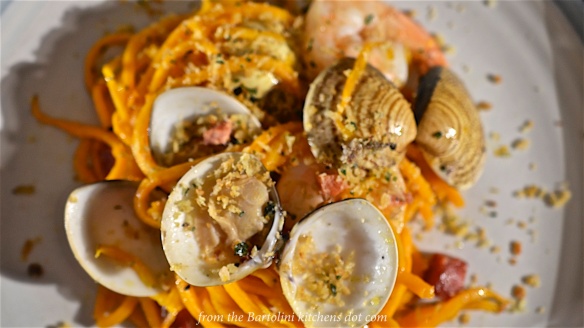
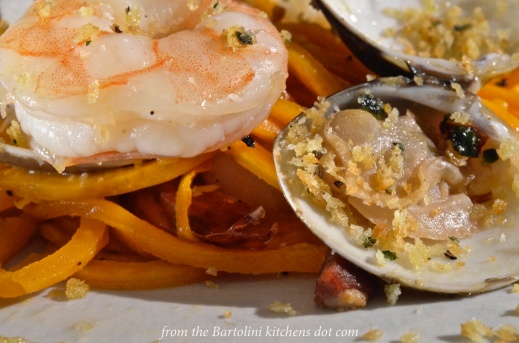
Oddly enough, I noticed a similar phenomenon during my visit to Italy this past spring. Somewhere along the way, while struggling to meet the rigors of my newly created pasta-a-day diet, I noticed that zucchini blossoms were very often included in my pasta. (There were a lot of sardines, too, but I’ll save them for another post.) Though the sauces were very often “white”, a few did include some halved cherry tomatoes. The protein could be a little pork. like today’s recipe, or seafood, as was served to us in Riccione, where my family gathered for a seafood feast. (In that dish, passatini were served with shrimp and both zucchini and its blossoms.) Needless to say, I took full advantage of the situation ordering my pasta with blossoms as frequently as possible. (It’s the little things — zucchini blossoms, calamari, clams, boar, a glass or three of wine — that made it easier for me to adhere to the strict rules of my new diet.) The question, however, remains. Was there a sudden increase of menu selections that included zucchini blossoms, or, did I just happen to notice them during this visit? I guess I’ll never know … Unless … Maybe I should go back to Italy and conduct more research. You know, for science …
* * *
* * *
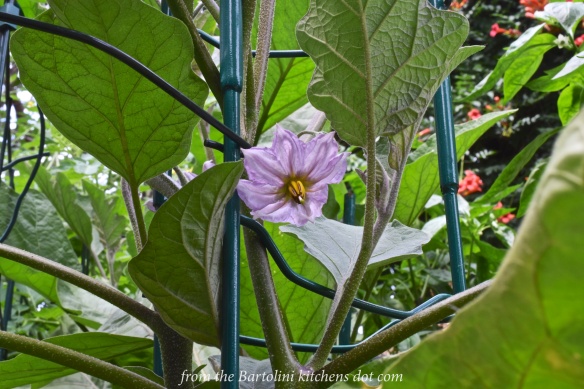
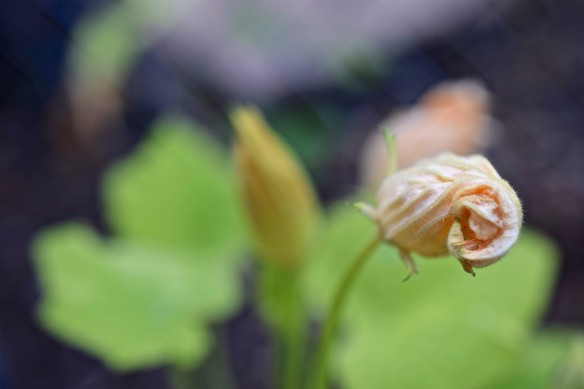
Today’s dish was certainly inspired by those that I was served while in Italy. In fact, upon coming home, I immediately planted zucchini while the memories of so many tasty dishes still lingered on my mind’s palate. Well, that was the plan. You see, for some reason, each and every blossom that appeared suddenly vanished. At first, I thought it was a cute little bunny that I saw lingering around my yard. A well-placed fence would keep it at bay, to be sure. Even with the fence installed, however, the blossoms continued to disappear. Unless that once-cute-little-bunny-now-full-grown rabbit knew how to use tools, it could not possibly have been the culprit. (If it does know how to use tools, I’ve got more to fear than a few missing zucchini blossoms.) No matter the cause, I harvested only 1 blossom this season. More to the point, the blossoms used here, as well as those used in future recipes, were all purchased at the farmers market, save that one.
ETA: Kathryn, AnotherFoodieBlogger, mentioned that I need to plant as many as 3 plants to ensure any sort of zucchini crop. I certainly haven’t the space for 3 and do not know whether I’ll try again next year with 2 plants. I really don’t care about the zucchini. All I want is a steady supply of blossoms and I’ve yet to figure out why the blossoms all vanished.
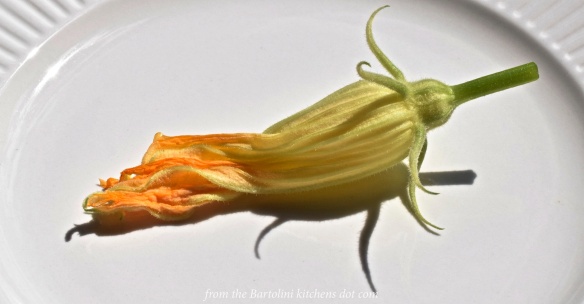
There’s only really one thing worth mentioning before getting to the good stuff. The most difficult part of this recipe is preparing the blossoms. Be sure to open each one and remove its pistil, anthers, and whatever else you may find in there. (That last bit, the part about “whatever else”, is the difficult one. You’ll know what I mean if you find an 8-legged behemoth in there staring back at you.) Once cleaned and debugged, only the flower’s petals will remain. Cut them in half, lengthwise, and you’re set to go. The rest of the recipe is quite straightforward and you shouldn’t have any trouble preparing this tasty dish.
* * *
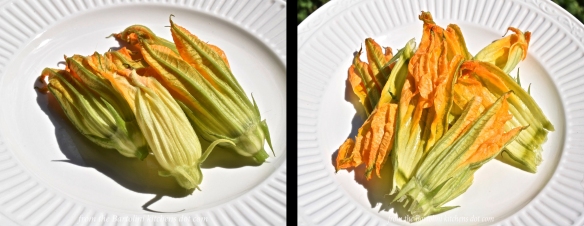
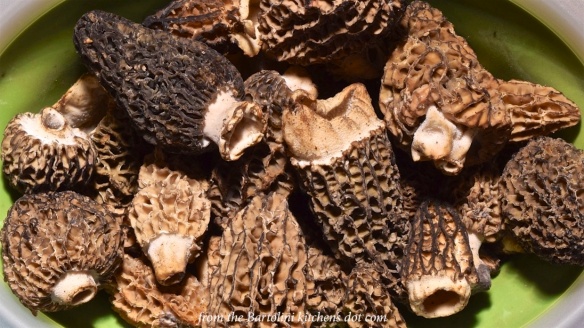
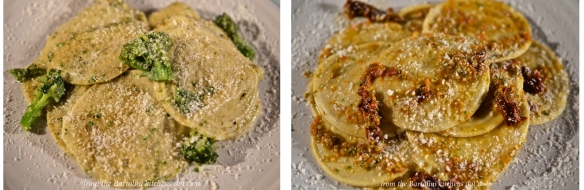
Blossoms Before & After Neutering
* * *
Trenette with Zucchini Blossoms & Cream Recipe
Ingredients
- 8 oz trenette pasta cooked about a minute shy of al dente (see Notes) – linguine, fettuccine, or tagliatelle may be substituted
- olive oil
- 2 oz pancetta – guanciale or unsmoked bacon can be substituted (see Notes)
- 1 shallot, diced
- 6 zucchini blossoms, cleaned and halved lengthwise – more or less to taste and availability (sigh)
- 3 to 4 ounces of heavy cream, depending upon the amount of pasta being prepared
- grated Pecorino Romano cheese — Parmigiano Reggiano may be substituted
- reserved pasta water
- salt and pepper, to taste
- torn fresh basil leaves for garnish
* * *
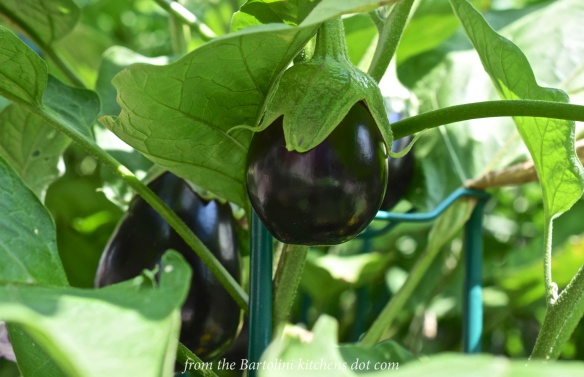
This year’s zucchini harvest. (It was delicious!)
* * *
Directions
- In a large frypan, heat a little olive oil over medium heat. When hot, add the pancetta and sauté.
- Once the fat has rendered and before the pancetta hardens, add the shallots and sauté until soft. If the pan is dry, add a bit more olive oil. (See Notes)
- Add the halved zucchini blossoms and continue to sauté for 1 to 2 minutes.
- Add the heavy cream and allow to reduce just a bit before adding the cooked pasta.
- Add 2 tablespoons of grated cheese, stir gently, and continue to cook until the pasta is al dente. If too dry, add a little pasta water to moisten the pan’s contents.
- Taste to see if salt or pepper is needed.
- Remove to a serving platter, garnished with grated cheese, torn basil leaves, and freshly cracked pepper.
- Serve immediately, dreaming of the day when you’ll no longer need to buy zucchini blossoms. (Maybe that’s just me.)
* * *

* * *
Notes
Like most simple pasta dishes, the secret lies in the timing. Try to have the pasta cooked just shy of al dente when the zucchini blossom mixture is just about fully cooked. Remember to check package directions when using store-bought pasta. If using freshly made, allow about 3 minutes for cooking.
In today’s dish, pancetta was used but guanciale, or even bacon, could easily be substituted. Whatever pork product you choose, try to avoid using one that’s smoked. Very often, the smoky flavoring will overpower every other element of the dish. You want to taste pork, not smoke.
The amount of pancetta and blossoms needed will depend upon the number of servings being prepared. For example, here, I prepared 8 oz (225 g) of pasta. You’ll need more if you’re going to prepare a pound (450 g) of pasta.
It is always better to add more oil to the pan once the pork fat has been rendered than to use too much early on and have to pour off any excess. There’s plenty of flavor in that excess that you’re removing from the pan.
Whenever you prepare a pasta dish, ALWAYS reserve a few ounces of the pasta water just before straining the pasta. It can be used to resurrect even the driest of pasta dishes and its starch content will help to thicken the thinnest of sauces. In my kitchen, it’s better than duct tape.
* * *
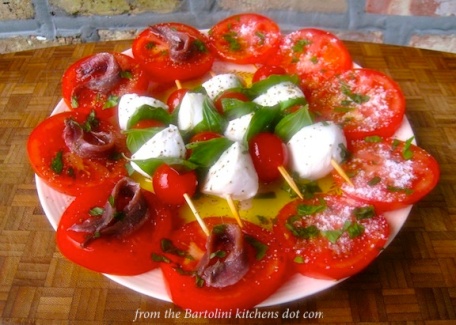
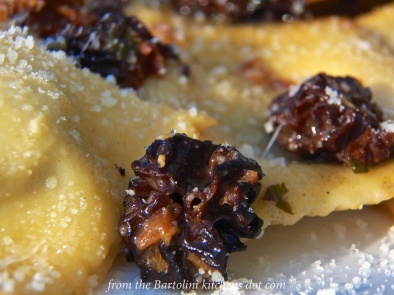
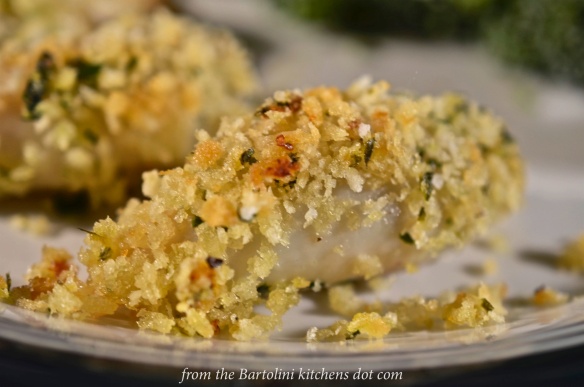
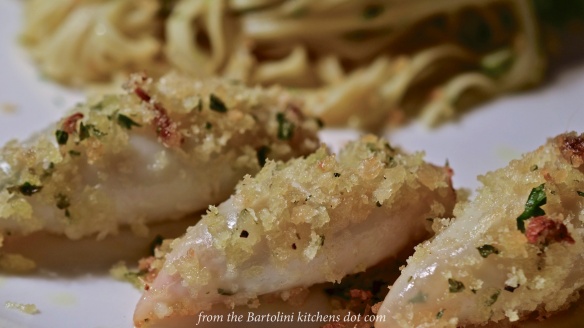
It’s déjà vu all over again …

How could I share a food souvenir of my last trip to Italy without taking a look at my favorite souvenir from my trip to Italy in 2014? That was the trip when we discovered fried sage leaves stuffed with anchovies. This little antipasto is both salty and fried. Simply put, it has everythingI You can learn how to prepare it by clicking HERE.
* * *
Coming soon to a monitor near you …
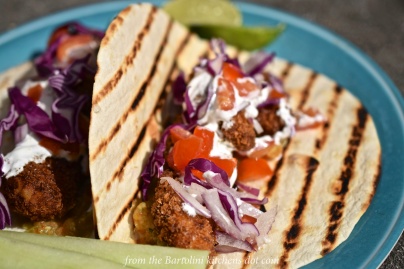
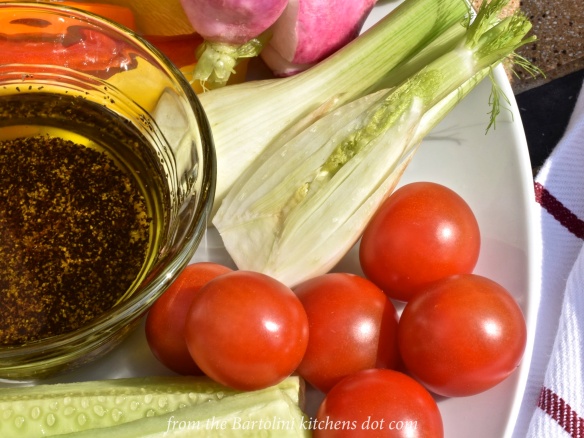
Fish Tacos with Roasted Tomatillo Salsa
* * *