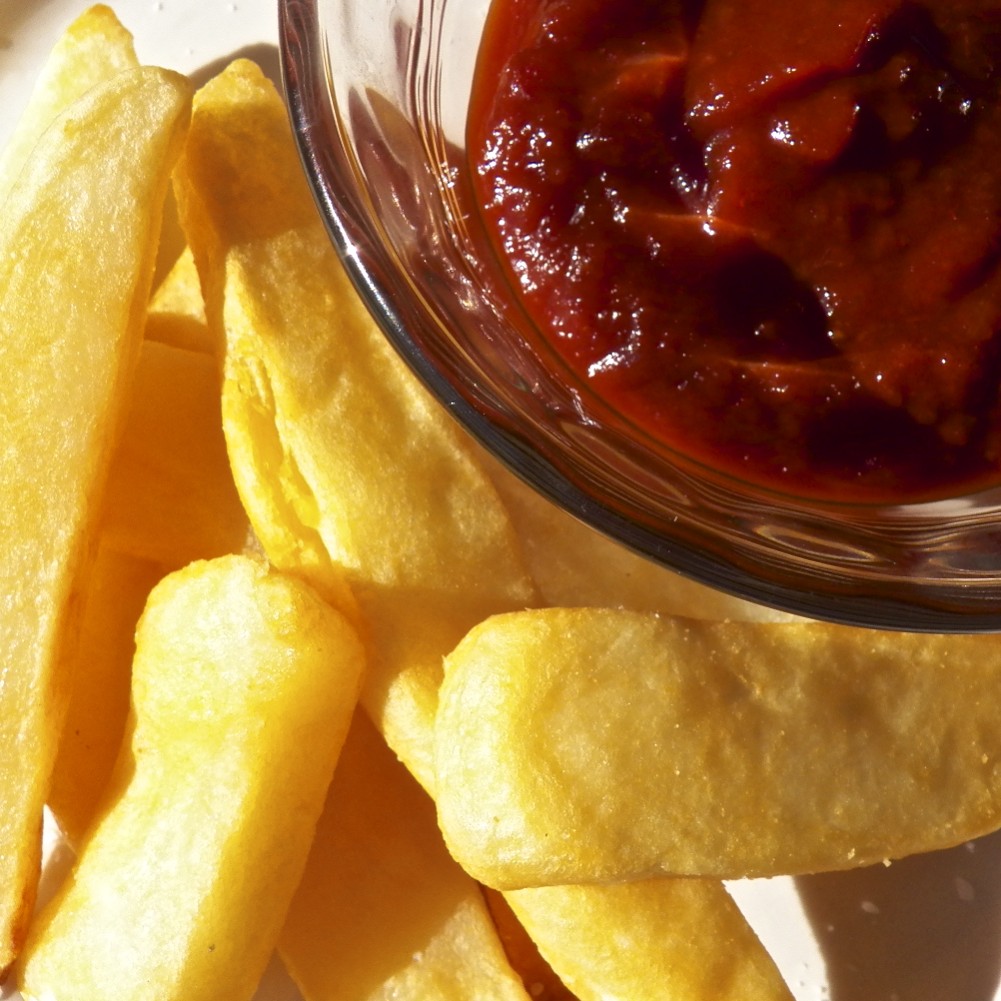
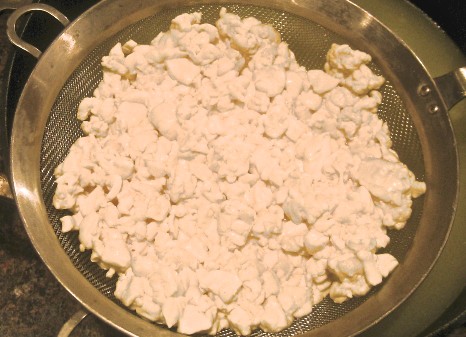
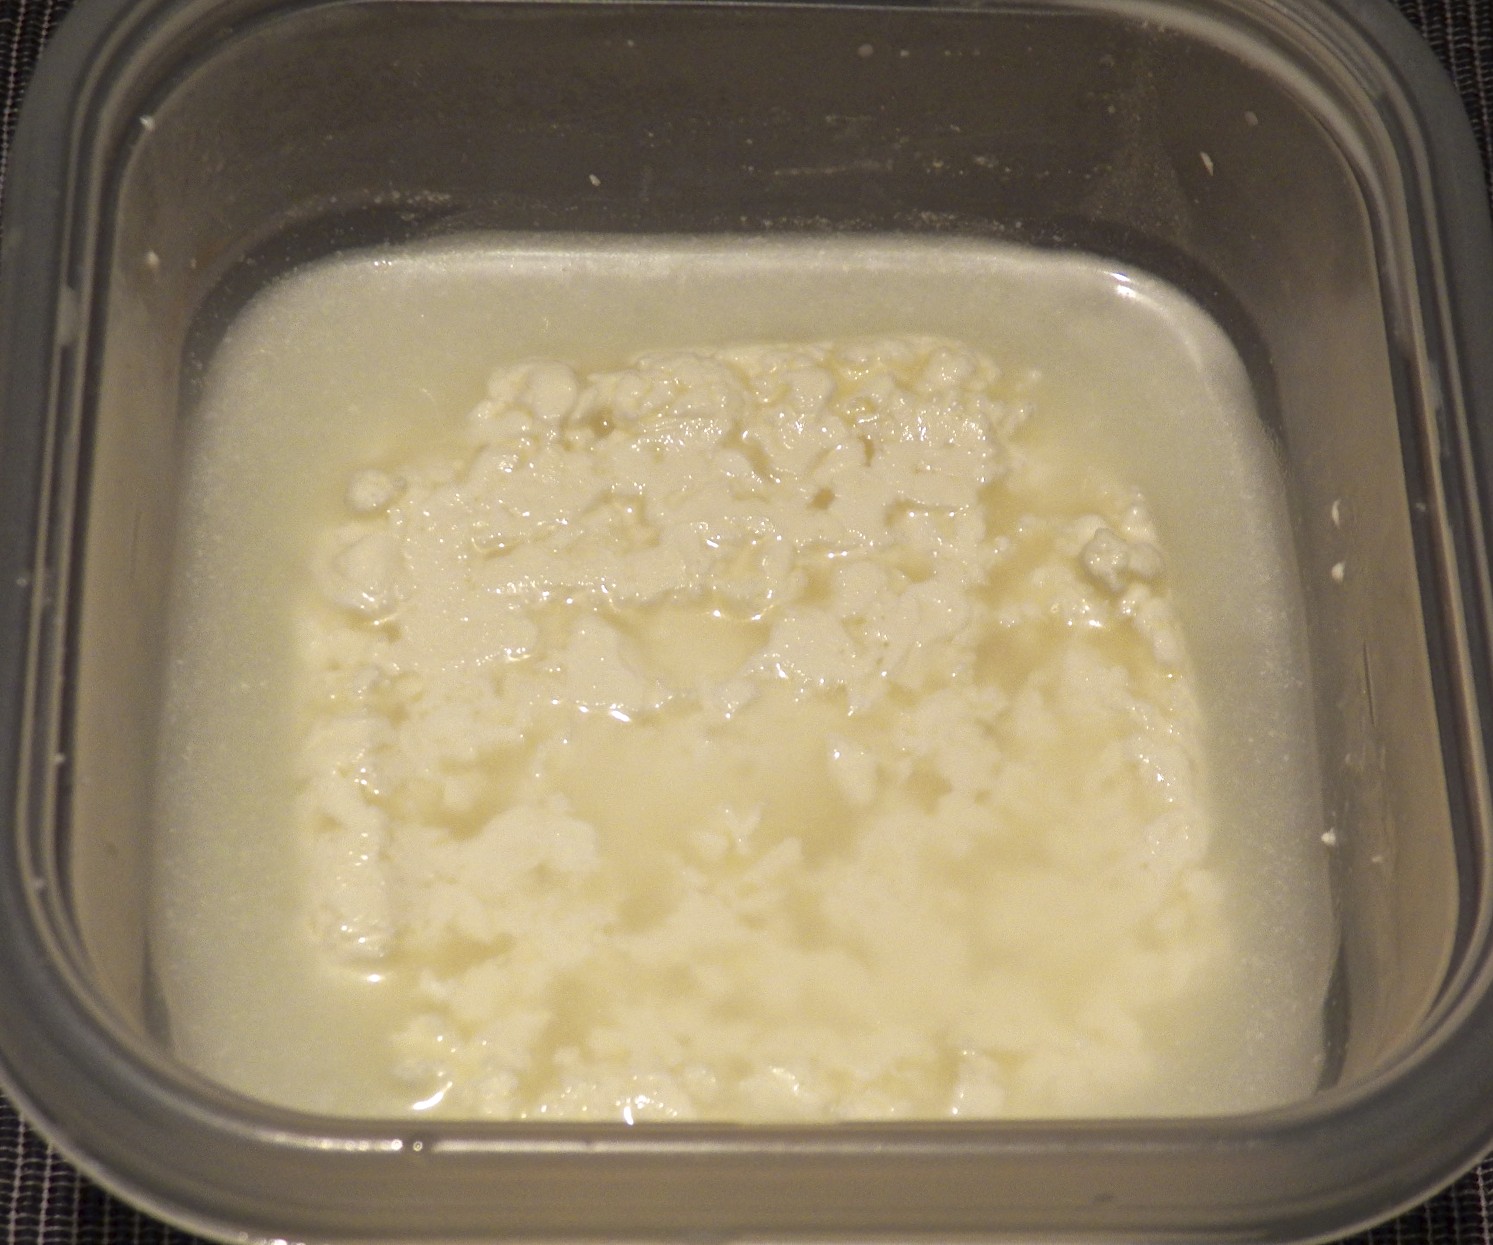
I’ve mentioned it in the past and it bears repeating: blogging continues to surprise me in ways I never dreamt possible. One need look no further than my dining room table to see what I mean. There, in jars of all shapes and sizes, you’ll find preserves, jams. jellies, pickles, pickled peppers, brandied figs, apple sauce, corn relish, and ketchup. You may recall that I was the guy that swore he’d never can anything. Now it looks like I’m stocking a bunker for a nuclear holocaust. Look closely, however, and you’ll soon find the Belle of the Ball … well, Ball Jar. I’m talking about the ketchup and that’s the recipe I’ll share today.
Way back in September of 2011, my blogging friend Tanya, of Chica Andaluza fame, posted a recipe for “Up The Mountain Spicy Tomato Ketchup.” With this area’s farmers markets still flush with tomatoes, I bought a couple pounds and decided to give her recipe a try. Knowing how spicy things can get up that mountain, however, I did tweak the recipe to cool it down just a bit. And the result? This is one exceptional ketchup. In fact, it hardly seems right to call it ketchup for this isn’t at all like the bottle of red stuff on your grocer’s shelf — and that goes for all 57 varieties! Tanya’s sauce is so good that I actually felt like I was wasting money the last time I was without and needed to buy ketchup. But don’t just take my word for it. I’ve given jars of Tanya’s ketchup to friends and family alike, all of whom, without exception, sing its praises. And to all of my fellow Chicagoans, this ketchup is good enough to be served on a hot dog! Yes, it’s that good!
There’s only one possible issue worth mentioning. It is best to simmer this sauce slowly and to stir it frequently. If you don’t you could end up with a splattered mess or, worse yet, a scorched pan bottom. A splatter screen may help prevent the mess but a scorched bottom can ruin the entire batch of ketchup. If you suspect that the ketchup has begun to burn, do not use a spoon to scrape the bottom of the pan. That will only foul your ketchup. Better to dump the pot’s contents into a large bowl and clean the pan’s bottom before re-filling it with the ketchup and continuing the simmer. Bear in mind, the lower the simmer, the longer the time required to get a thick, rich ketchup. For me, this job will easily last a full afternoon.
* * *
Home-Made Ketchup Recipe
Ingredients
- 8 lbs. (approx 3.5 kg) tomatoes, roughly chopped
- 4 large onions (yellow, sweet, red, or any combination), chopped
- 2 red bell peppers, chopped
- 2 Serrano peppers, chopped
 1 jalapeño, chopped
- 4 garlic cloves, peeled and smashed
- 1 cup cider vinegar
- ¾ cup dark brown sugar
- ½ tsp dry mustard
- 2 cinnamon sticks
- 2 tsp whole cloves
- 2 tsp whole allspice
- 2 tsp mace
- 2 tsp celery seeds
- 2 tsp smoked paprika
- 2 tbsp black peppercorns
- 2 bay leaves
- cayenne pepper, to taste
- nutmeg, to taste
- salt, to taste

Directions
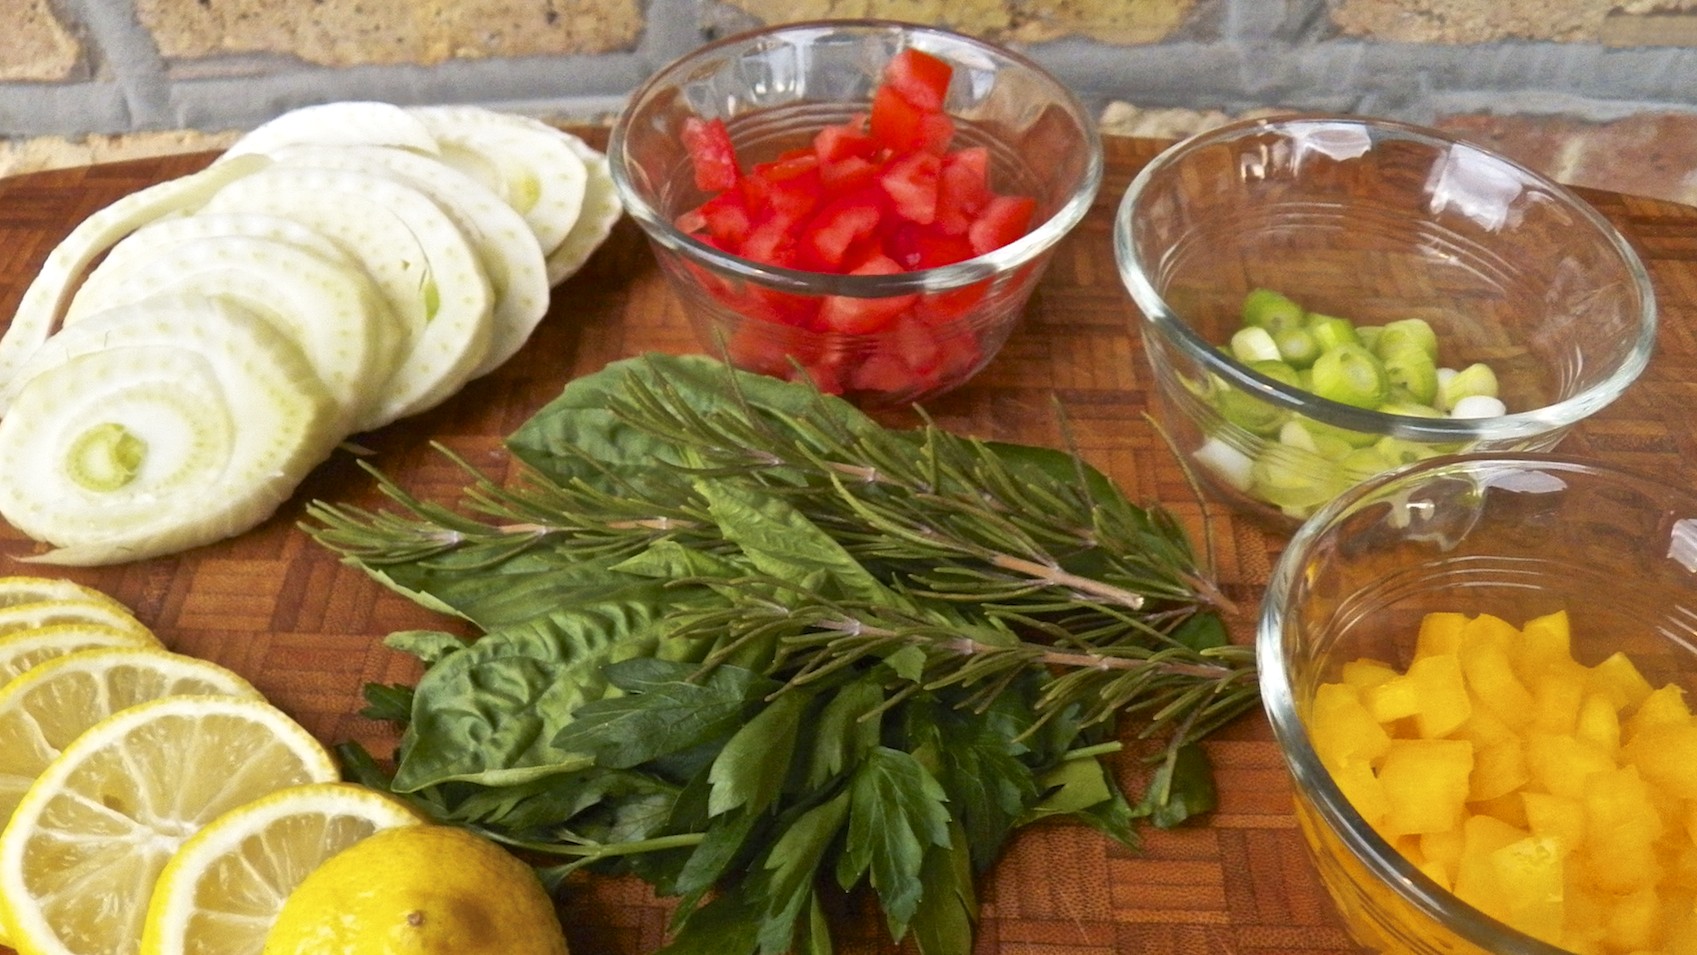
- Use a piece of cheese cloth to form a pouch into which you’ll add the cinnamon sticks, allspice, cloves, mace, celery seeds, peppercorns, and bay leaves. Use butcher string to enclose and securely tie the herbs & spices. Set aside.
- Place the tomatoes, onions, peppers, and garlic into a heavy bottomed saucepan over med-high heat. Bring to a boil, reduce to a simmer, and cook until the ingredients are all soft, 30 to 45 minutes.
 Once the tomato mixture has softened, pass it through a food strainer, food mill, or fine meshed sieve to separate peel and seeds from the pulp.
- Return the strained pulp to the saucepan, along with the brown sugar, mustard, paprika, cider vinegar, and spice pouch. Stir to combine over med-high heat. Bring to a boil, reduce to a simmer, and continue for 45 minutes, stirring occasionally to prevent scorching. Remove the pouch.
- At this point, continue to simmer until the ketchup has reached the consistency you prefer. This could take anywhere from 30 minutes to several hours.
- Once it has reached the desired thickness, add cayenne pepper, ground nutmeg, and salt, to taste.
- Once the seasonings have been adjusted, you can either bottle it for storage in the refrigerator where it will keep for about a month, freeze it, or, you can process it in a boiling water bath for 35 minutes if using pint jars and 40 minutes if using quart-sized canning jars.

With thanks to: Chica Andaluza, “Up The Mountain Spicy Tomato Ketchup“
* * *
Notes
You may have noticed that the spice pouch was removed after simmering for 45 minutes. That’s because the tomatoes will continue to reduce for some time afterward and that will serve to concentrate all the flavors in that pot. To leave the spice pouch in the tomato mixture for too long could render the ketchup inedible. You can always adjust the seasoning at the end of the cooking, just as one does with the cayenne, salt, and pepper.
Living as far North as I do, finding good tasting tomatoes from now until Spring is pretty much impossible. Even so, I’ll still use off-season, or even canned, tomatoes to make ketchup during the Winter and Spring months, adding tomato paste to boost the tomato flavor. Although this version may not quite equal the taste of ketchup made from Summer’s best, it is still leagues ahead of any ketchup you might buy at a store.
* * *

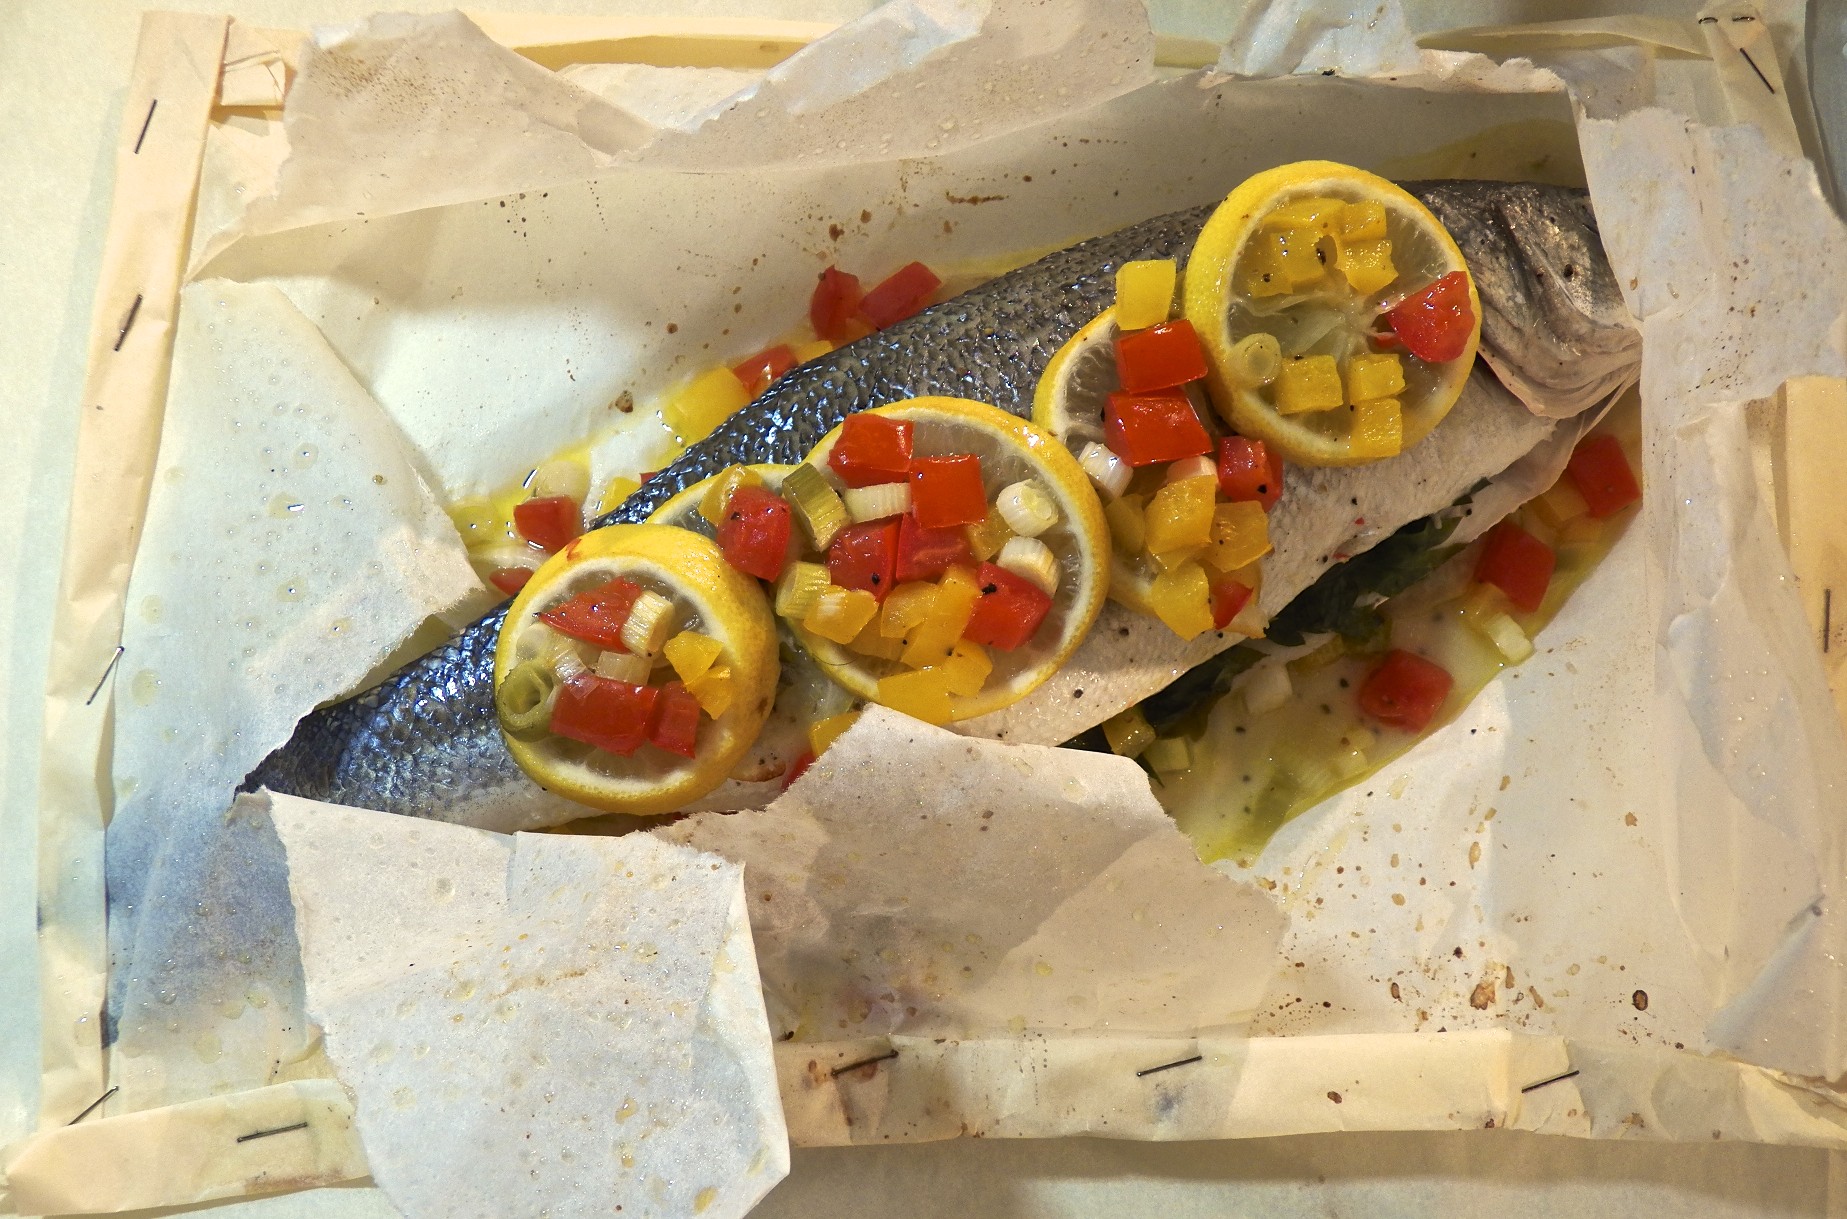
Grilled Chicken with Tomato Jam Glaze
* * *
One last word about tomatoes …
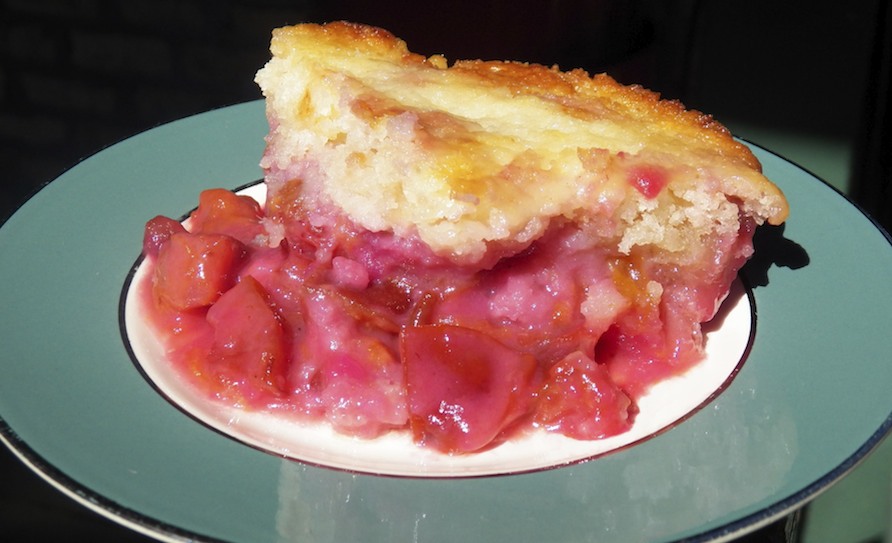
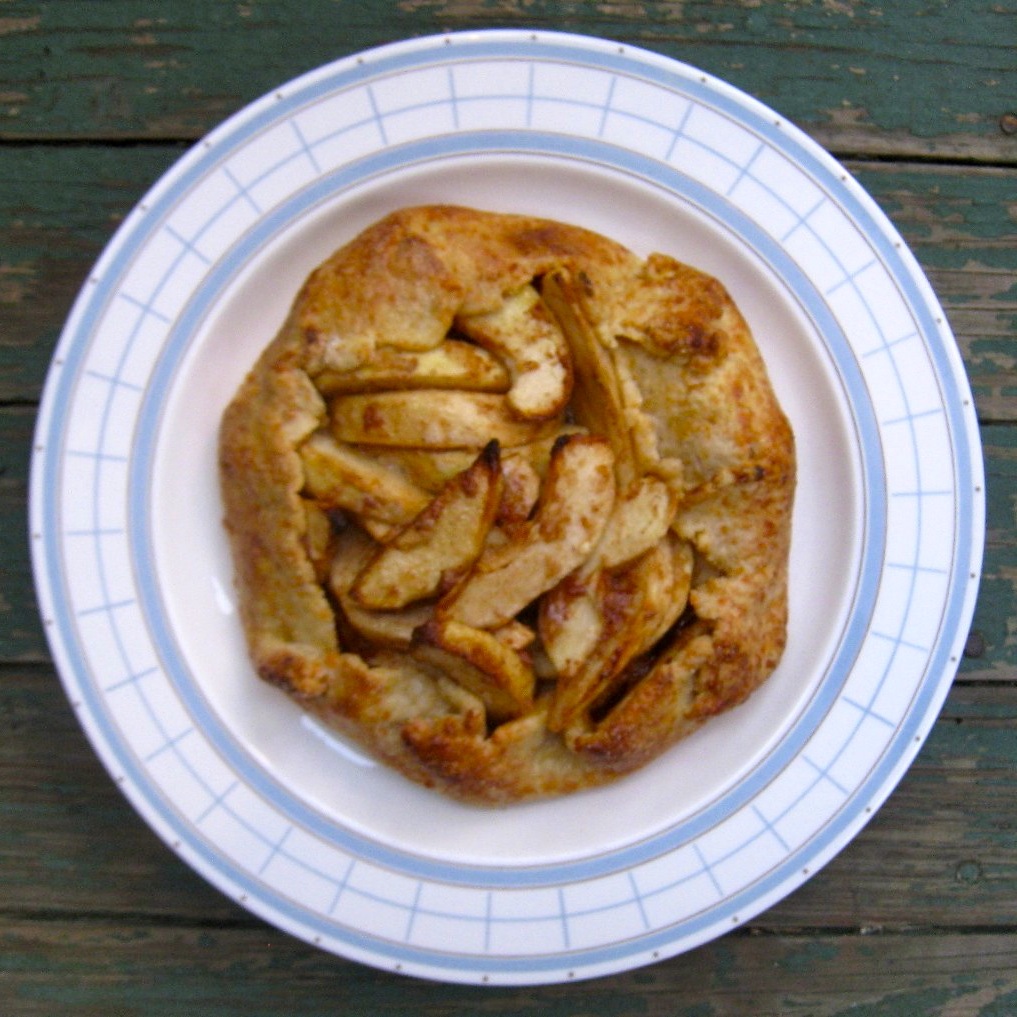
In September, Marie posted a link to a recipe for tomato jam that used yellow heirloom tomatoes and basil. I spoke to Zia about my intention to try my hand at making  the jam and that triggered a memory of Grandma making tomato jam when Mom & Zia were little girls. Grandma’s version didn’t use basil and, though the tomatoes she used would be considered “heirloom” by today’s standards, back then they were just “tomatoes.” Well, in an effort to bridge the gap between New and Old, I made tomato jam that weekend with yellow heirloom tomatoes but without the basil. And the result? Like almost all the jams I’ve made, it goes very well with goat cheese. (Is there a jam or preserve that doesn’t go well with goat cheese?) Not only that but I was surprised to find out just how good it worked as a glaze for barbecued chicken. Next time, though, I’m adding a few red pepper flakes and a dash of hot sauce to the glaze. Of course, you can always serve it like my Grandma did for her girls: on a chunk of Italian bread.
* * *
It’s déjà vu all over again …
As a boy, vegetables were very much a part of my family’s diet. Whether picked fresh from Grandpa’s garden or selected at a grocery or market, you could count on a salad of  fresh greens and at least one vegetable being served at every dinner. Mom’s favorite, and frequent star at our supper table, was Swiss chard. Mom enjoyed it enough to commandeer a small patch of Grandpa’s garden so that she could grow her own. Now that’s some serious chard love! Very often, Mom would use a combination of chard & spinach to fill small pies, cacioni, from a recipe that came from Dad’s homeland, San Marino. Click HERE to check out the recipe for this family favorite.
* * *
Coming soon to a monitor near you …

Sausage Ravioli
* * *