Yes, you’ve read that correctly. It took literally gallons of curdled milk to get us here and today I’ll show you how to make Italian Mozzarella. Prior to this, I’ve demonstrated how to make ricotta, goat cheese, cream cheese, mascarpone, feta, and American mozzarella. Hopefully, you’ve heeded my warnings and made one of these other, simpler cheeses, for this mozzarella is the trickiest cheese of them all to prepare. In fact, my success rate with ricotta is 100%; with American mozzarella the rate is about 75 – 80%; while I’m only successful making Italian mozzarella about a third of the time. So why bother? Well, Italian mozzarella is superior to the American, having a more delicate flavor and creamier consistency. It’s no Burrata but it is nonetheless a very good cheese. It’s up to you to decide whether it is worth the effort.
NOTE: Because so much of this process is the same as that for American mozzarella, some of the following has been used in both posts. No sense re-inventing the Parmesan wheel.
As is the case with every cheese, before we get started, there are a few things to be discussed. First of all, mozzarella belongs to the pasta filata, “spun paste”, family of Italian cheese. Primarily made from buffalo or cow’s milk, provolone, scamorza, and caciocavallo are also members of this group. The curds of these cheeses are heated in water and spun before being pulled and stretched to make the cheese. If they aren’t spun or pulled properly, the cheese’s texture will not be right nor will the cheeses have that characteristic stretchy quality when melted.

Got milk?
Next, we need to look at the milk. Just like with its American cousin, when making Italian mozzarella you may not use calcium chloride (CaCl) to compensate for the effects of ultra-pasteurization upon milk. As a result, you must use raw or pasteurized milk. When choosing pasteurized, select a whole milk from a local dairy to reduce the chances of it being pasteurized at too high a temperature. Some brands will have the pasteurization temperature posted on the container’s label. Available at Whole Foods and health food stores, I use that milk because the pasteurization temperature is low compared to most and I know exactly what I am buying.
Most importantly, the curds must reach a certain level of acidity before mozzarella can be made — and herein lies the difference between American and Italian mozzarella. When we made American mozzarella, we used citric acid to create the acidity required. It enabled us to make mozzarella relatively quickly. There is no such ingredient for Italian mozzarella. These curds will acidify on their own if left undisturbed for about 10 hours or overnight. You can increase your odds of success by using pH test strips to insure that the correct acidity (5.2) has been achieved. (See Notes for more information about these strips.) Italian mozzarella’s superior flavor and texture are due to the fact that no additives are used to acidify its curds. There are no shortcuts when making this cheese.
You’ll see “Lipase” included among the list of ingredients. Lipase is an enzyme that is used to enhance the flavor of mozzarella, Asiago, provolone, feta and blue cheeses. It can be purchased from the cheese making sites listed on my Cheesy Stuff page. It is not a necessary ingredient, however, so don’t worry if you cannot find or purchase it. If you do use it, however, you’ll need to add more rennet, as indicated in the recipe below.
* * *

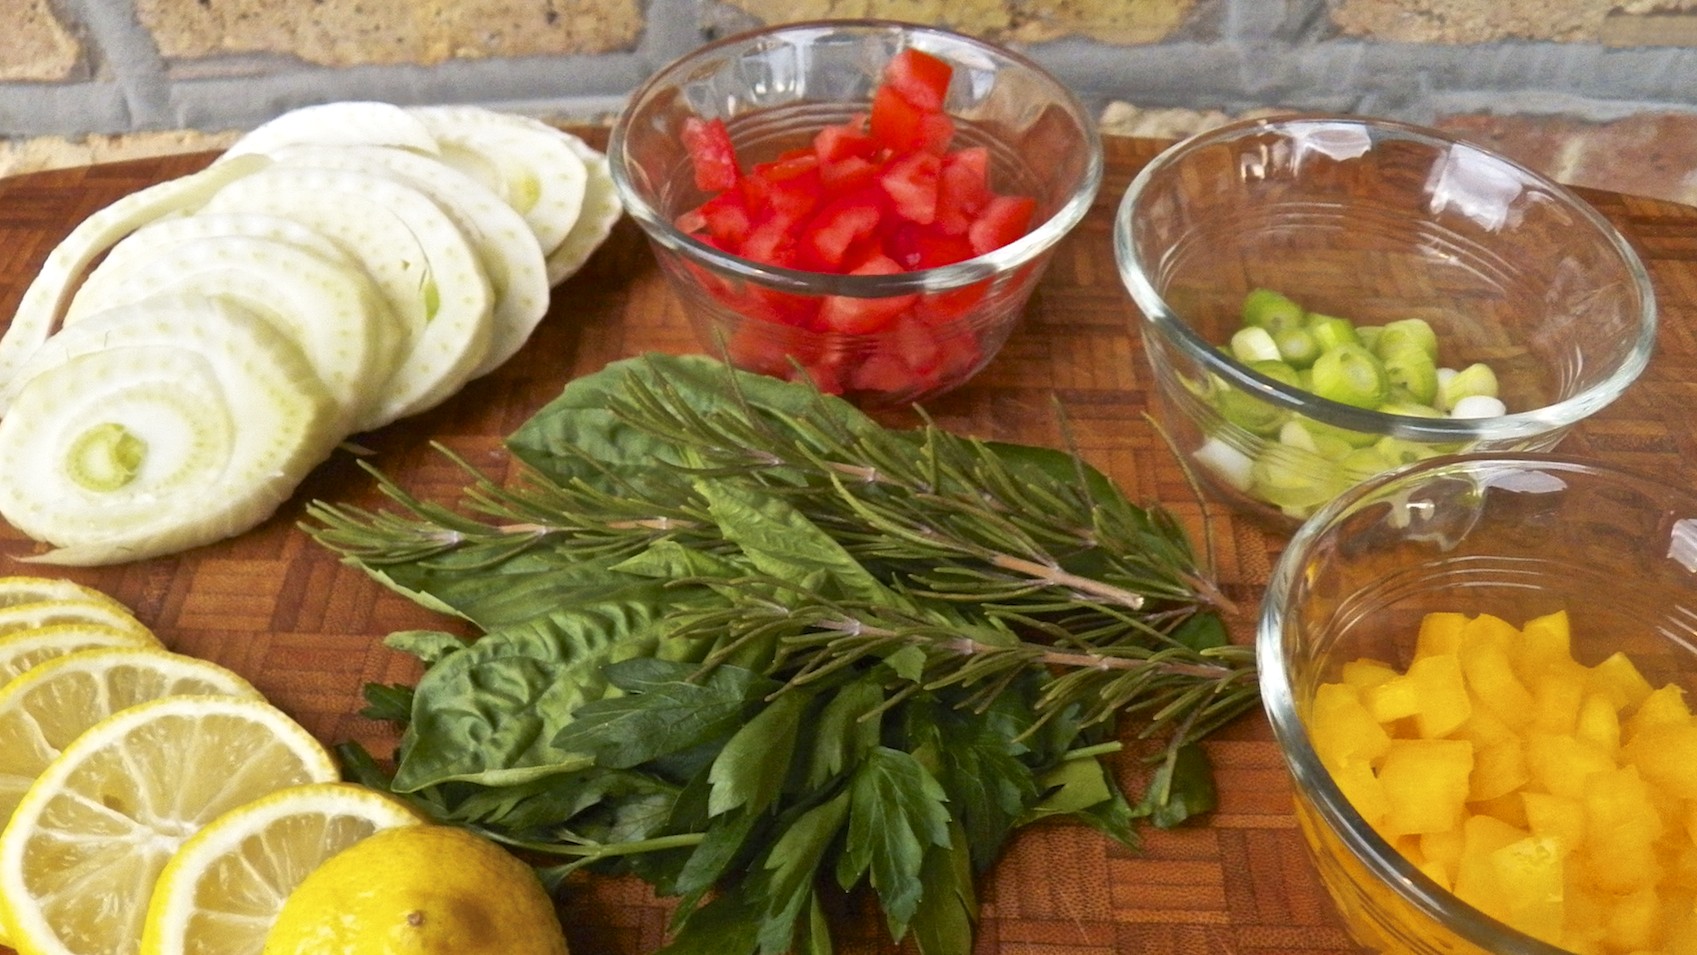
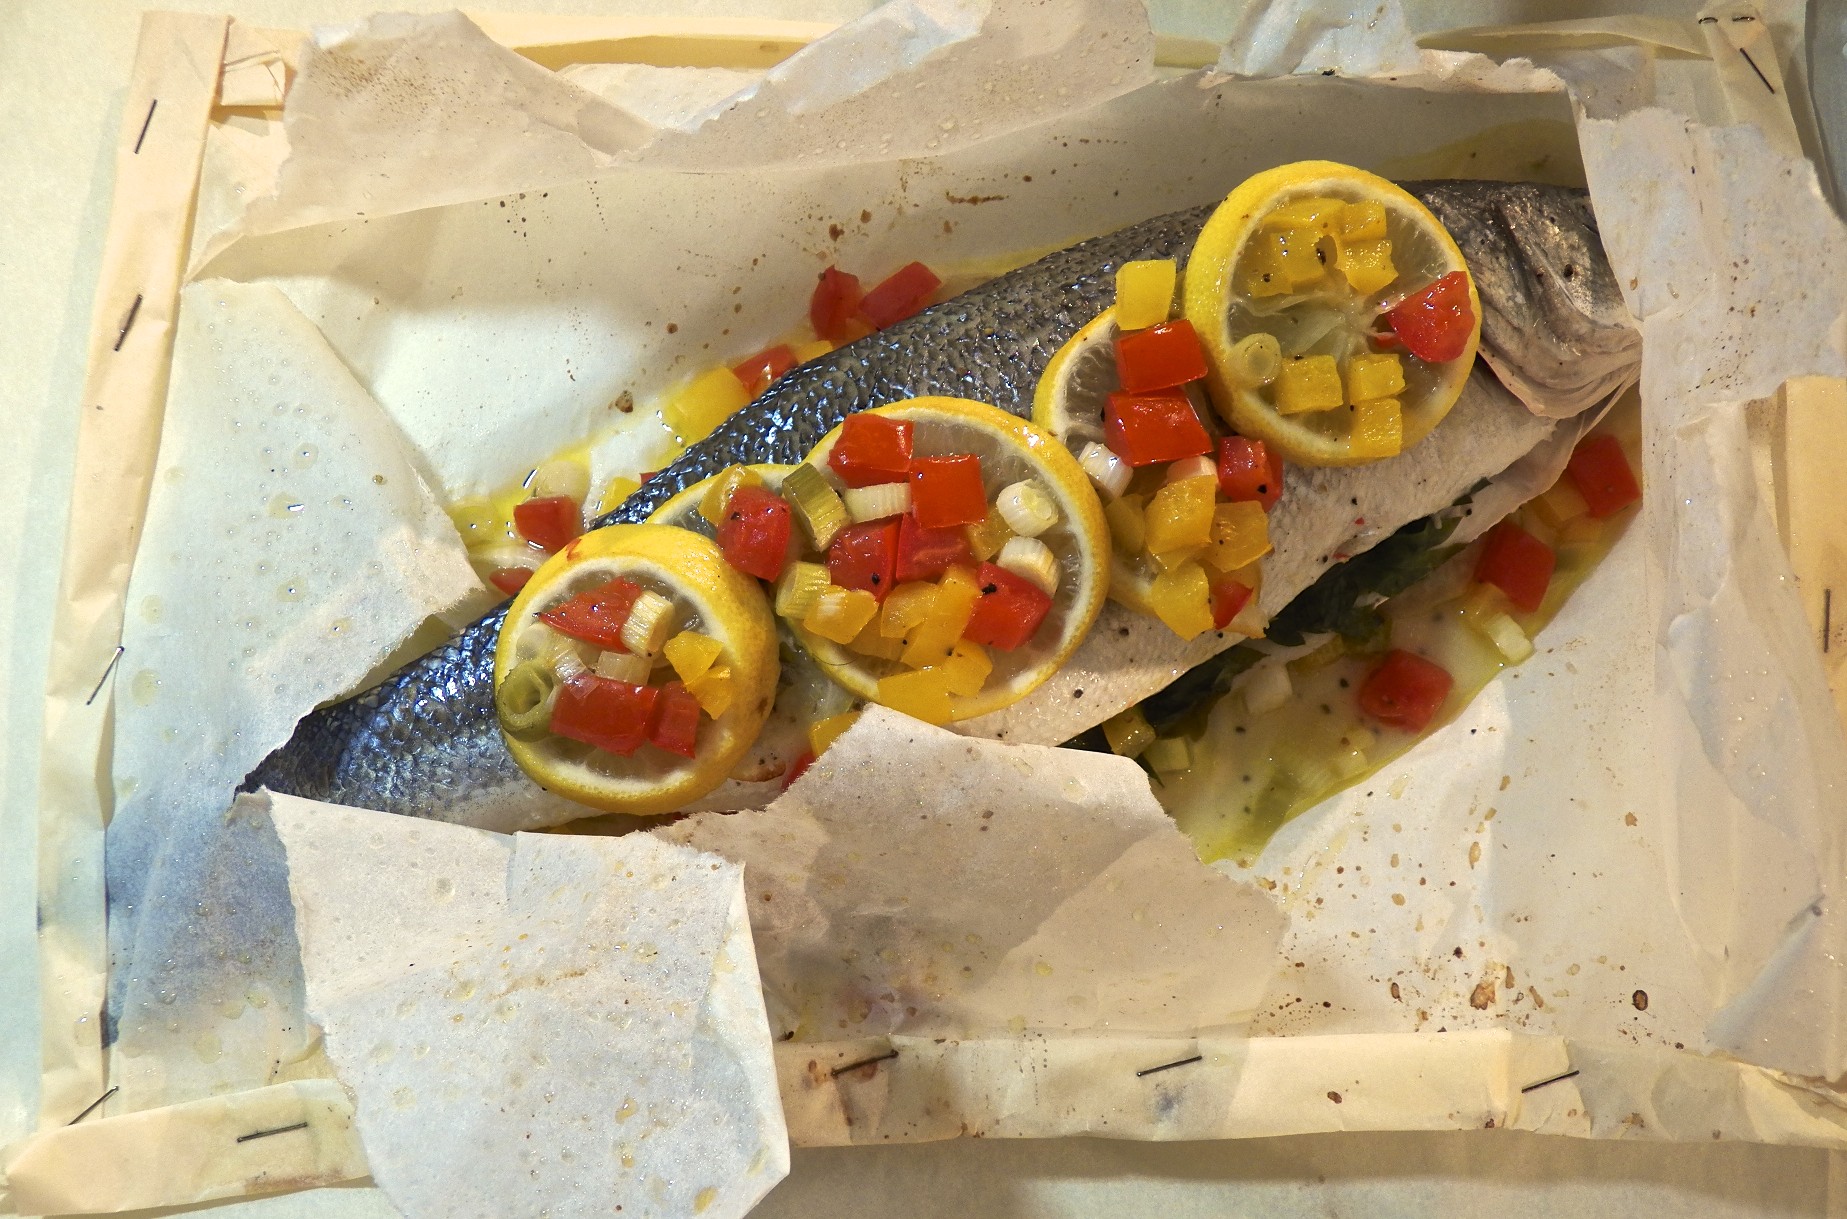
Bruschetta
* * *
Sorry about the quality of the photos to follow but this wasn’t an easy process to photograph while working alone and wearing gloves. If you have asbestos fingers, you may not need to wear gloves but I’ve found that they offer some protection from the heated curds. I’ve heard that it is customary for women in Italy to keep a bowl of ice water nearby. They dip their hands in it when the heat becomes too much to bear while they’re stretching the mozzarella. It’s not such a bad idea, even when wearing gloves.
Before beginning, please refer to my Cheesy Stuff page. Chock full of cheesy details, it provides information about ingredients, cleaning/sterilizing equipment, spices & seasonings, a few tips, and sources for supplies and information.
* * *
How to Make Italian Mozzarella at Home
Ingredients
- ½ gal (1.9 L) whole milk — NOT ultra-pasteurized
- 1 tbsp plain yogurt, must include live cultures
- 1 tbsp cultured buttermilk
- ½ tablet rennet dissolved in a ¼ cup (60 ml) of cool distilled water
- ¼ tsp Lipase dissolved in a ¼ cup (60 ml) of cool distilled water — optional but, if using Lipase, add another ¼ tablet of rennet
- 1 tbsp table salt dissolved in 1 quart (.95 L) water
Directions
- In a small container, combine the yogurt, buttermilk, and a couple tbsp of milk. Stir until thoroughly mixed and set aside.
- Place the rest of the milk in a sterile, non-reactive pot with a lid. If using, add the dissolved Lipase and stir well. Gently heat the milk, uncovered, to 90˚F (32˚C), stirring occasionally to prevent scalding on the pan’s bottom. I’ll often fill my kitchen sink with hot water and use it, rather than my stove top, to gently heat the milk.
- Once the milk has reached 90˚, remove from heat and inoculate using the buttermilk/yogurt/milk mixture. Stir/whisk thoroughly.
- Place the pot in a warm spot (about 75˚F; 24˚C) where it will not be disturbed. Add the dissolved rennet, stir for 1 minute, and cover.
- Check for a clean break after 45 minutes. As was the case when we made feta and American mozzarella, you can not proceed until a clean break is achieved. Once achieved, go to step 7.
* * *

Clean break.

Bad Break
* * *
6. If a clean break is not achieved, wait 30 minutes and test again. Still bad? Wait another 30 minutes before testing again. Still bad? Wait a final 30 minutes. If a clean break still eludes you, there’s nothing to be done but dump the dairy and start over. Of course, you may wish to wait longer and try again but that is up to you. I would seriously consider changing milk brands before trying again. This is why I use half-gallon quantities of milk and not the 2 or 3 gallons some suggest. If I ever make enough to become proficient, I’ll use larger quantities of milk.
* * *

7. Use a long knife or offset spatula, and starting at one side of the pot, cut a straight line through the curd. Once the opposite side has been reached, create another slice about ½ in front of the previous cut. Repeat until the entire curd has been cut into horizontal slices.
* * *

8. Give the pot a quarter turn and, starting at one end of the pot, repeat the slicing process. When finished, the curd should be cut into ½ inch squares.
* * *

9. Now take the knife or offset spatula and, with the blade on an angle, slice through the curds from side to side at ½ inch intervals. This will cut the curds beneath the surface. Repeat this step twice, turning the pot and cutting the curds on an angle each time.
* * *

10. Slowly re-warm the curds to 90˚F (32˚C), gently stirring the curds, and cutting any that are larger than 1/2 inch. Let sit for 15 minutes.
* * *
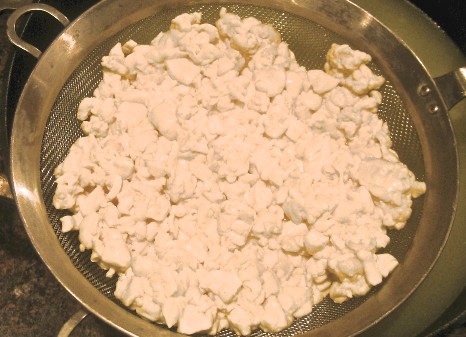
11. Gently pour the pot’s contents into a sieve, separating the curds while reserving the whey for ricotta. (See Notes below.)
* * *

12. Place curds in a quart of cold water to rinse and then drain again. Place curds into a container, cover, and set aside, allowing the curds to reach the proper pH. It is normal for whey to continue to separate during this resting period, as shown in the image.
* * *

Successful pH test
13. If using pH test strips, begin testing the curds’ acidity levels after 8 hours. Once an acidity level of at least 5.2 is achieved, continue. If not using the test strips, better to wait 10 hours before proceeding.
* * *

14. Heat a large pot of water to 185˚F (85˚C). Once heated, use some of it to fill a small bowl and add to it a few pieces of curd, about the size of sugar cubes.
* * *

15. Gently stir the bowl’s contents and, after a few minutes, the cubes will begin to show trails or filaments, spinning, as they clump together.
* * *

16. Use a slotted spoon to remove.
* * *

17. See if the curds will stretch. If they do, without breaking, the curds are ready. To celebrate, I usually eat the test curds before continuing to Step 17. If they do not stretch, return the curds to the rest and set aside for another 2 hours before testing again. If they still do not stretch, set aside and test again. If still unsuccessful, it is up to you to decide how much longer and how many more times you’ll test the curds. It can be very frustrating.
* * *

18. After a successful test, the rest of the curds need to be processed. Use a thin meshed sieve to drain off the whey. Meanwhile, begin re-heating the pot of water.
* * *

19. Place the now drained curds on a flat surface and slice into ½ inch cubes. Best to use a dish for this step, rather than a cutting board, since some whey may still be present.
* * *

14. Separate the sliced curds into individual cubes.
* * *
20. This is where the real trouble starts. If you read the books, scanned the websites, watch the videos, they will place the curds in a large bowl, pour the heated water over the curds, stir, and, voilà! Mozzarella ready to be stretched and pulled. Not for me. I’ve found I have greater success if I use smaller amounts of curd, resulting in smaller mozzarella balls. No matter which way you choose to go, you’ll need to pour the heated water (185˚F; 85˚C) over the curds and stir until they begin to spin. Do not rush this step. It should take a few minutes. Do not let the water temp fall below 135˚F (57˚C) but it should not remain higher than 140˚F (60˚C).
* * *
21. (Yes, it’s the same photo as in 16 above.) Once you see evidence of spinning, use a slotted spoon to remove the curds. Begin to stretch the curds, fold on to themselves, and stretch again. Continue doing this a number of times, creating many layers, until the cheese is smooth and glossy.
* * *

22. Form into a ball like you would bread dough for a dinner roll. Place in salted water. Congratulations! You’ve just made Italian mozzarella!
* * *
Notes
As was mentioned, the key to making this mozzarella is the acidity of the curds. One day last Spring, I noticed pH test strips at a home brewery shop that I’d entered to purchase the calcium chloride (CaCl) needed to make feta cheese. Not all pH strips are created equal and each type is used to test specific levels of acidity/alkalinity. As luck would have it, these strips were used to test beer and were for the same range needed to test mozzarella curds. If you’re going to purchase pH strips, be sure that they are capable of testing substances with a pH of 5.2 otherwise they will be of no use whatsoever. See the image above (Step 13) for a sample of a correct pH scale and strip for testing curds. Remember that the lower the pH value, the more acidic the substance.
In Italy, only the whey from making mozzarella may be used to make ricotta. I’ve had varying levels of success trying to do so. Most recipes for making mozzarella call for at least 2 gallons of milk — sometimes 3 — to be used. When making American mozzarella, I use a gallon of milk and the resultant yield of ricotta is too little for me to use. Because of the high failure rate, I only use a half-gallon of milk when making Italian mozzarella. Once again, the ricotta yield is too far little to be of use. Now, you can add a quart of milk to Italian mozzarella’s whey to improve the yield but I’d rather use the milk to make ricotta like I’ve shown you HERE. I’ve never had a failure following that recipe and a half-gallon of milk gives me all the ricotta I need. Still, if you wish to try the more traditional approach, you can see how Dr. Fankhauser does it HERE or how our very own Miss Celi does it down on the farmy HERE. While you’re there, if you haven’t already, be sure to check out her blog. It is truly a delight to read and a great way to start your day.
No matter which mozzarella you choose to make, the cheese is best when freshest. Even so, Italian mozzarella does stay fresh longer than its American cousin. Some suggest leaving the cheese in its salt water bath until needed or transferring it to fresh water after a few hours for storage in the refrigerator. Others suggest using the brine bath for an hour before patting the cheese dry and storing in a sealed plastic bag. I’ve even heard of some freezing it for later use, something not possible with American mozzarella. I prefer to leave my Italian mozzarella in the salted water until ready for use and that’s always within 24 hours. When I remove it, I might have to rinse it to remove a soft coating that’s developed. The cheese is still very good but that coating is rather unappealing. One of these days, I’m going to make a batch, divide the cheese into thirds, and store a third in brine, a third, in fresh water, and the last third in a plastic bag. I need to feel more secure in my Italian mozzarella cheese making abilities before donating a batch to science.
And so ends our cheese making series. Now it’s your turn. Good luck!
* * *
Inspired by the Fankhauser Mozzarella webpage
and
“Home Cheese Making” by Ricki Carrol
* * *
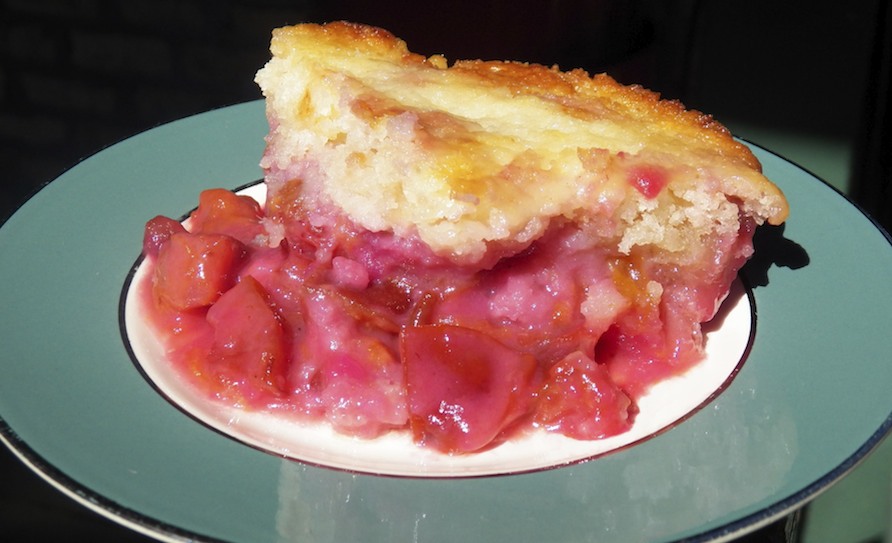
Coming soon to a monitor near you …

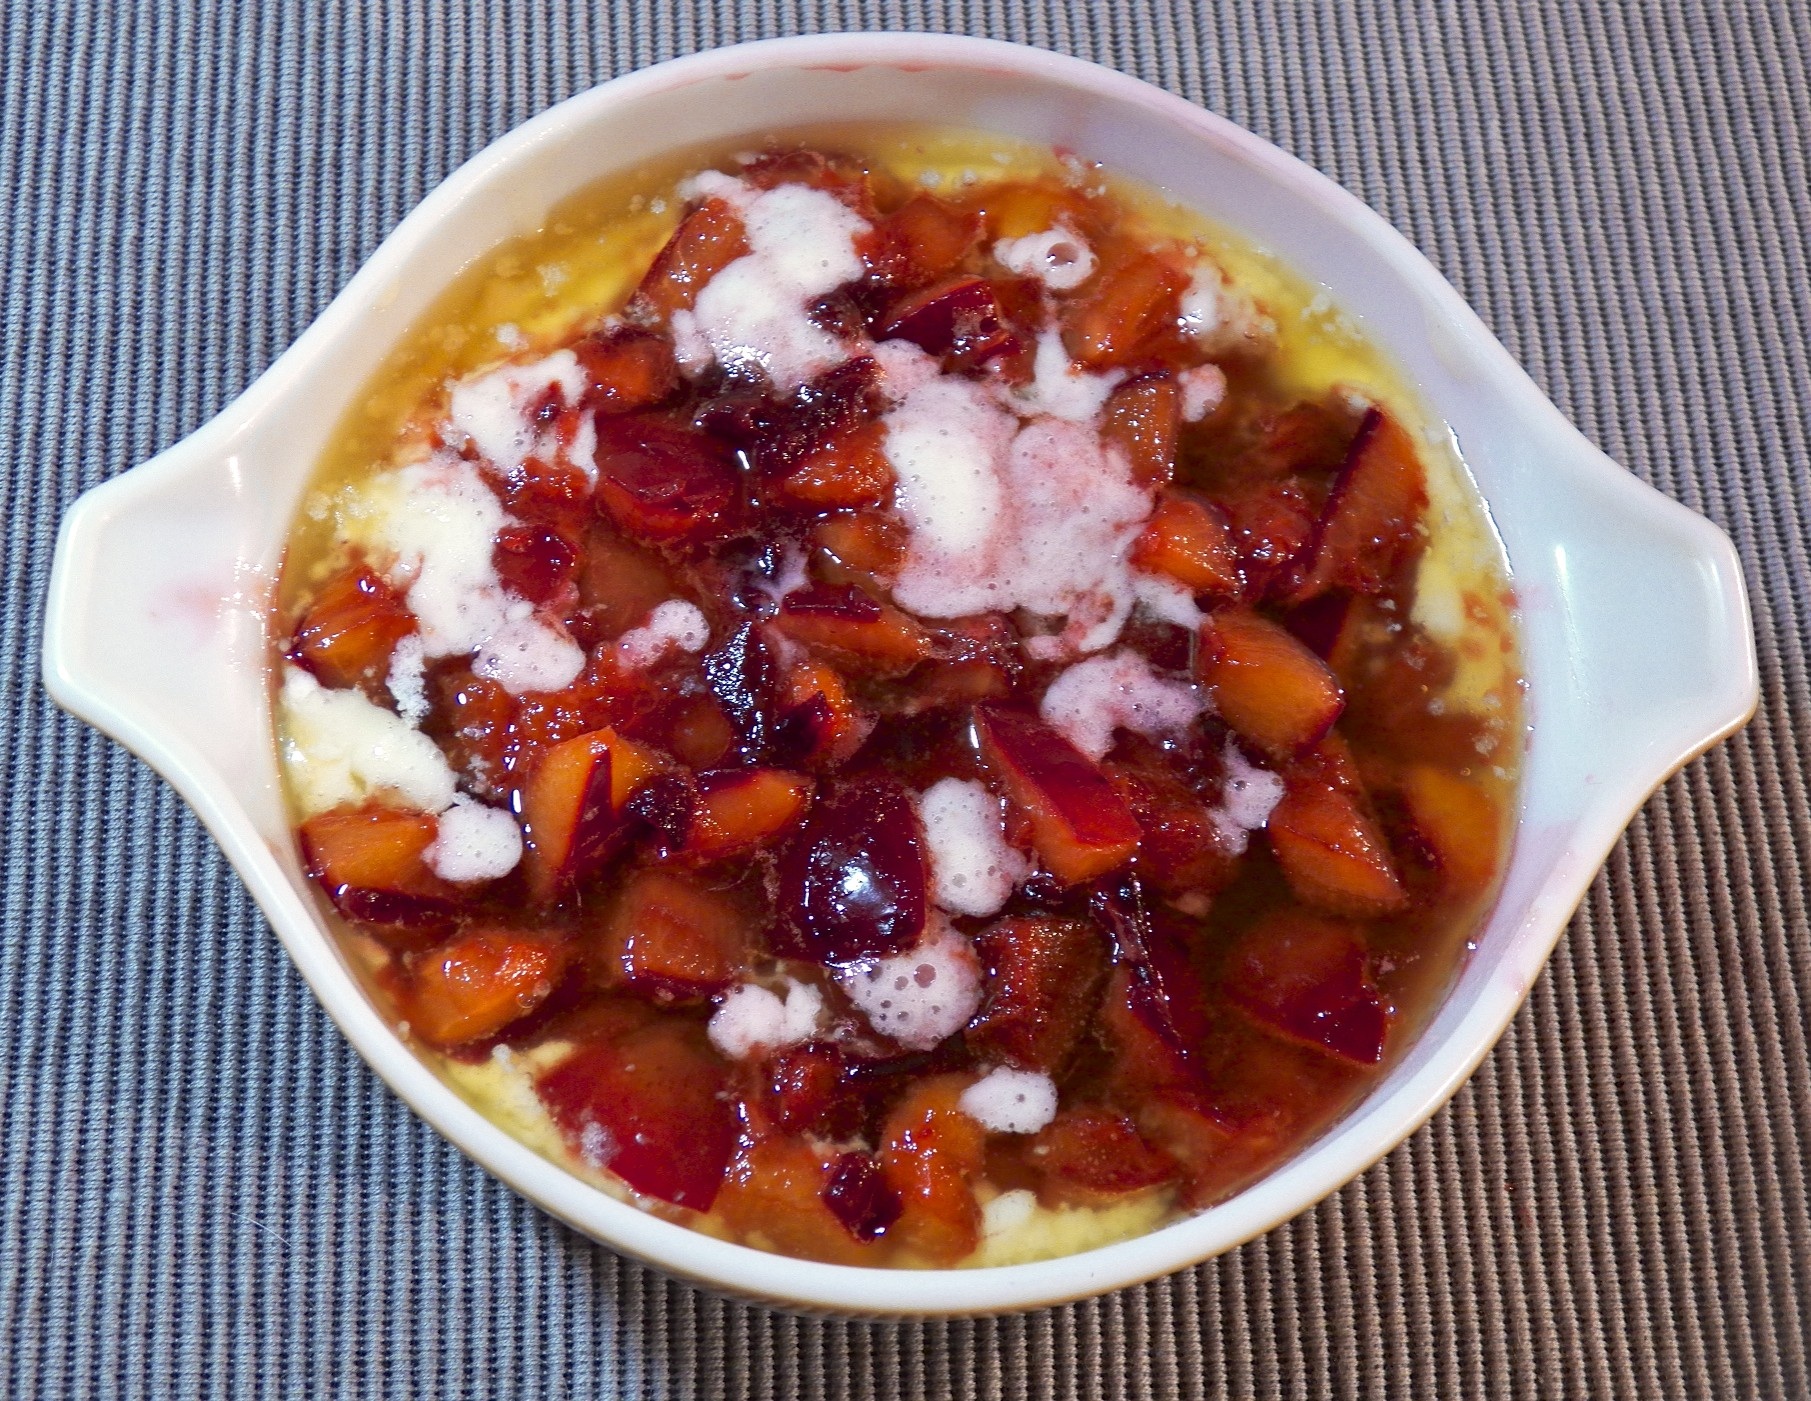
Magical Plum Cobbler
* * *
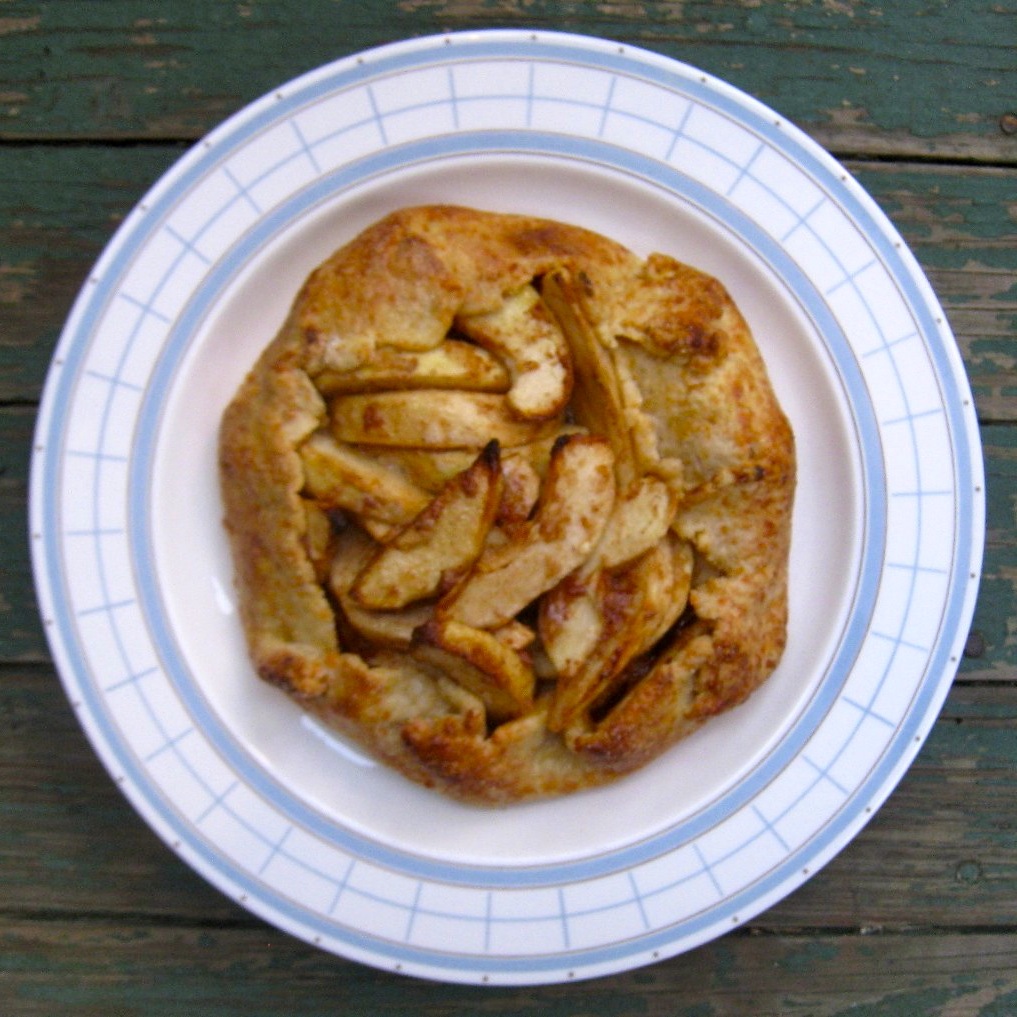
It’s déjà vu all over again …
 Hard to believe that it was a year ago when I introduced you all to the Apple Thingamajig. Despite your numerous attempts to (correctly) identify it as a crostata, Zia and I have continued to call them Thingamajigs and I don’t see either of us changing anytime soon. Just click HERE if you wish to see the recipe, are feeling a bit nostalgic, or want to try your hand at helping us to remember that our Thingamajig is really a crostata. (Good luck with that!)
* * *