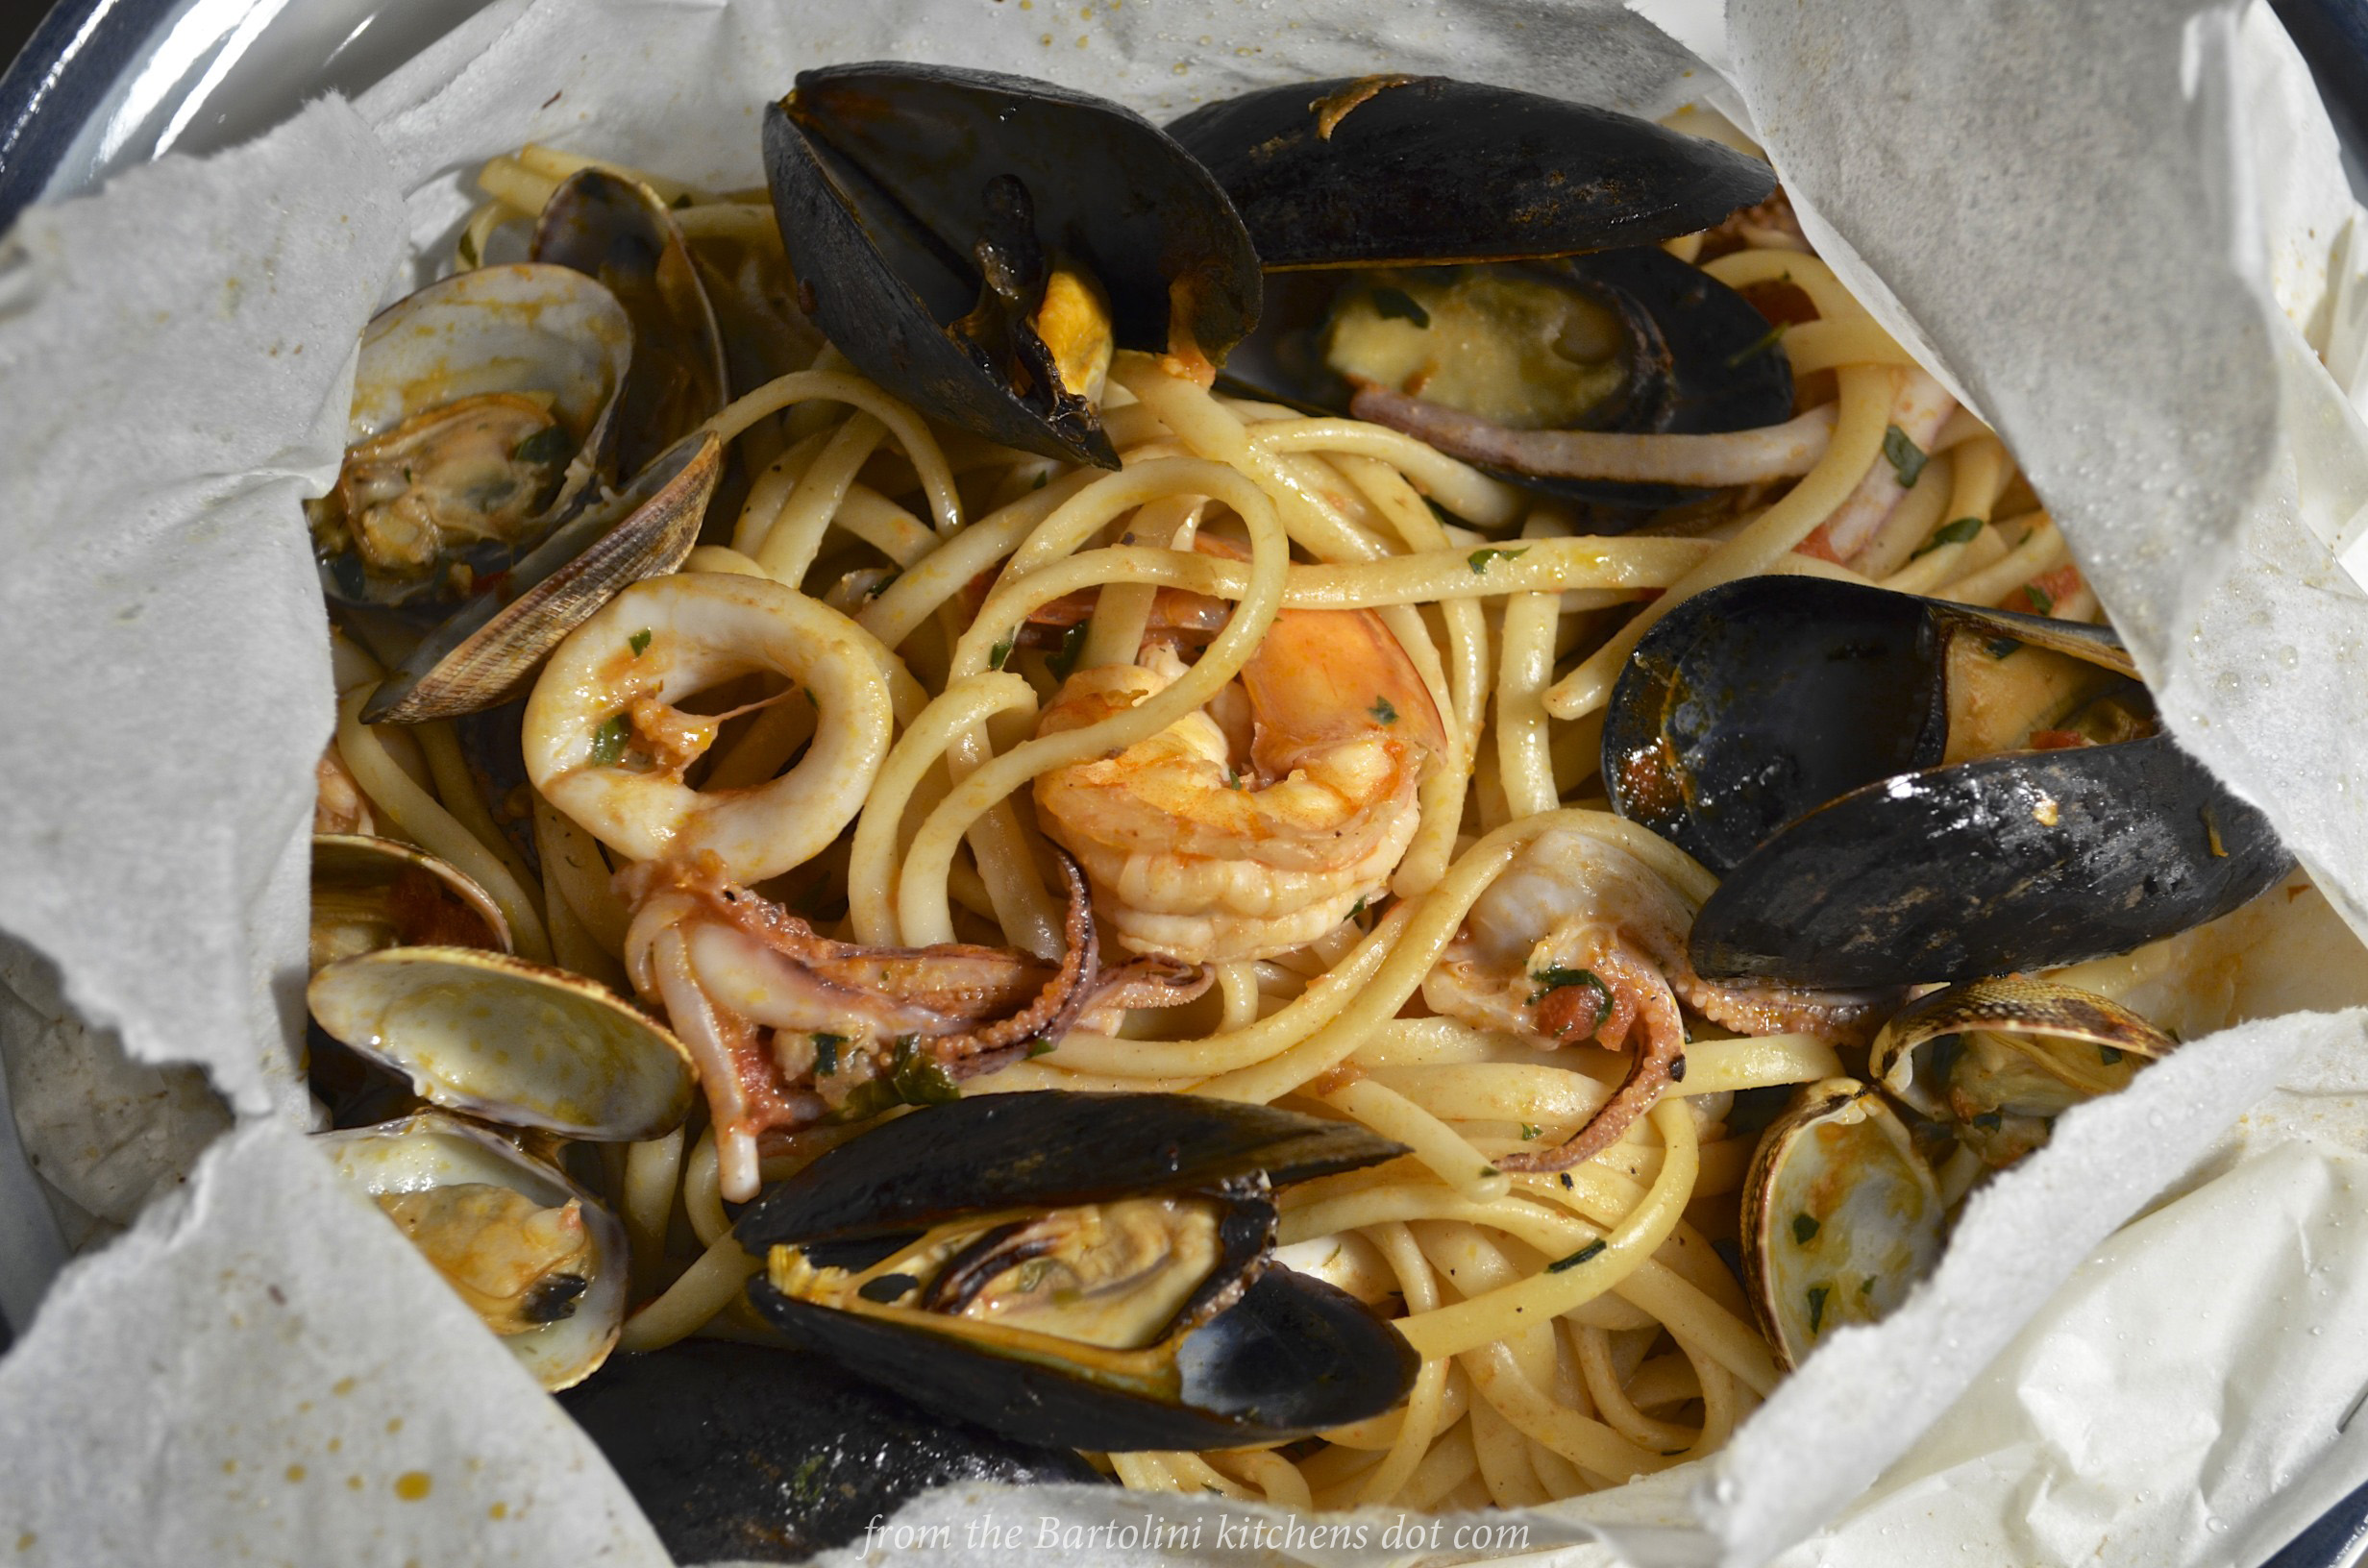
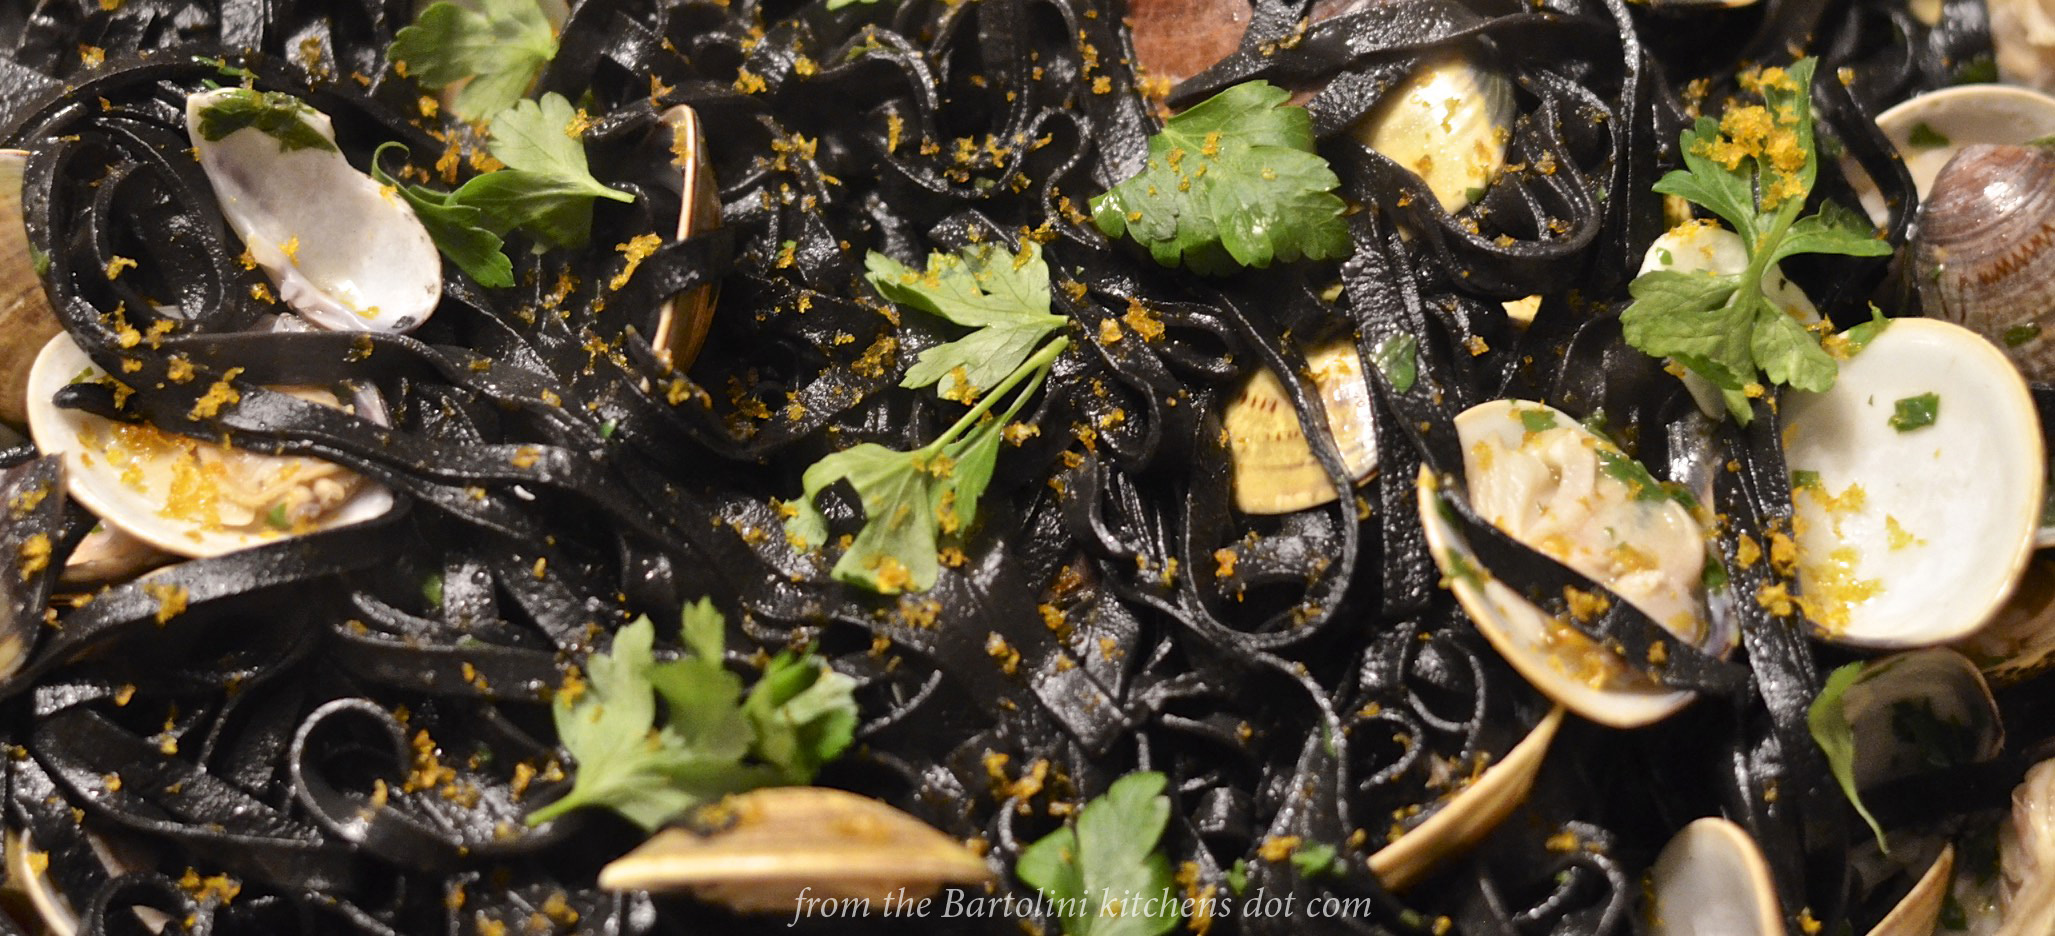
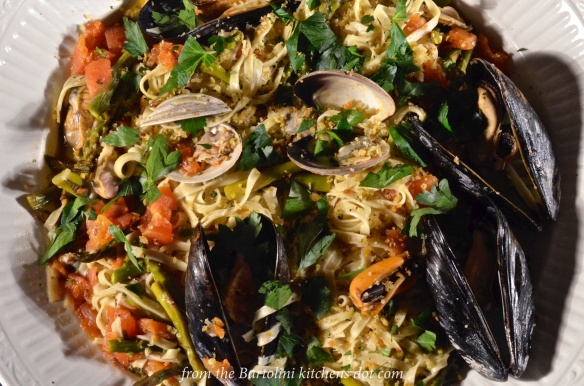
Trenette con Cozze e Vongole
Just when you think you’ve got all bases covered, The Fates take note and decide to have a little fun. I have been busily at work getting recipes and posts together for the next several weeks. With my trip fast approaching, I don’t want any loose ends to complicate matters. Having posts written and scheduled means that my attention, such as it is, can be diverted elsewhere with minimal affect to the blog. That was the plan and, with everything in place, I went to the fishmonger.
How was I to know that there would be a sale on clams and mussels? More to the point, how was I supposed to ignore the sale on clams and mussels? The truth is, I couldn’t. I left the shop with a bag full of mollusks and a head full of pasta ideas. On the way home, I stopped at a grocery and bought everything I needed to make today’s dish. Afterwards, I wrote this post and inserted it here, shifting the other posts to accommodate it.
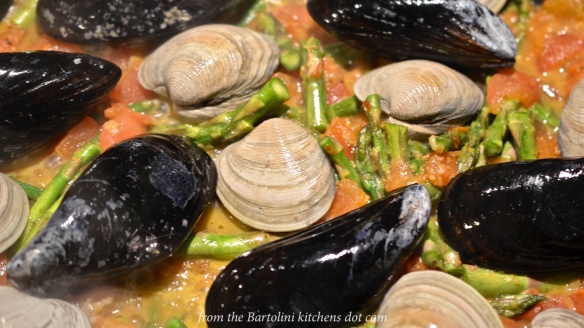
So why the schedule change? Asparagus. It’s coming into season and the green stalks are every bit the star of today’s dish as are its shelled companions. You may not find clams or mussels on sale but you’re sure to see plenty of asparagus. It makes a wonderful addition to just about any pasta that you might prepare in the weeks ahead.
At this point, you would think that all’s well with my schedule and I can rest easy. Oh, how little you know of The Fates. Having finished adjusting the posts to accommodate the new entry, I searched for my soft shell crab pasta recipe to use as the déjà vu photo for today’s post. It was nowhere to be found. I soon discovered that although it had been included in the cookbook, the recipe never made it to the blog. Curses! With soft shell crabs currently in season, that recipe needs to be posted and the recipe has been inserted into the schedule for next time. Once again, all subsequent posts have been shifted to make room for the new guy. One step forward, two steps back.
* * *
* * *
Trenette with Mussels and Clams Recipe
Ingredients
- 1 lb (450 g) trenette pasta – spaghetti or linguine may be substituted
- 3 tbs olive oil
- 1 clove garlic, minced or diced
- red pepper flakes, to taste
- 3 plum tomatoes, peeled, seeded, and chopped
- about 1/2 cup dry white wine
- 1 lb littleneck clams, soaked to remove grit and scrubbed (See Notes)
- 1 lb mussels, scrubbed with beards removed
- 1/2 lb of fresh asparagus, chopped into 2 inch (5 cm) pieces
- 2 tbs fresh basil chopped
- salt and pepper to taste
- roasted bread crumbs for garnish – optional (See Notes)
- fresh parsley for garnish
* * *

* * *
Directions
- Begin heating a large pot of salted water to be used to cook the pasta.
- Heat the olive oil in a large frying pan with a lid over medium heat.
- Add garlic and red pepper flakes. Cook for 2 minutes.
- Add tomatoes and wine. Stir well to combine.
- Continue cooking until most of the wine has reduced and the tomatoes have broken down — about 20 to 25 minutes.
- Add the asparagus and basil, stir, and then add the clams. Cover the frying pan.
- Add the pasta to the boiling water. (See Notes).
- About 2 minutes later, add the mussels to the frying pan and cover again.
- The mussels and clams should be opening at just about the time the pasta is nearing al dente – about 4 to 5 minutes.
- Drain the pasta and add it to the frying pan. Toss to combine. Continue cooking until the pasta is cooked to your satisfaction.
- Place the frying pan’s contents into the serving bowl. Be sure to remove and discard any unopened clams and mussels. When in doubt, toss it out!
- Garnish the dish with toasted bread crumbs and parsley before serving. Please, no cheese for this seafood dish.
* * *

* * *
Notes
Unlike years ago, most clams bought today from retail outlets have already been purged of sand, or so I’ve heard. That’s not the case, however, if you harvest your own or buy them along the shore. Even so, I still soak my clams to give them a chance to eliminate any sand. To do this, place the clams in a bowl of cold, fresh water and allow them to soak for a half hour or more, changing the water mid-way through. This is not the only way, however, and some advise that salt water is better at getting clams to discharge their sand. In both camps, there are some who believe that a bit of cornmeal will speed the process.
Do you remember last week’s baked calamari post? At the time, I advised making extra breading and reserving all of it left in the roasting pan once the calamari were removed and served. Well, this is one of the reasons why I suggested saving it. Rather than toast some breadcrumbs to garnish your pasta, grab some of these reserved breadcrumbs instead. They’re already cooked so either let them come to room temperature or nuke ’em for about 30 seconds before using. They are a great source of seafood flavor for your pasta.
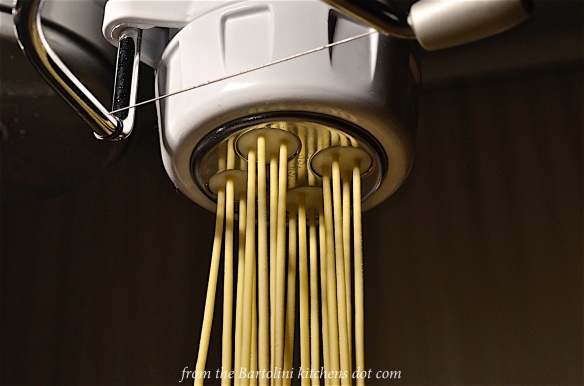
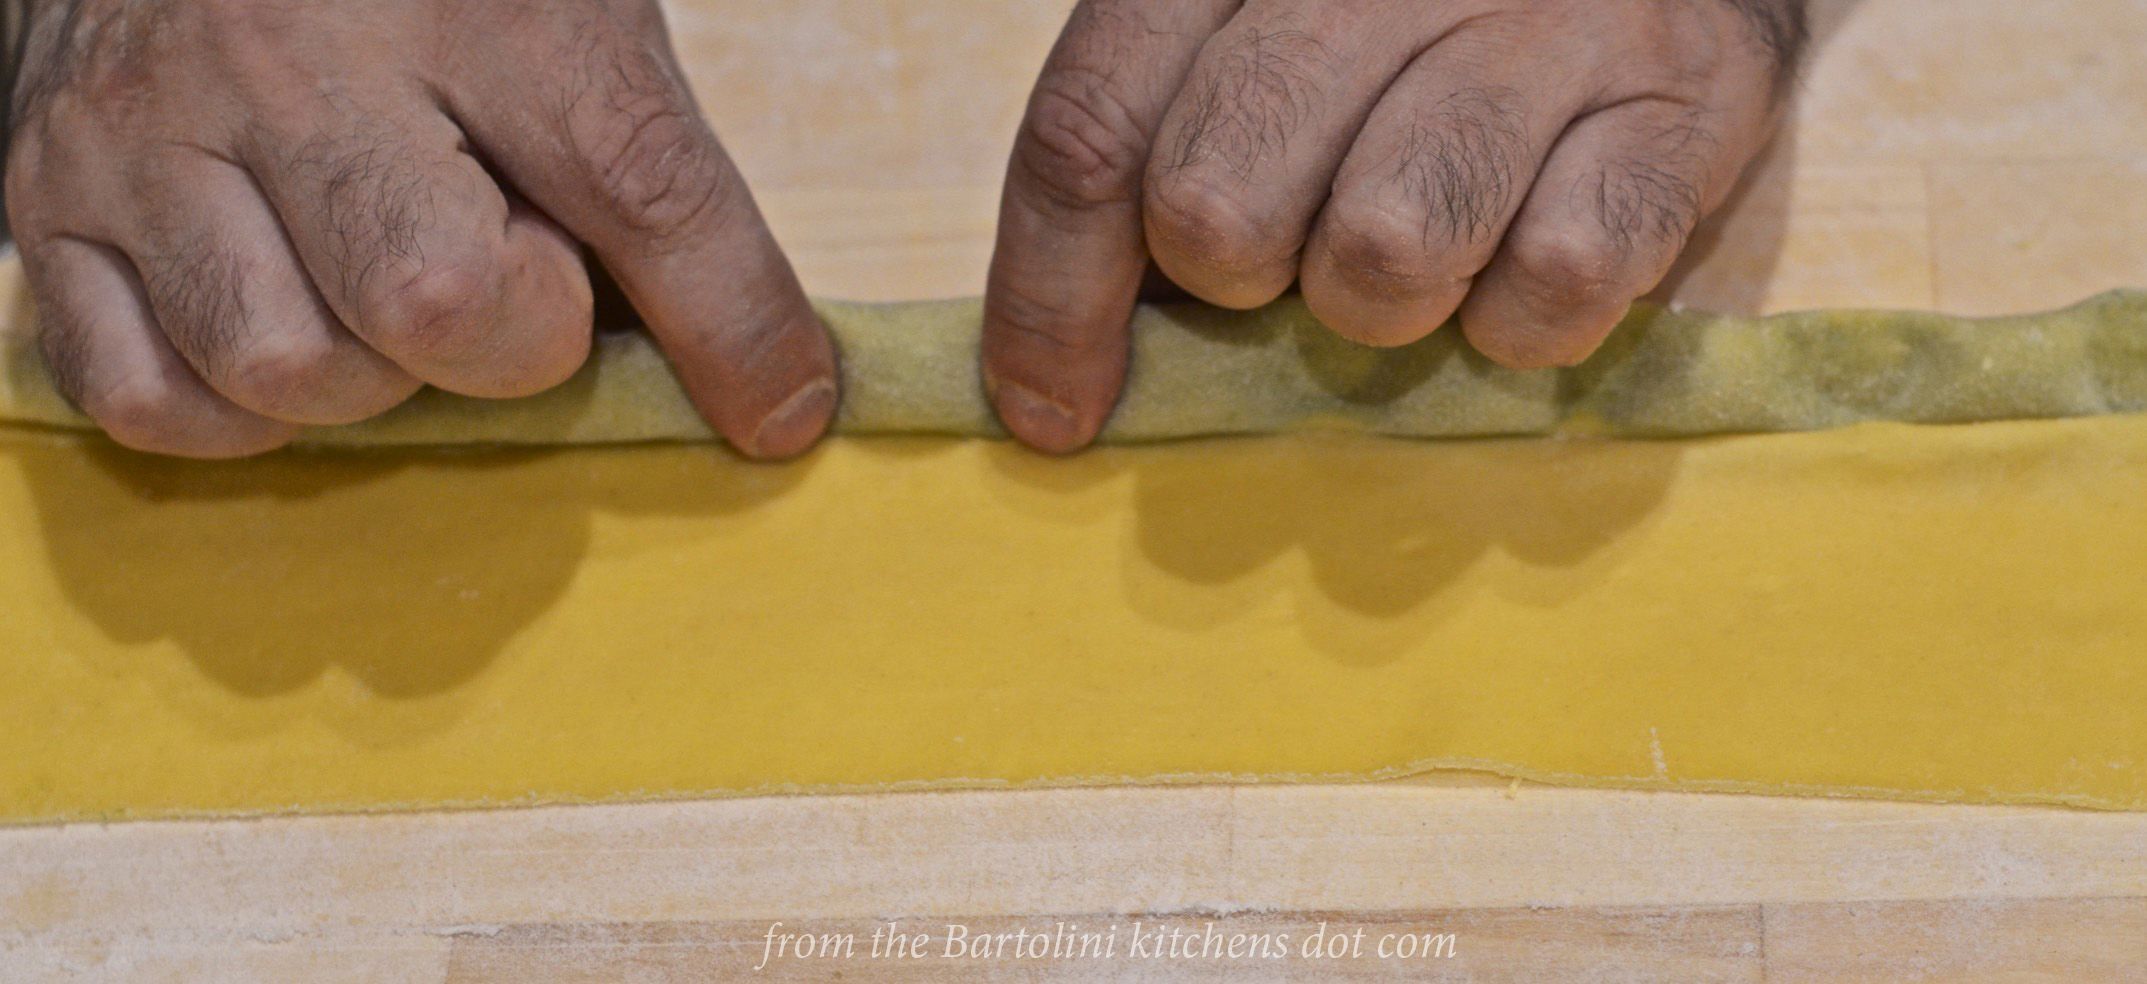
This recipe is based on cooking dried pasta with an al dente cooking time of about 6 minutes. When I made the dish pictured, I used fresh trenette pasta that I had made just about an hour before cooking. Freshly made pasta cooks in 2 to 3 minutes. As a result, I waited an additional 2 minutes before adding it to the boiling water.
* * *
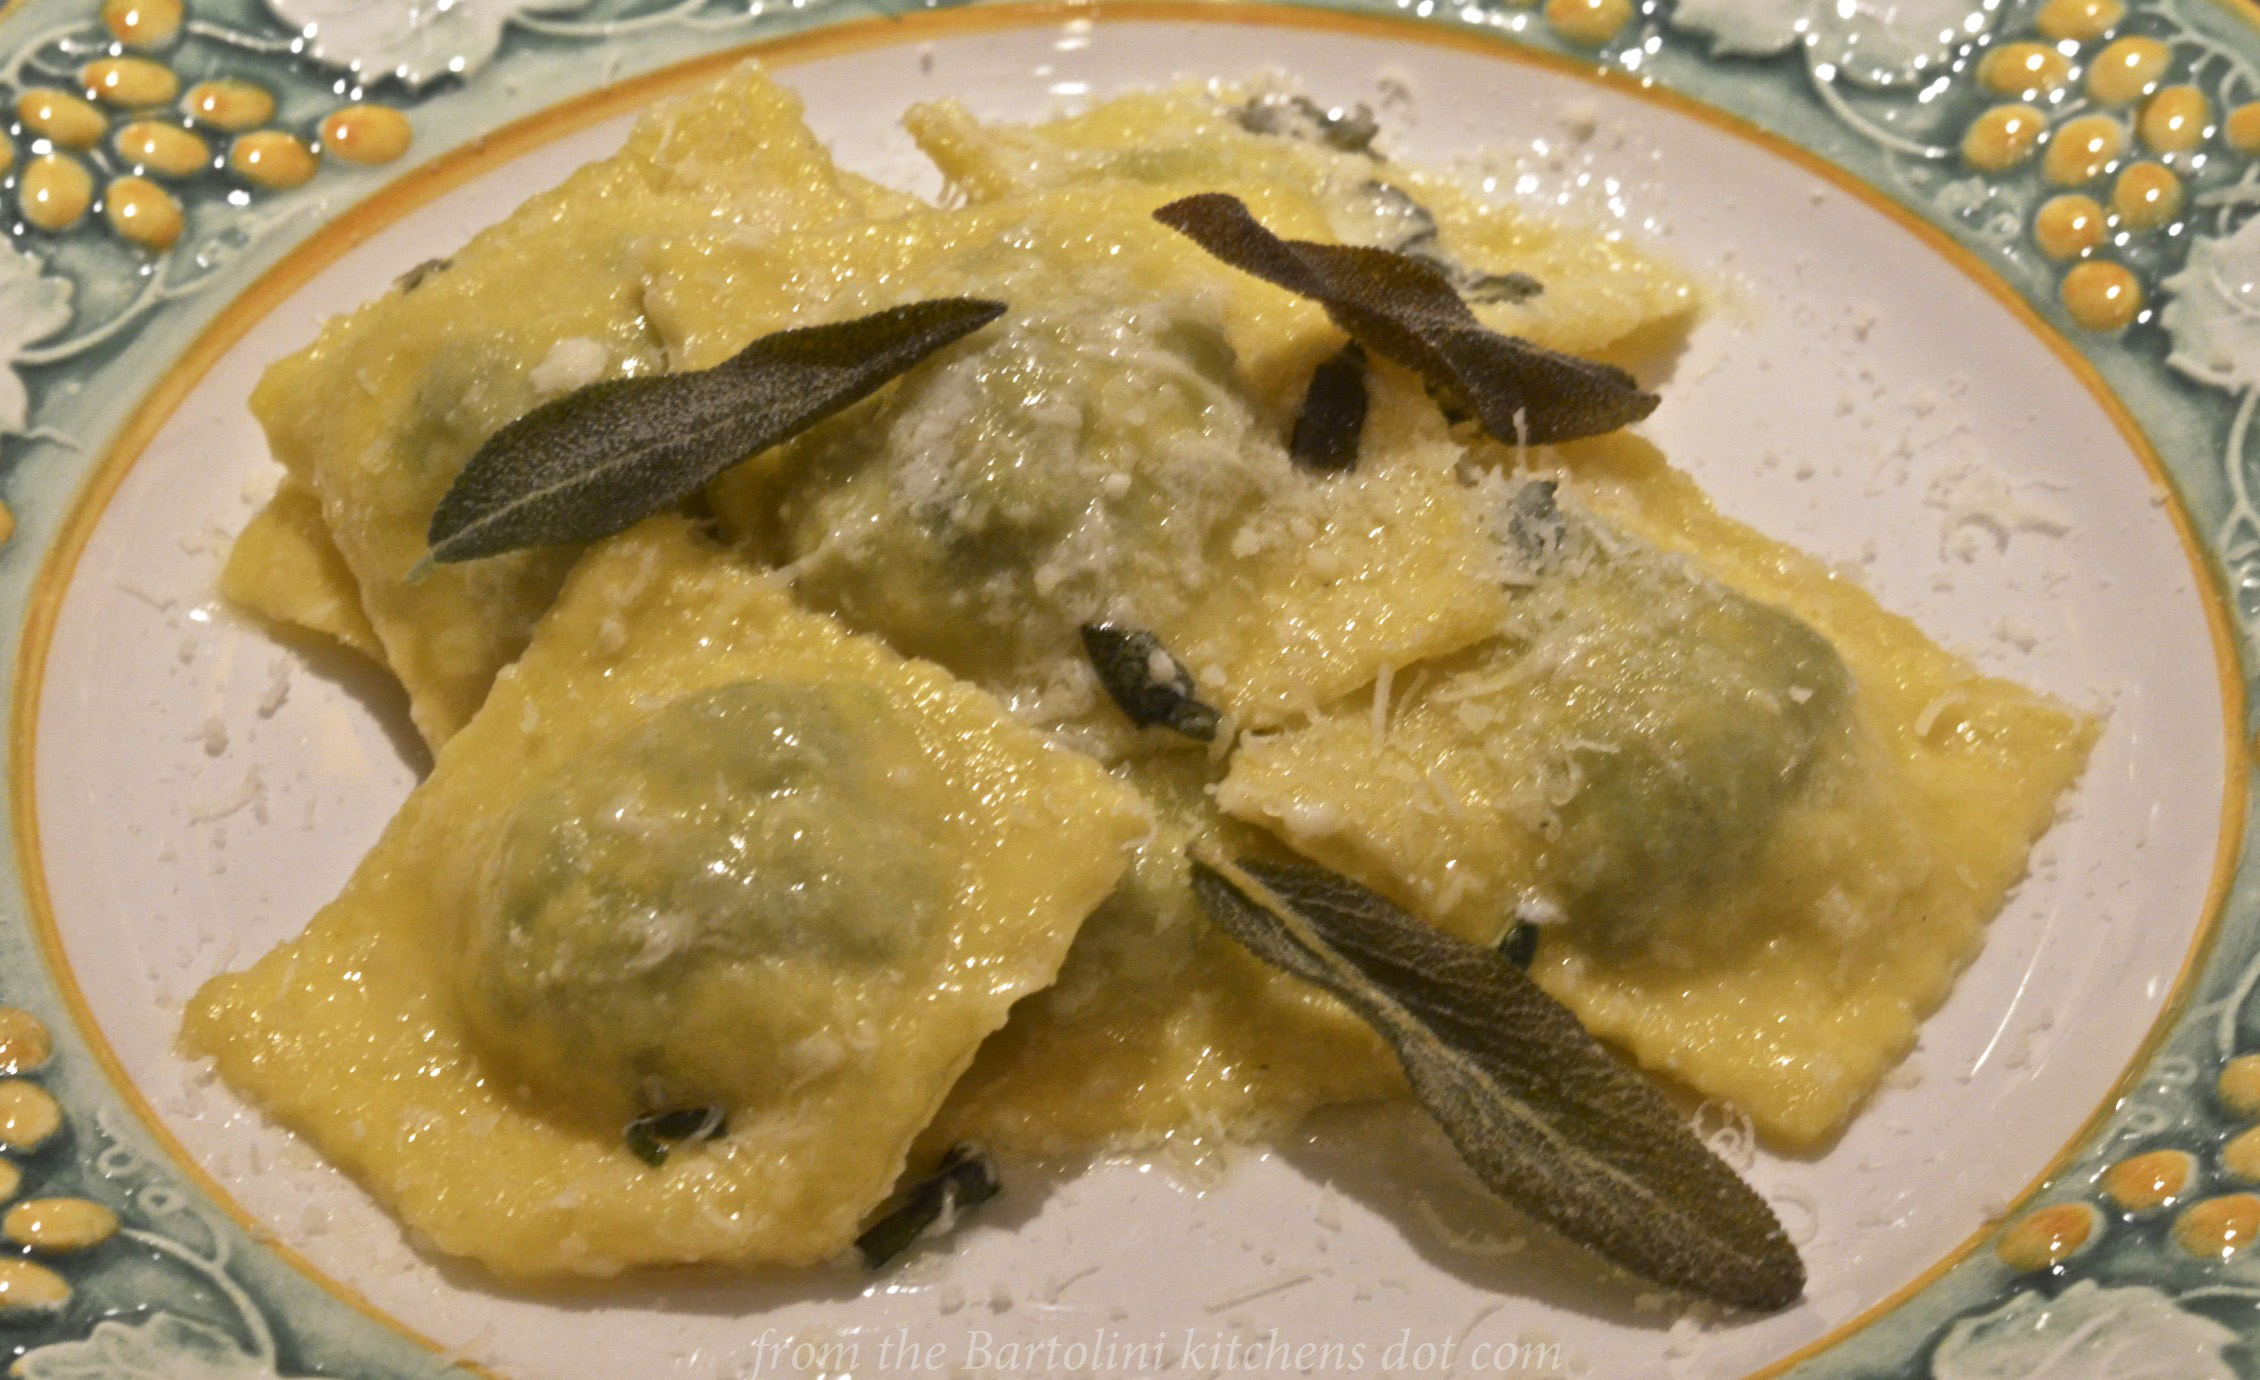
It’s déjà vu all over again …
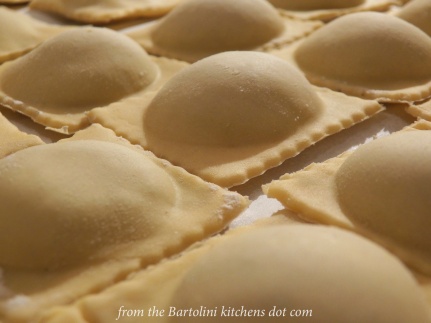
WIth this post’s mention of asparagus, it would be a missed opportunity should I not point you to another asparagus-related post. Made with asparagus, crimini mushrooms, and freshly made ricotta, these ravioli are a great springtime dish, whether served as a starter or main course. You can learn how to make the ravioli HERE.
* * *
Coming soon to a monitor near you …
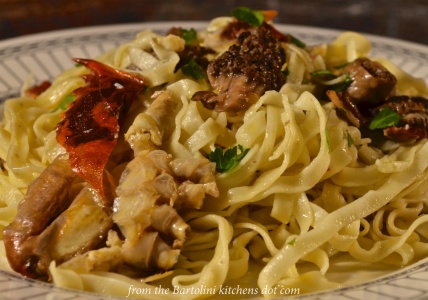
Trenette with Soft Shell Crabs and Morel Mushrooms
* * *