When I shared the recipe for Mom’s Brodo several weeks ago, it was with today’s post in mind. While it may be true that her broth was used in a number of recipes, from chicken cacciatore to risotto, for many of us, it was at its best when served with Cappelletti, yet another jewel in the Bartolini Crown of Recipes. Traditionally served at Christmastime, cappelletti are a type of stuffed pasta said to resemble small hats. Search the internet and you’ll see them made much like the making of tortellini. I’ve watched cooking shows touring Bologna and have been mesmerized at the sight of women quickly fashioning cappelletti by hand. As the camera moves back offering a wider shot, it is really quite impressive to see all the freshly made little hats prepared that morning. That is not what you’re going to see here today.
* * *

* * *
Forming those little hats is a most time-consuming practice unless you’ve enough experience to become proficient. The women I’ve watched will make more cappelletti in one day than a Bartolini would have made all year — and then some. There is just no way Mom or Zia could devote the time to make enough little hats to serve their families later that day. You read that right, later that day.
When I was a boy, few families, if any, owned freezers other than the small compartment atop their refrigerator. As a result, there simply was no place to store freshly made ravioli or cappelletti. This meant that Mom and Zia got to work making pasta at 5:00 AM on every holiday. As such, either ravioli or cappelletti were made on any given holiday and  never both. So, in our home, Mom served ravioli for our Christmas Day dinner, while cappelletti was served for lunch on New Year’s Day. There were days, however, when the cappelletti lunch was nixed in favor ravioli that night. It wasn’t until a large freezer was bought and placed in the basement that it became possible for ravioli and cappelletti to be made ahead of the actual holiday — allowing Mom and Zia to get some much-needed rest on those holiday mornings. Not only that, but it, also, became possible to have cappelletti for lunch AND ravioli for dinner on the same holiday. What joy!
Yet, even though they could now prepare their pasta in advance, there was still no way that either Sister could afford the time to make little hats. Initially, they made cappelletti as they did ravioli, rolling out large sheets of dough, covering half will little  balls of filling, and then covering them with the “free” half of the dough sheet. Using a spoon handle, the mound in the dough were sealed and then cut using a pastry wheel. Remember that cappelletti are served in soup and shouldn’t need to be cut before being eaten. Each must be small enough to fit comfortably on a soup spoon, making this a time-consuming process in its own right. There was — and is — no need for hats. Speaking of which and just to be clear, although we call our pasta cappelletti, they actually are small ravioli, raviolini.
 Everything changed again when Mom started using dies (moulds) to make her ravioli and cappelletti. Her cappelletti became miniaturized, smaller than any she’d made before. I have that die and, unfortunately, I’ve yet to be able to master it. The compartments for the filling are far too small for my hands to fill. I never saw Mom use the die and I must be missing some secret trick to its use. Now, Mom’s die made 40 cappelletti, each ¾ inch (1.9 cm) square, while my die will make 48 cappelletti, each 1 inch (2.5 cm) square. That ¼ inch may not seem like a lot but it’s enough to separate success from failure on my pasta board. Even so, I know that I’m not done trying to learn how to use that die if for no other reason than self-satisfaction.
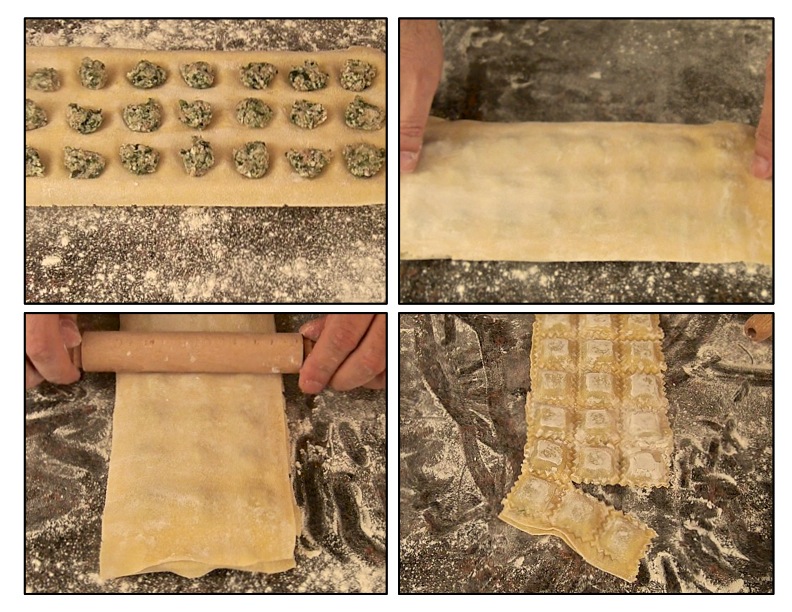
This post will not be as detailed as previous posts when depicting the use of a ravioli die. You can find more complete instructions in my Ravioli dei Bartolini post. No 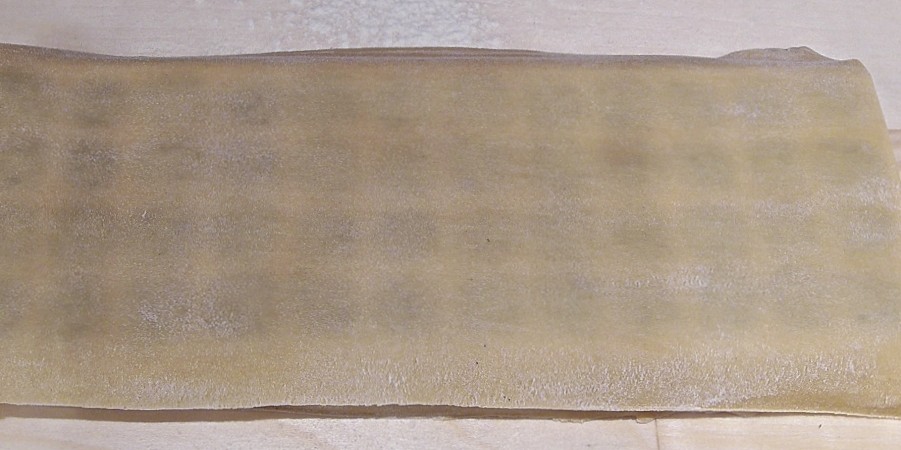 matter the size of the die or the resulting pasta, the steps required are the same. Cover the die with a sheet of dough; place a small amount of filling in each indentation; lightly moisten another dough sheet before placing it atop the first; use a rolling-pin to seal the 2 sheets; remove the now-joined sheets from the die; and, separate the individual raviolo. Sometimes, a pastry wheel will be required to cut and separate them.
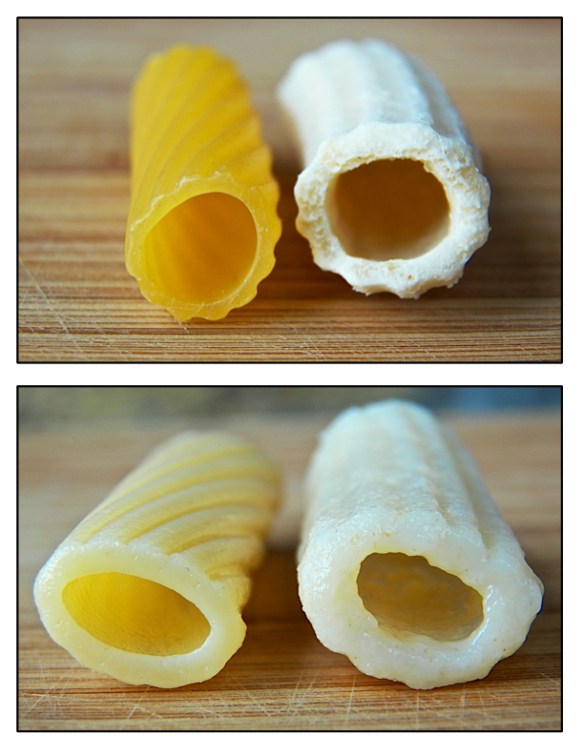
When using any die, the most important thing to remember is not to overstuff each compartment. Look again at the 2 dies in the photo above. One has compartments that  are open while the other’s compartments have a back and are closed. When using a die that is open, the dough sheet will stretch a little to compensate if you’ve used too much filling. Even so, use too much filling and the dough sheet will stretch to the point of tearing, a very disheartening sight. If you place too much filling on to a die that is closed, that has a back, the excess filling has nowhere to go other than out that compartment’s sides, possibly affecting the seal of not just that one raviolo but all of its neighbors, as well. All is not lost, though, for some of these poorly sealed ravioli.
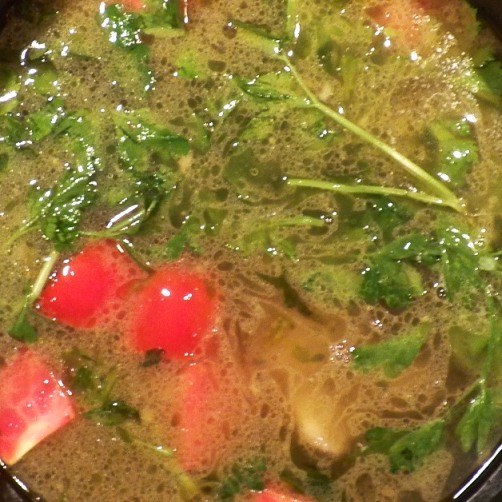
Ravioli are first boiled in water before being drained and dressed with your favorite sauce. Poorly sealed ravioli will dump their contents during the boiling or draining stage. Little can be done to save them and their tasty filling. Cappelletti, though, are a different matter altogether. As you’ll soon see, these are cooked in brodo and should any split 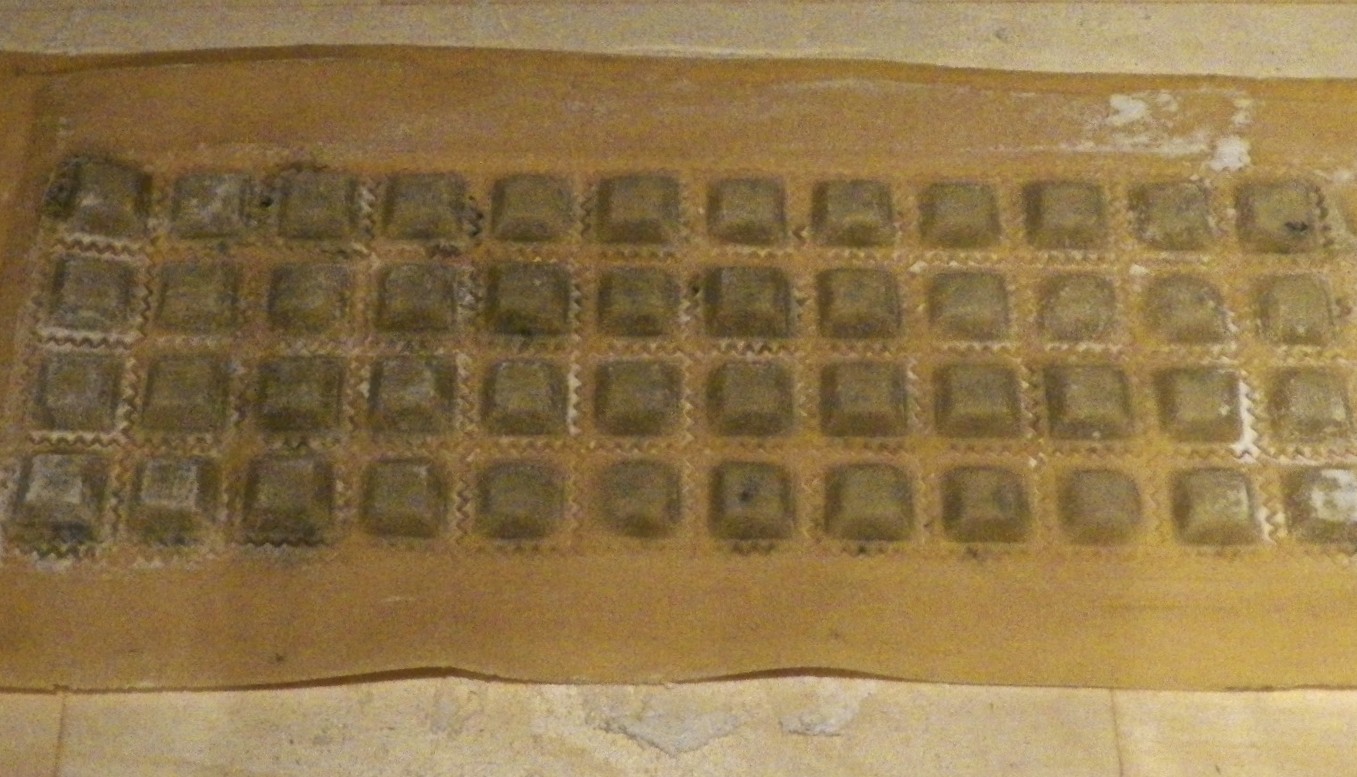 during cooking, the contents aren’t lost but will serve to flavor the soup. It may not be pretty but it will be one tasty bowl of soup.
The recipe for the cappelletti filling is easy to follow and lacks exotic ingredients, a hallmark of Bartolini recipes. It can be made as much as 2 days in advance so long as it is kept covered and refrigerated. Longer than that, it may be frozen and used within a few weeks. In preparation for this post, I made about 500 cappelletti with one batch of filling — and still had enough filling left over to use in another recipe. That dish will be shared sometime in the weeks ahead.
* * *

* * *
Filling Recipe for Bartolini Cappelletti
Yield: Enough filling to be used with 8 eggs of pasta dough. Recipe found here.
Ingredients
- 1 1/2 lbs. ground pork
- 1 1/2 lbs. ground veal (chicken or turkey may be substituted)
- 2 – 3 tbsp butter
- 1 pkg (8 oz) cream cheese
- 1 cup grated Pecorino Romano — Parmigiano may be substituted
- 2 or 3 eggs slightly beaten — depending on size
- ¼ tsp ground nutmeg
- zest of 1 lemon, more if you like
Directions
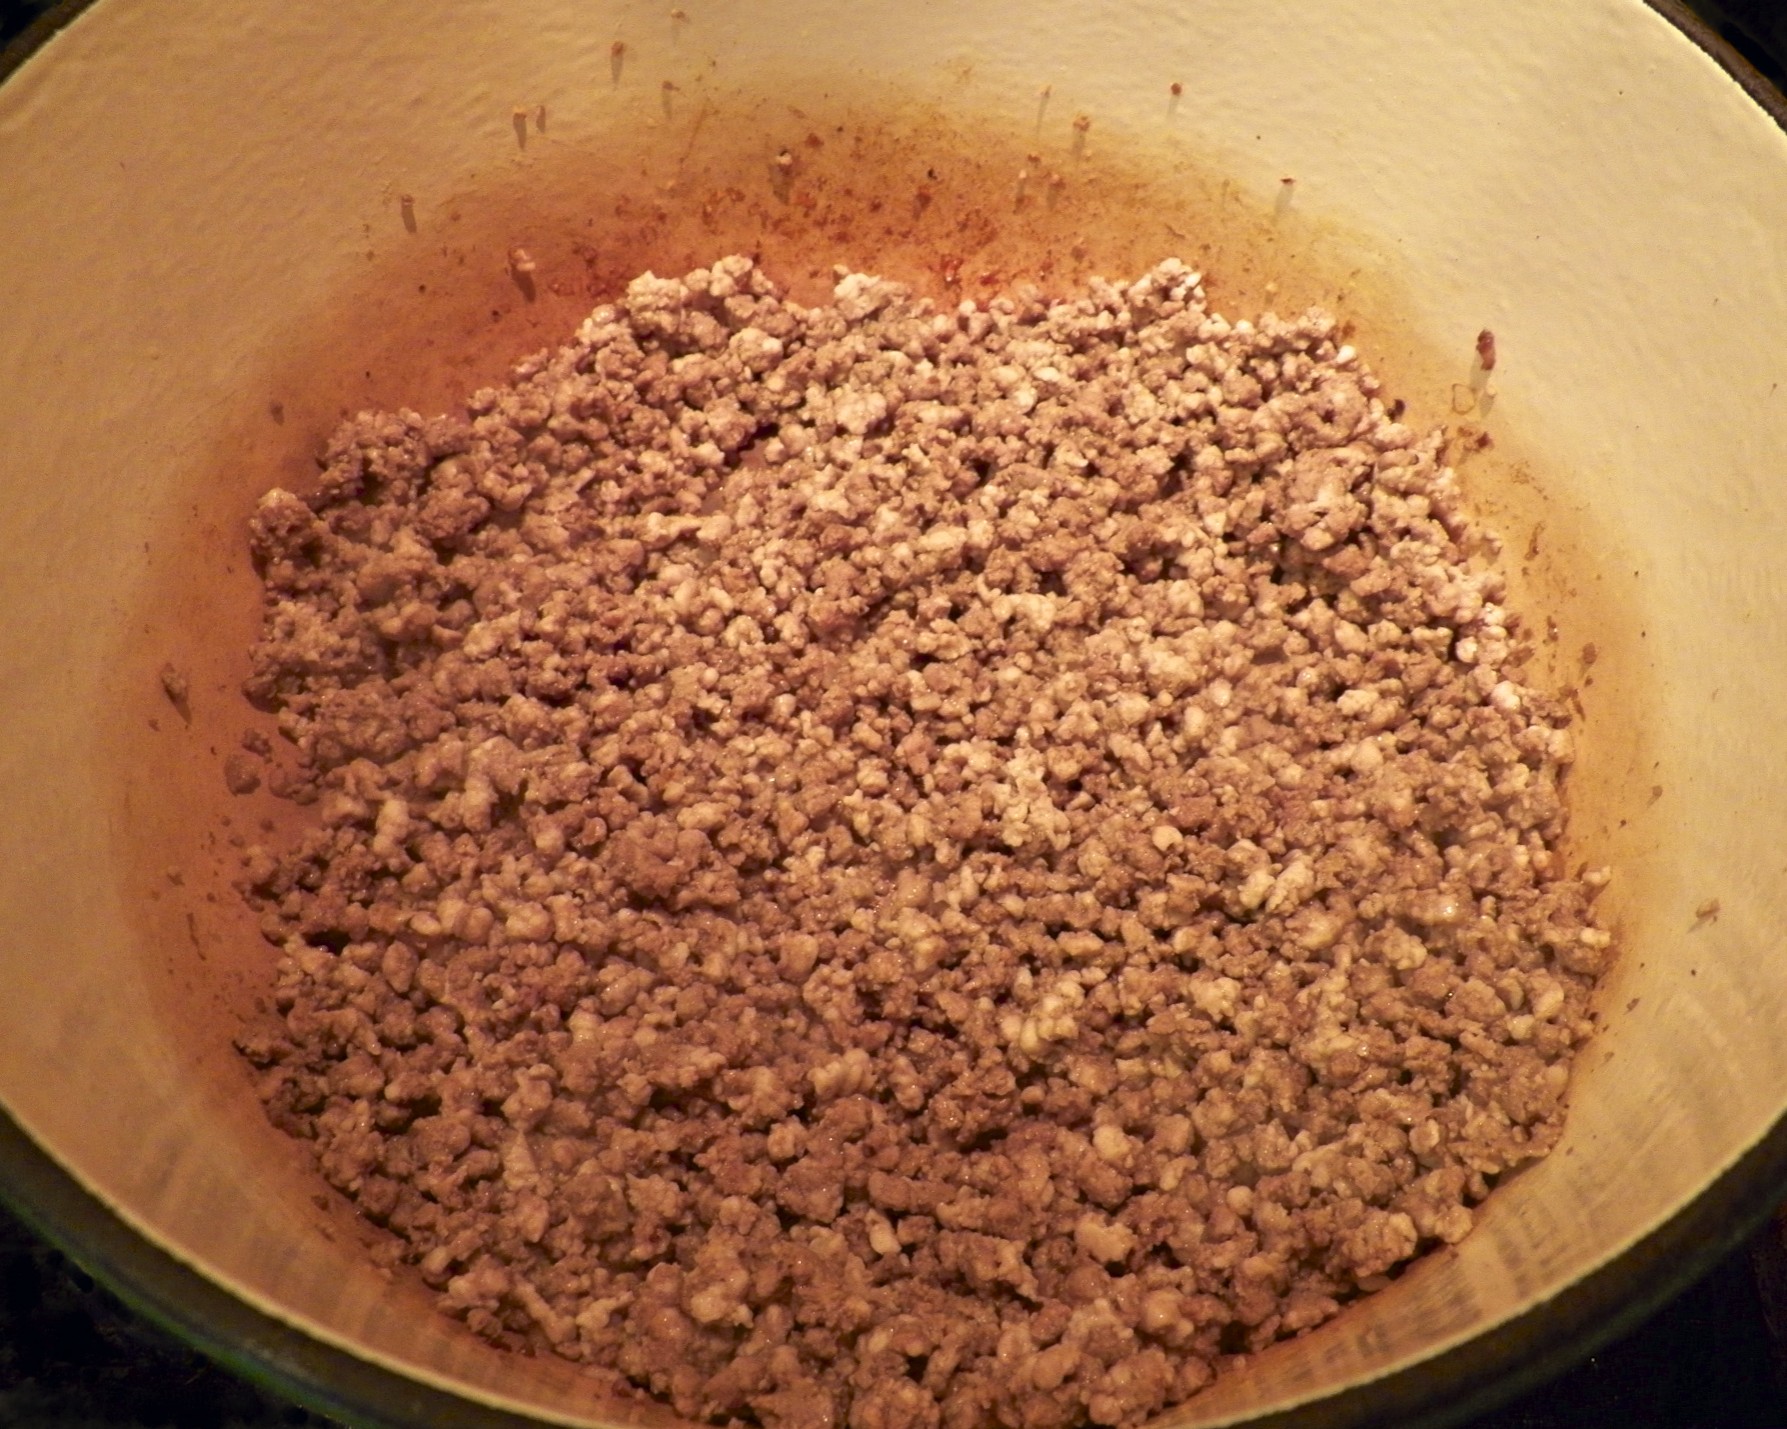
- Sauté meat in butter. Season lightly with salt.
- Use meat grinder to process the meats. Add all the ingredients into a mixing bowl and mix until well-combined.
- Cover the filling and refrigerate for a few hours or overnight.
- Once the filling has rested, you can begin making your cappelletti.
* * *
Variations
Our cappelletti are served alone in brodo. Adding other ingredients, aside from a garnish of grated cheese, might serve to overpower the hint of nutmeg or touch of lemon zest flavors within the cappelletti. My blogging buddy, Stefan, serves his tasty Tortellini in Brodo the same way. Ours is not the only way, however.
Recipes abound that feature tortellini served in brodo with a variety of ingredients. Last October, my friend Linda, of Savoring Every Bite, shared her tasty recipe for one such preparation, a hearty Tortellini Soup. And, not to be outdone, my friend Tanya, over at Chica Andaluza, just last week posted her delicious recipe featuring Tortellini with Leeks and Bacon Broth. You certainly cannot go wrong with any of these recipes.
* * *

* * *
Notes
As mentioned earlier, cappelletti are cooked in the broth in which they are served. Bring your broth to the boil over med-high heat before adding the cappelletti. Once the boil returns, reduce the heat to a soft simmer. Too hard a boil may damage the cappelletti. Actual cooking times will vary, depending upon the cappelletti’s size and whether they’re freshly made or frozen. Once the cappelletti begin to float in the broth, they are usually just about ready for serving. I’ll wait another 1 or 2 minutes before tasting one for doneness. Serve immediately with plenty of grated cheese at the table.
Not everyone has the time to make homemade brodo and most of us will turn to store-bought stock occasionally. Whether you use your own broth or buy one at your local market, make sure it is low sodium. The cheeses within the cappelletti both contain salt and, if you’re not careful when preparing/selecting your brodo, your bowl of cappelletti may be too salty to enjoy. You can always add salt, should the soup need it, just prior to serving.
* * *
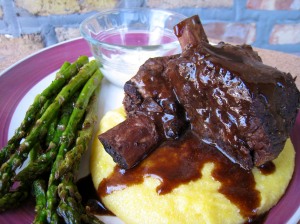
It’s déjà vu all over again …
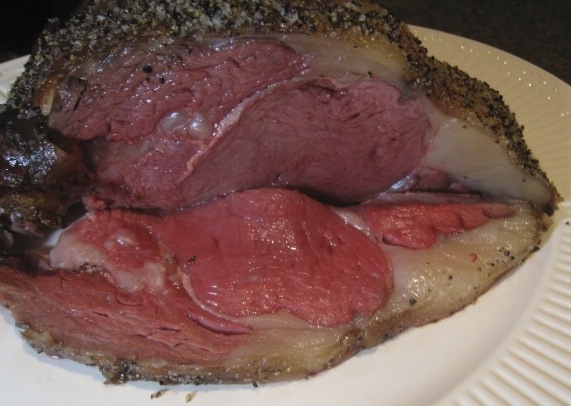
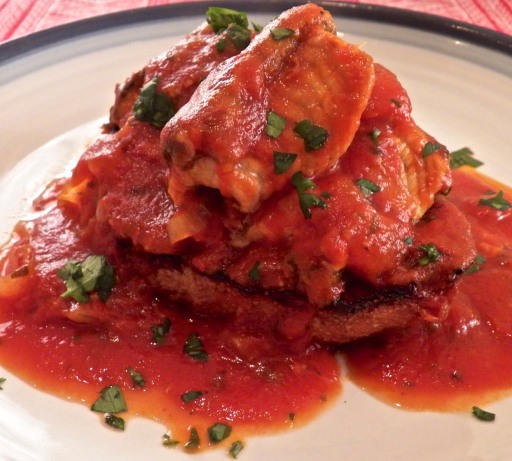
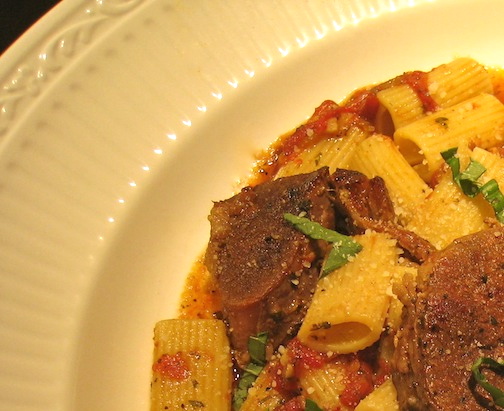 I shared the recipe for Steak Pizzaiola about 2 years ago and, since that time, it has become one of the most popular recipes on my site. Easy to prepare, this is one dish sure to please all members of your family — well, except for the vegetarians. Not to worry. We’ll be sharing recipes for our non-carnivore friends in the weeks to come. In the meantime, you can check out the recipe for steak pizzaiola by clicking HERE.
* * *
Coming soon to a monitor near you …

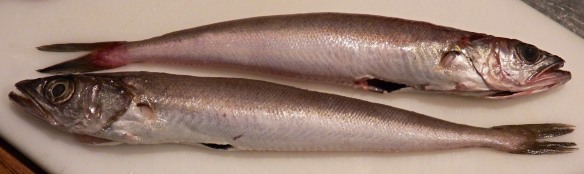
Grilled Sturgeon with Lemon-Caper Sauce
* * *