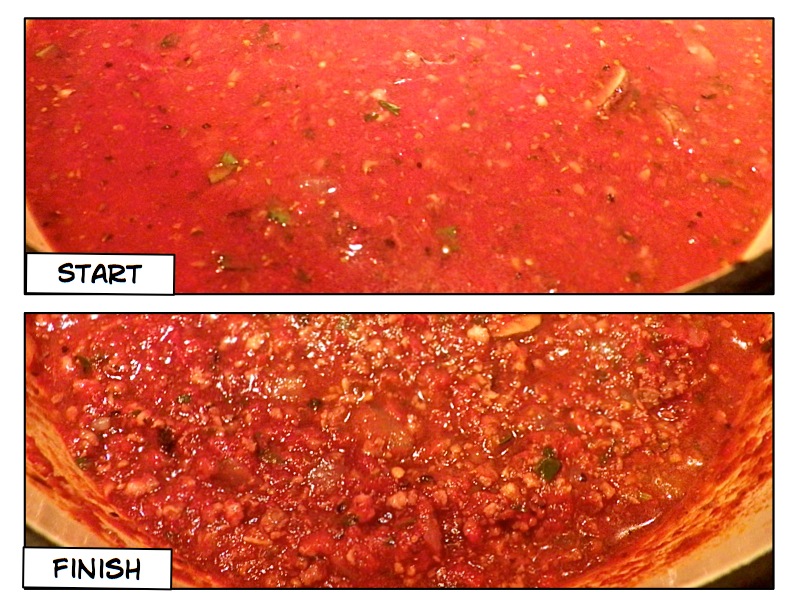
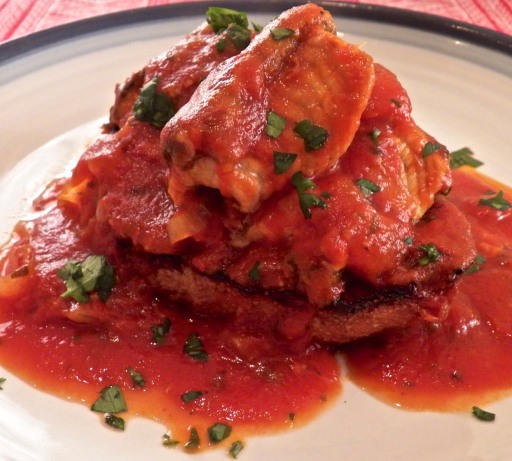
Sugo alla Bolognese

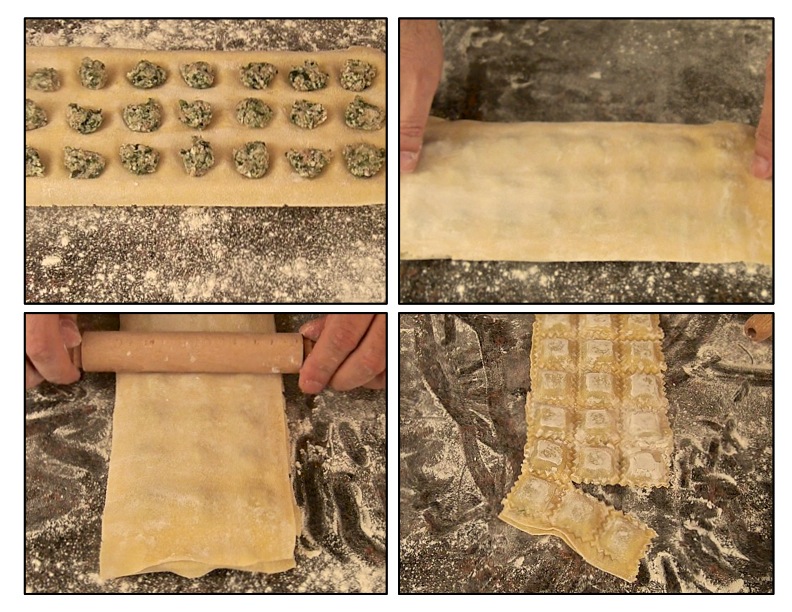
Pappardelle alla Bolognese
To many, the district of Emilia-Romagna features the best of Italian cuisine and many of the foods we associate with Italy originated there — or so the locals claim. Balsamic vinegar (Modena), amaretti (Modena), prosciutto (Parma), Parmigiano Reggiano (Parma), and Grana Padano (Parma) are but a few of the area’s most famous contributions to Italian cuisine — and we’ve not yet mentioned the capital, Bologna. Home to what many believe to be the oldest, continuously running university in the World, the cooking of Bologna is often considered the Best of the Best and its contributions to Italian cuisine are many: mortadella, tortellini & tortelloni, lasagna(?), cannelloni(?), Sugo alla Bolognese, to name but a few. (Note: my family never referred to a sauce as “ragu”. “Sugo” was the word we used and that’s what will be used here to describe this sauce.)
One of the peculiarities of Italian cooking is that the preparation of a dish, any dish, can vary from district to district, province to province, town to town, and even house to house. Perhaps Chef Mario Batali said it best when he described Italian cuisine as the “cooking of Nonnas” and handed down from generation to generation. With that history and with few recipes written down, it’s easy to see how the recipes can vary. When speaking of a Bolognese sauce, the first documented recipe for it appeared in the late 19th century, and, as recently as 1981, the Italian Academy of Cuisine (Accademia Italiana della Cucina) published what it considered to be the “classic” recipe (Source Wikipedia). If you’re expecting to find either of these recipes here, you’re going to be disappointed. Although many of the ingredients are the same, today’s recipe is one I’ve developed over a number of years and, if you ask me to write it down 2 years from now, it will probably be different from what I’m about to share. In short, it is, and will forever be, a work in progress. There are a few ingredients common to all Bolognese sauces and I urge you to assemble them and create your own sugo. One day your Grandkids will thank you.
To begin, many consider a Bolognese sauce as a tomato sauce that has meat. That’s not quite right. Most true Bolognese are predominantly meat with a bit of tomato or, as Chef Emeril Lagasse calls it, a “meat sauce with tomato.” To that end, I’ve included beef, veal, pork, sausage, and pancetta in the recipe to follow (see Notes). As for the tomato component, only tomato paste will be used below. No whole, chopped, or puréed tomatoes will be harmed in the making of this sugo. It’s also worth noting that most Bolognese feature relatively few spices and herbs, although I’ve included a couple because that’s just the way we Bartolini roll. Unique to a Bolognese, some form of dairy is added to the pot, though the timing may vary. I use a good amount, early in the preparation. Lastly, wine is added early on and though I choose to use a dry white, you may wish to use a red instead.
One more thing is worth mentioning and it’s a real time saver. The recipe calls for a number of ingredients chopped finely. Rather than chop them all — and since I do not like seeing pieces of carrot in my sauce — I smash the garlic and give the rest a rough chop before placing everything into the food processor. I let it run until the ingredients are all finely chopped and then add the mixture to the hot oil in the pan. Easy peasy!
* * *
Sugo alla Bolognese Recipe
yield: 2.5 quarts (2.4 l)
Ingredients
- 1 large onion, very finely chopped
- 2 -3 carrots, very finely chopped
- 2 -3 celery ribs, very finely chopped
- 6 cloves garlic, diced
- 4 tbsp fresh parsley, chopped
- 3 tbsp extra virgin olive oil
- 3/4 to 1 lb. (340 to 454 g) ground beef
- 3/4 to 1 lb. (340 to 454 g) ground pork
- 3/4 to 1 lb. (340 to 454 g) ground veal
- 4 oz ground pancetta
- 6 oz (170 g) ground pork sausage
- 1 cup dry white wine
- 12 oz half-and-half (whole milk or a mixture of whole milk & heavy cream may be substituted)
- 1 can (12 oz, 355 ml) tomato paste
- 2 cups low sodium beef stock
- salt & pepper


Directions
- Heat oil in large sauce pan over a medium-high heat. Once hot, add carrots, onion, celery, garlic, and parsley, season lightly with salt & pepper, and sauté until the liquids are gone and the vegetables start to color.
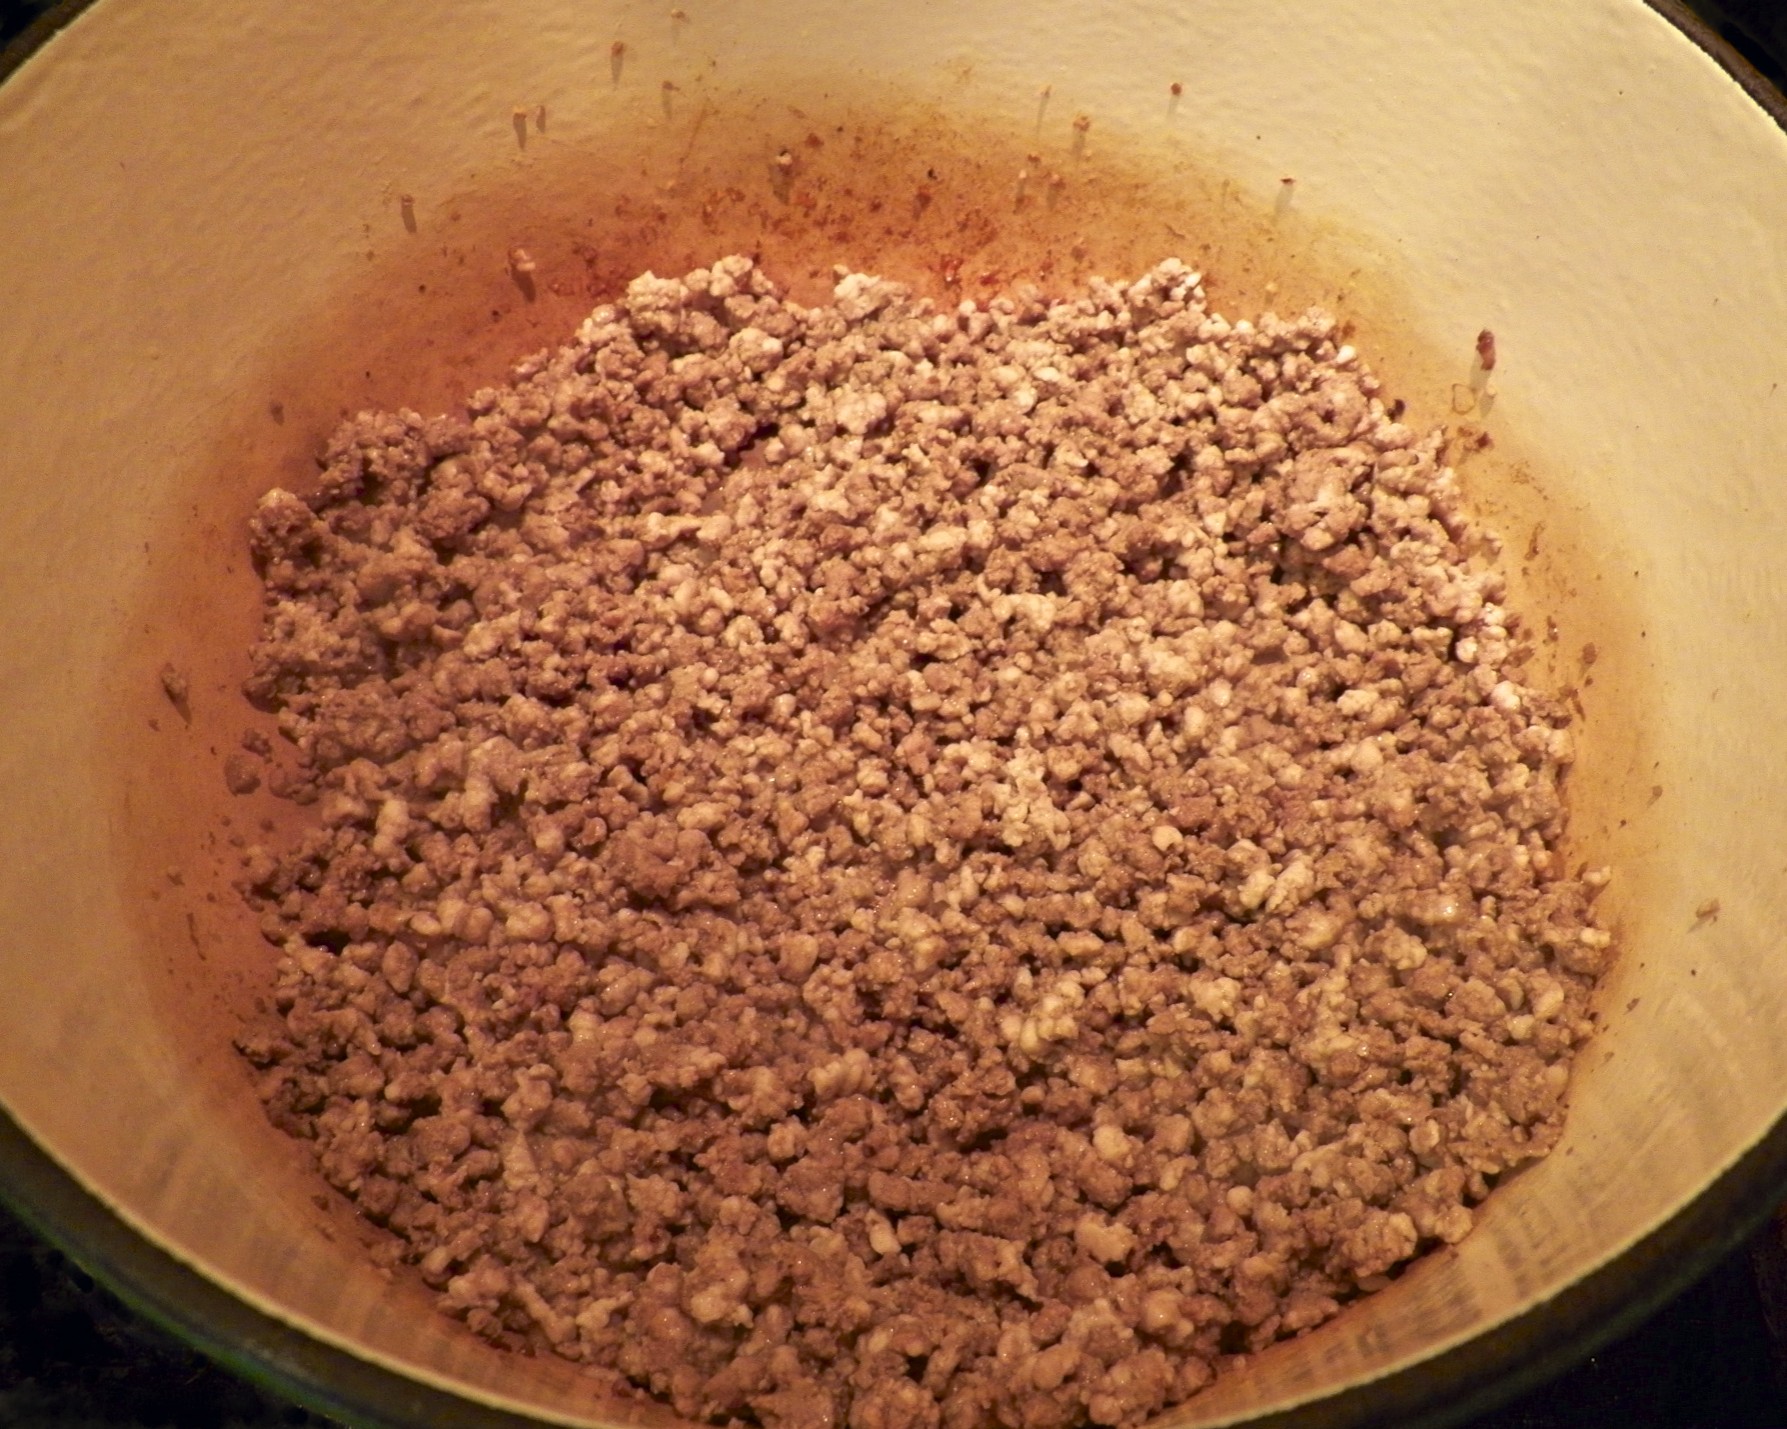
- Add ground meats, stir well, and continue to sauté until well beyond the point where the meat is no longer pink. All of the juices should run clear and the meat should have darkened due to caramelization.
- Add the milk and sauté until about half has evaporated.
- Add tomato paste, mix thoroughly, and continue to sauté another 2 minutes.
- Add the wine and sauté until most has evaporated.
- Add the beef stock, stir well, and bring to a boil before reducing to a very low simmer.
- Continue to simmer until the sauce deepens in color and thickens — at least 2½ to 3 hours. Stir occasionally. At the end, season with salt and pepper, to taste.
- Sauce is ready for use with your favorite pasta or, once cooled, for storage in your refrigerator or freezer.
* * *


* * *
Variations
Some recipes that I’ve seen, and tasted, include ground chicken livers with the meat mixture. Frankly, I don’t see the need for the ingredient, being happy with this sugo as it is. Then again. come back in a few years and you may find me extolling the virtues of chicken livers in my Sugo alla Bolognese.
While “Spaghetti alla Bolognese” is a dish common to many Italian restaurant menus on this side of the Atlantic, in Italy Sugo alla Bolognese is most often served with pappardelle, tagliatelle, and even fettuccine.
* * *

Roll, Cut, & Unfurl Pappardelle
* * *
Notes
Know thy sausage! The sausage you add will have a big impact on your sauce’s flavor. Choose it wisely lest you run the risk of “contaminating” your sugo with an unpleasant taste.
* * *
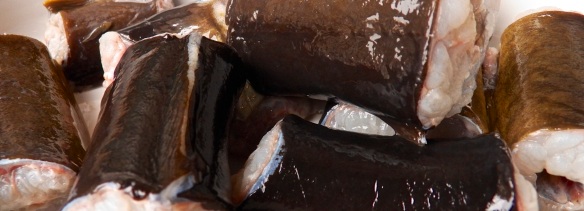
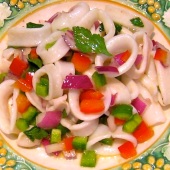
It’s déjà vu all over again
 I shared a Fried Calamari recipe 2 years ago, when this blog was still pretty young. Since then, it has become the most referenced recipe on my blog, by a nearly 2 to 1 margin, although Chicago Style Giardiniera is coming on strong. You can view the recipe that everyone is clamoring to see by clicking HERE.
* * *
Coming soon to a monitor near you …

The Return of Burrata
* * *