Halibut alla griglia con funghi

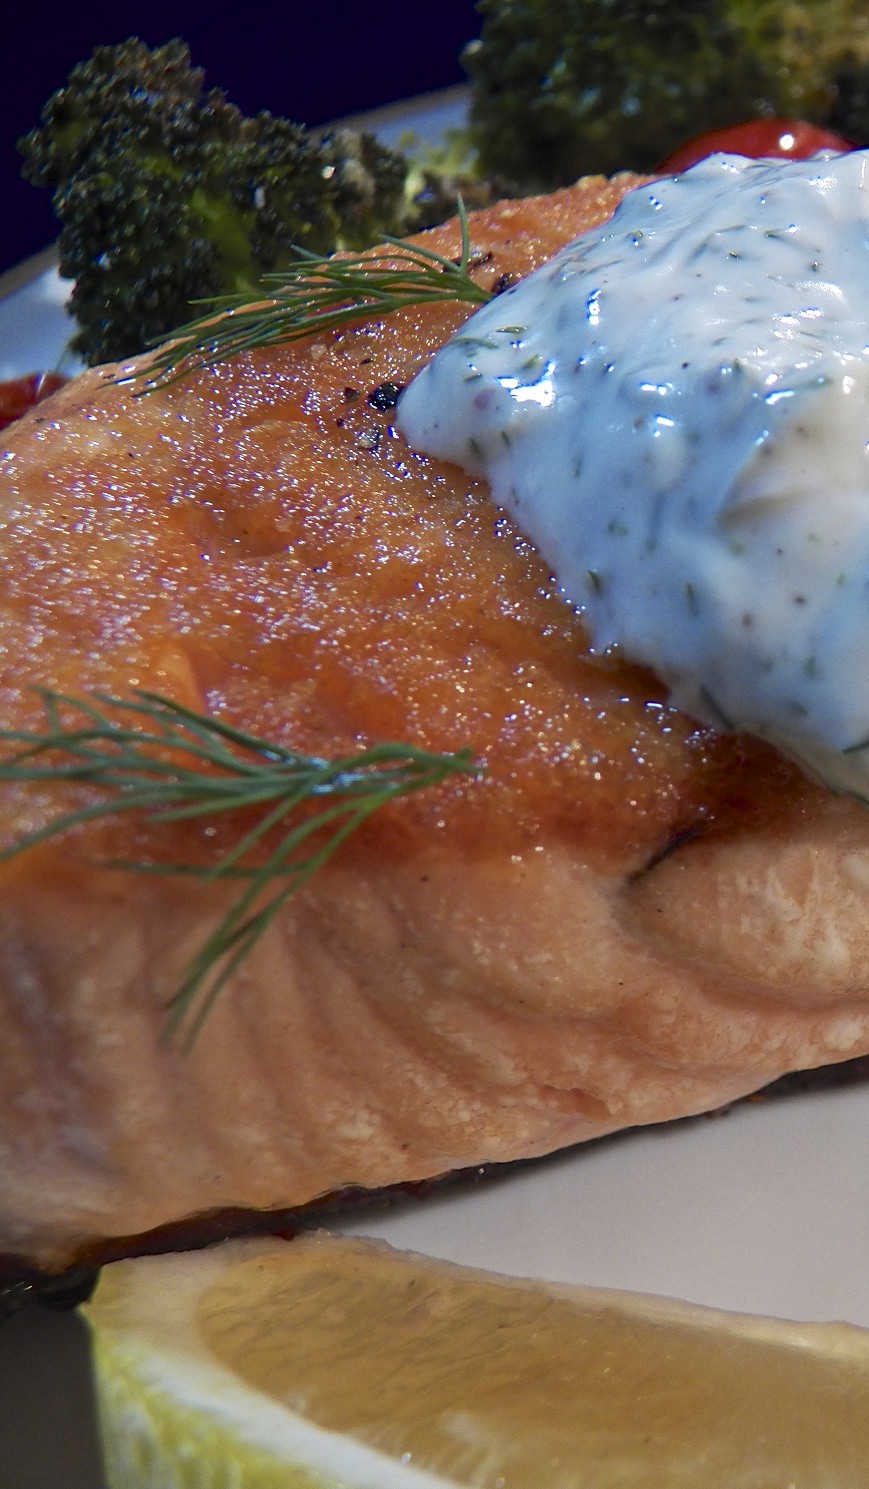
With the arrival of Easter on Sunday, today’s post will mark the end of the series of seafood dishes. And what a good one to end with: Broiled Halibut!
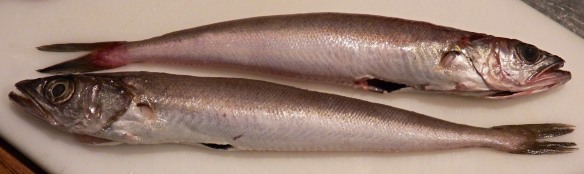
Some may be surprised to learn that halibut is what’s called a “flatfish”, meaning that it has evolved into one that lives on the ocean floor. Think flounder or sole, only very much larger. Like most flatfish, at birth halibut fry appear and swim like the young of other fish. Around 6 months of age, however, one of its eyes begins to migrate to the other side of the fish. As it does, the fish goes from being left and right-sided to having a top and bottom-side. The top-side (the side with both eyes) develops a gray color while the bottom-side (the side that rests on the ocean floor) becomes white. As is so often the case with seafood today, halibut is in trouble in some areas. Look for Alaskan, wild caught, and do not buy Pacific halibut caught with gill nets nor Atlantic halibut caught through bottom trawling. If your fishmonger doesn’t know how or where his halibut is caught, it’s a sign to buy seafood that you know to be sustainable. My experience has been that fishmongers are proud to tell you when their stock is sustainable and harvested correctly.
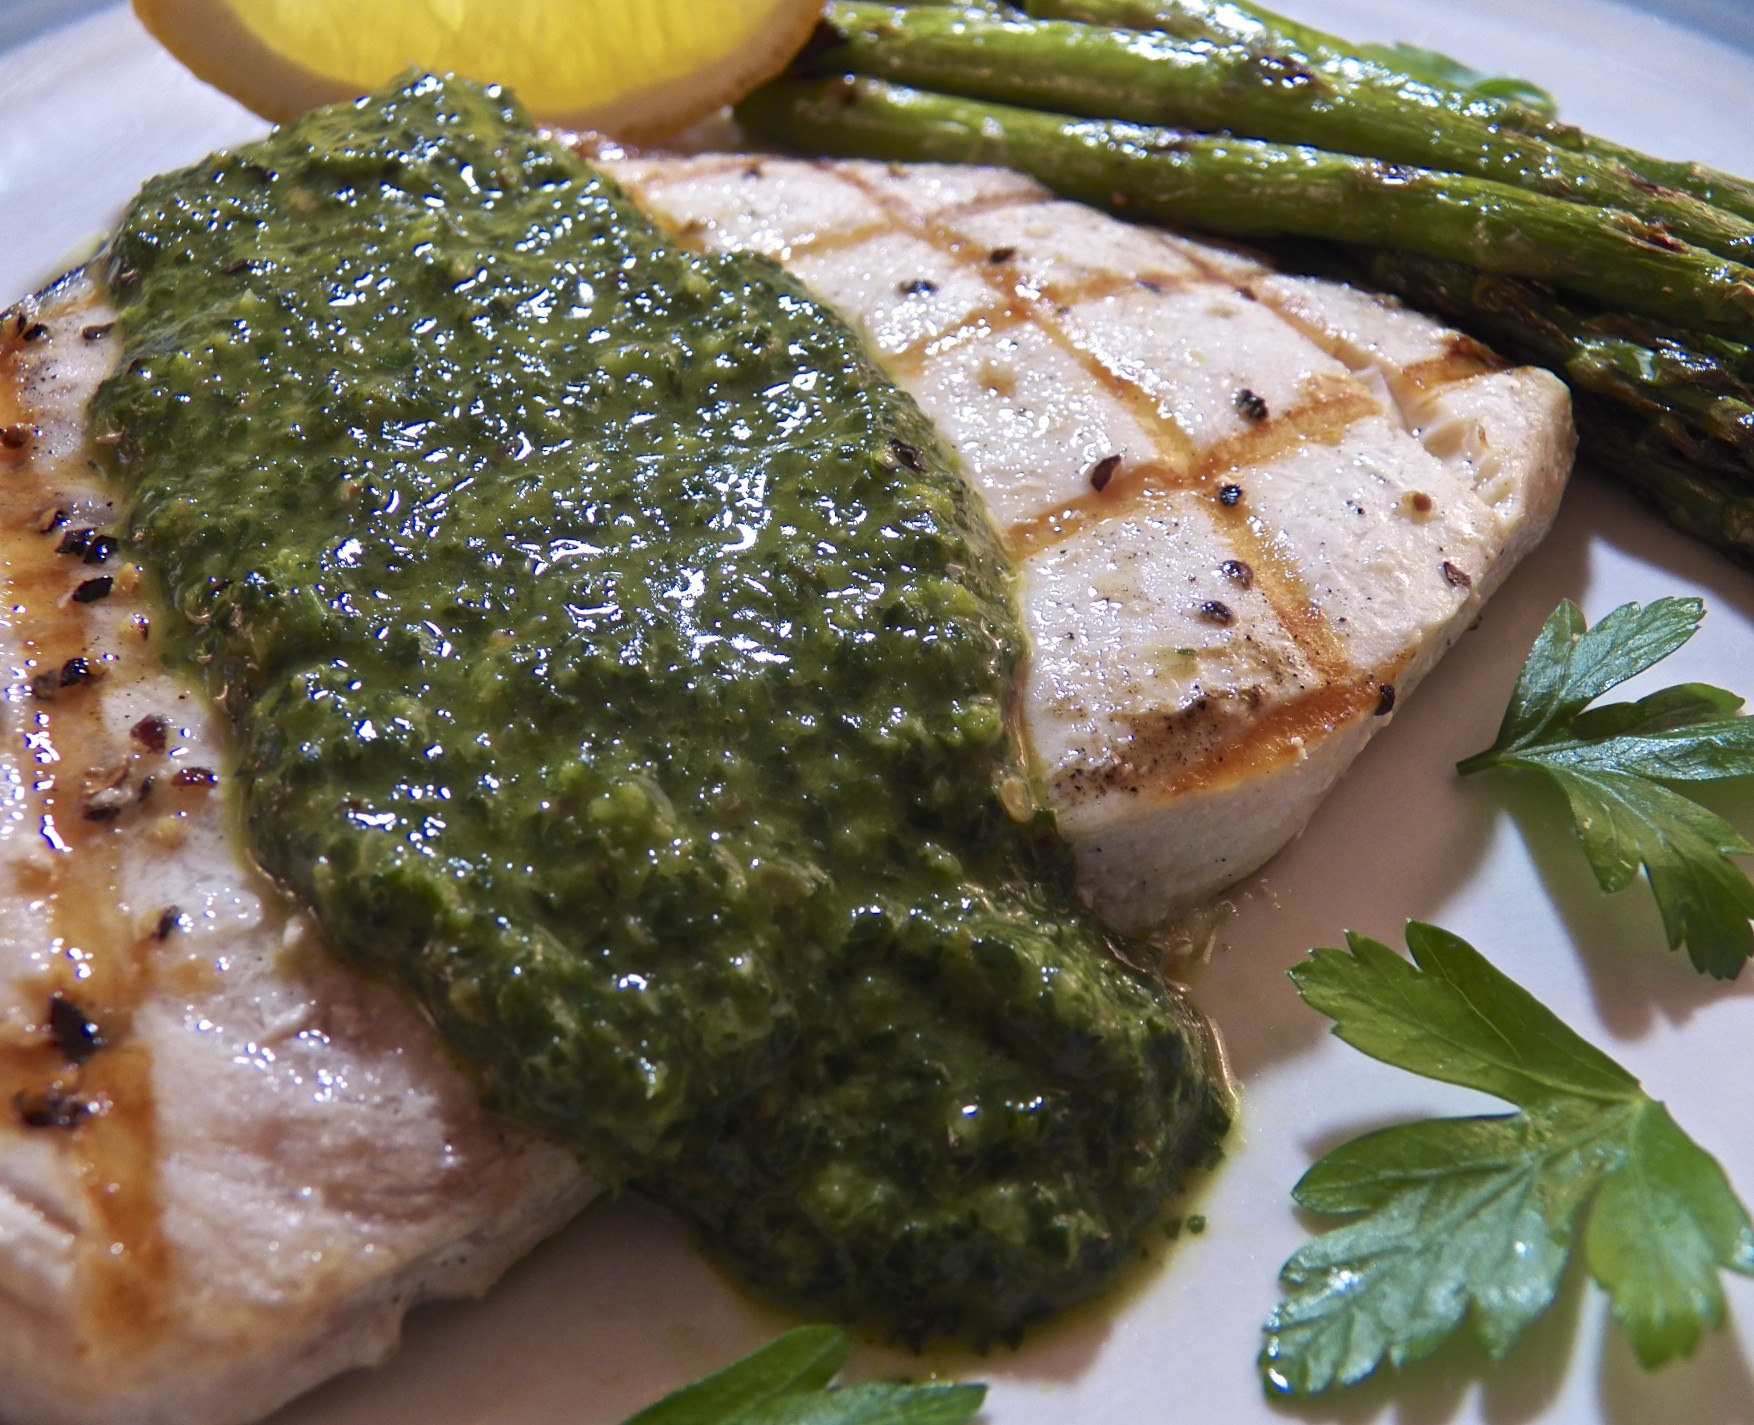
Halibut flesh is not oily, as was the swordfish of a few weeks ago. The flesh is every bit as firm as was the swordfish and stands up to grilling very well. And if a fish fillet works well on the grill, it will do very well under the broiler, too. Halibut has a good, clean taste that I very much like. As such, I prefer not to do anything to prepare it — no marinades, for example — other than salt, pepper, and olive oil. When preparing the mushroom accompaniment, I chose 2 that were delicately flavored and shiitake, which has a bit of a smoky taste. The idea is for the flavors to co-exist and not for any one to obliterate the others.
Broiling is a wonderful way to prepare meats and seafood, though one should probably learn how to use one’s broiler with something other than an expensive halibut fillet. When I broil a fish fillet, I’ll use a baking sheet covered in aluminum foil that has been lightly coated with olive oil or butter, depending upon the recipe. My oven’s first rack’s setting is about 5 inches beneath the heat source, perfect for broiling fish. Remember that the distance away from the heating element and thickness of the fillet(s) will affect cooking times, so, be sure to keep an eye on any kind of fish you put under your broiler. I’ve included more guidelines for broiling within the recipe, as well as how to test your fillet(s) for doneness.
* * *

* * *
Broiled Halibut with Mushroom Recipe
Ingredients
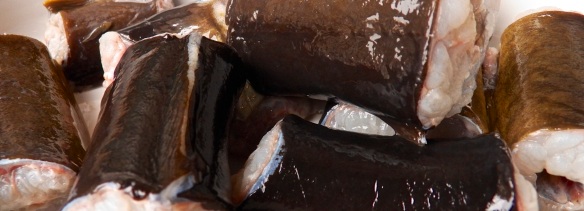
- Halibut steak(s)
- Olive oil
- salt & pepper
for the mushrooms

Maitake (t -l), Oyster ( t – r), Shiitake (bottom)
- 12 oz assorted mushrooms, sliced (used here: Maitake (hen of the woods), Oyster, and Shiitake)
- 2 – 3 tbsp olive oil
- 2 shallots, chopped
- 1/4 cup white wine
- 1/2 tsp fresh rosemary, chopped
- 1/2 tsp fresh thyme, chopped
- 1/2 tsp dried marjoram
- salt & pepper, to taste
- 1/2 cup fresh parsley, chopped
Directions
for the mushrooms
- Clean and slice the mushrooms (see Notes), chop the herbs & shallots.
- Heat the oil in a large frying pan over med-high heat.
- Add the shallots and sauté until they soften, about a minute.
- Add the mushrooms, lower the heat to medium, and continue sautéing for another 7 or 8 minutes, stirring often. Mushrooms will be ready when they have given up their liquids and darkened in color.
- Add the wine, increase the heat to med-high, and sauté until wine has all but evaporated.
- Add the herbs and stir to combine.
- 1 minute later, remove from heat, add parsley, stir throughly, and serve.
* * *

* * *
for the halibut
- Lightly brush the fillet(s) with olive oil. Season with salt & pepper.
- Place fillet on a lightly greased baking sheet and set aside.
- Pre-heat broiler for 15 minutes. Place an oven rack about 5 inches from the heat source.
- Place fillet(s) directly under the heat source and broil from 7 to 9 minutes. If more than 1 fillet is being broiled, turn the baking sheet midway through the broiling.
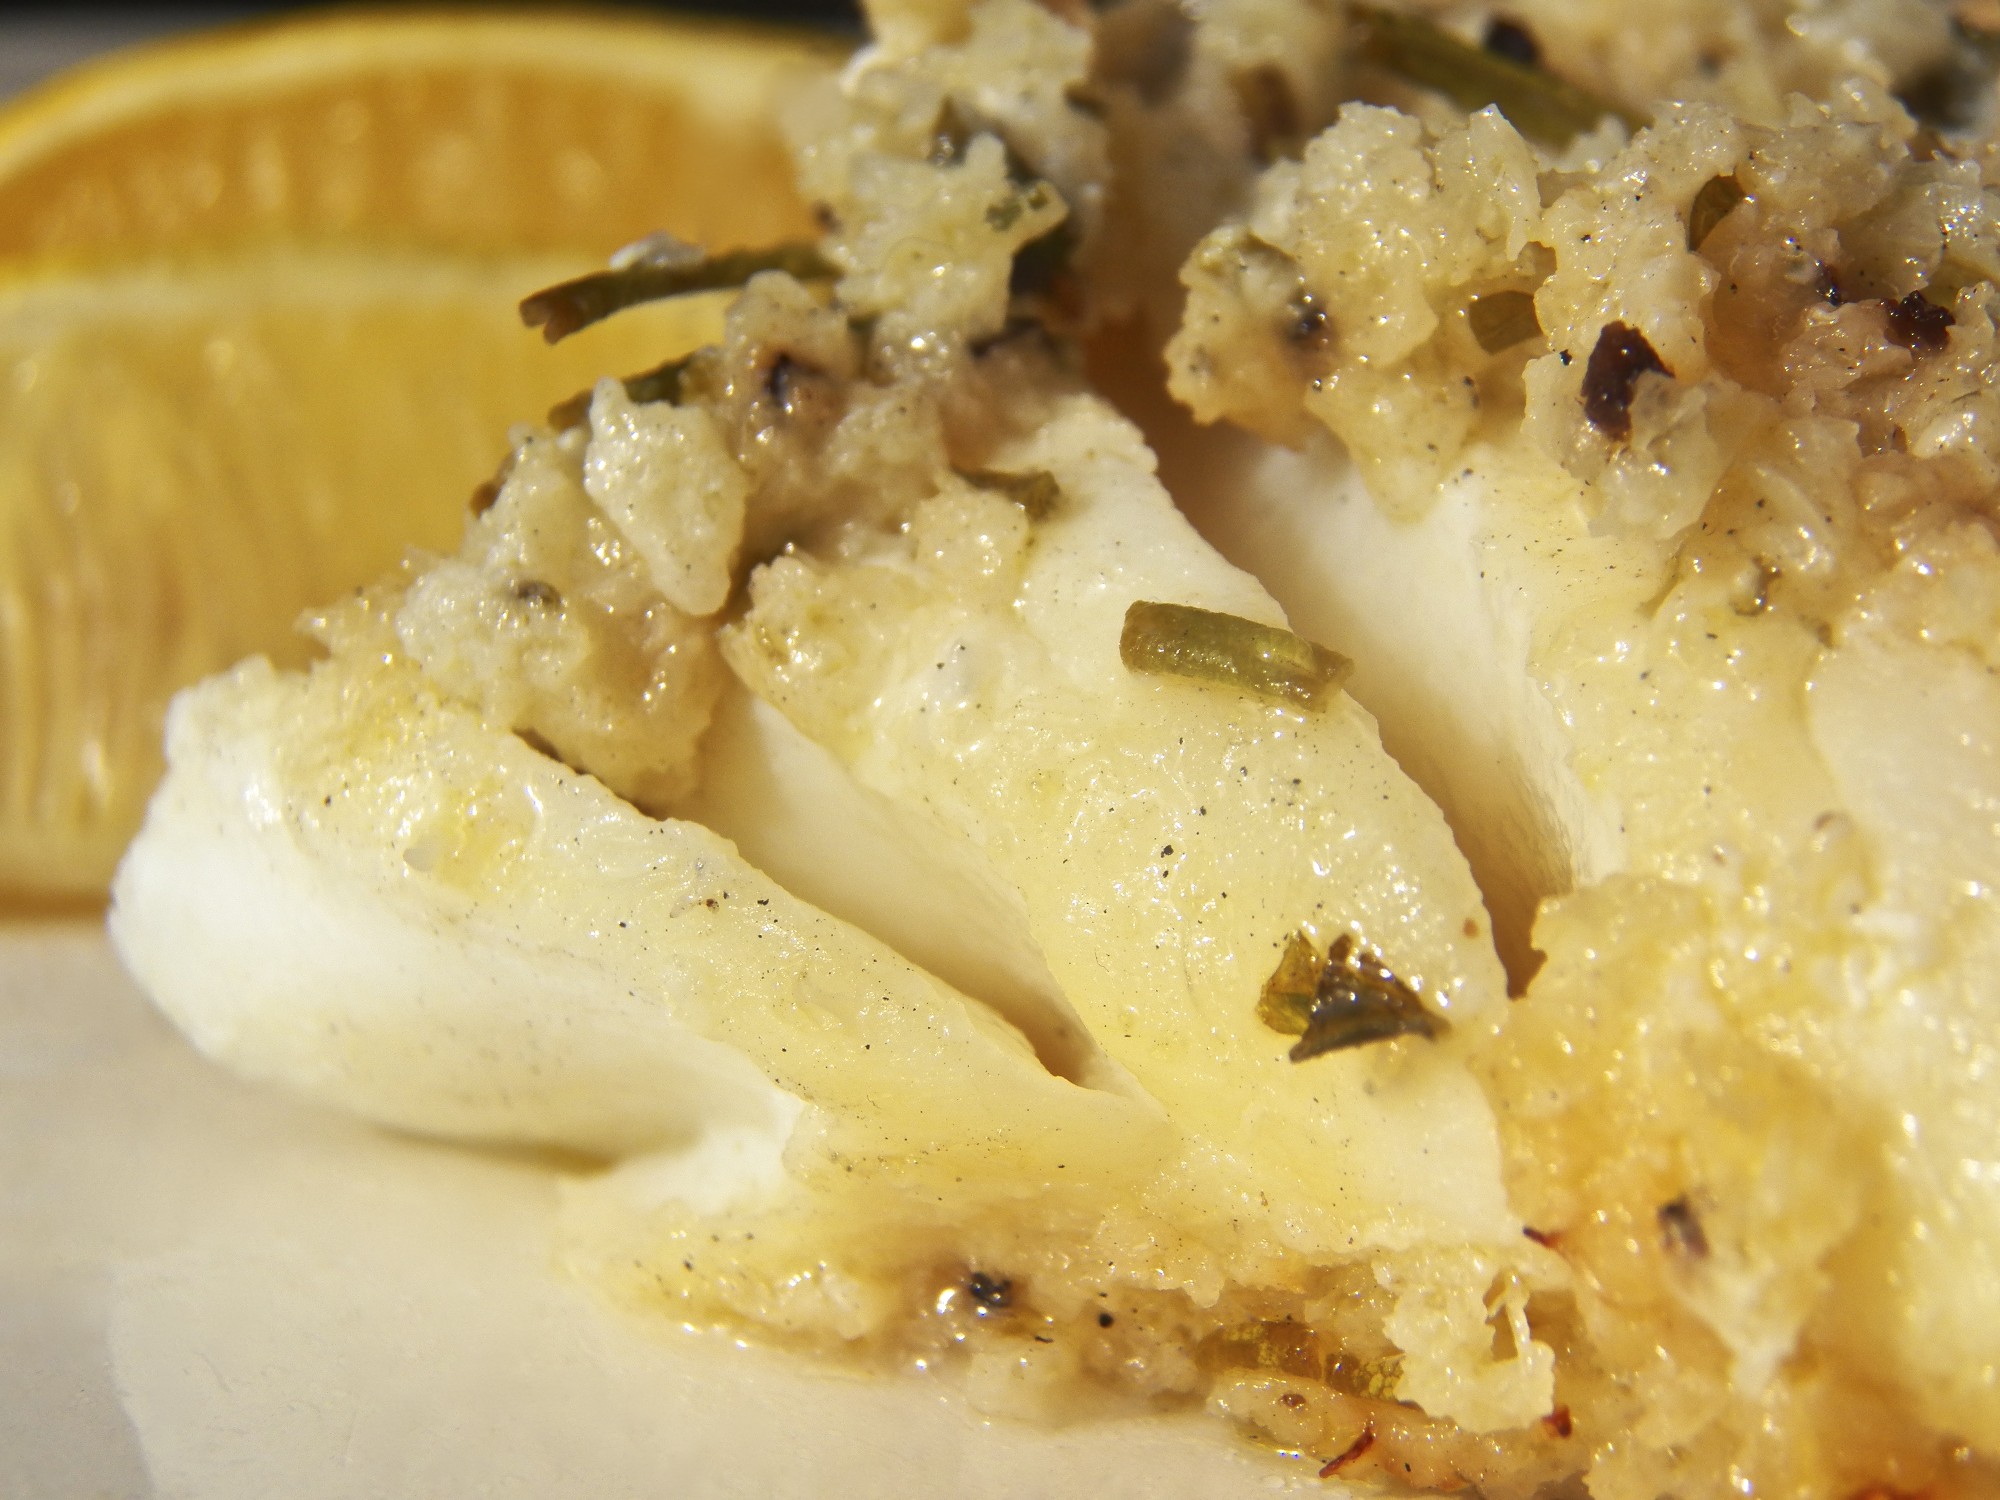
- To test if this or any fish is cooked: use a metal skewer or sharp knife to pierce the fillet at its thickest point. Keep it there for several seconds. Remove it and use it to touch the inside of your wrist or the area beneath your lips. If cold, the fish isn’t cooked. If warm, the fish is cooked rare. If hot, the fish is done. If very hot, the fish is over-done.
- Serve immediately, using the mushrooms as an accompaniment.
* * *
Variations
 These mushrooms can be served with any number of dishes. I use white wine when serving mushrooms with seafood, pork, and poultry, but red wine for beef and then I’ll use crimini mushrooms rather than the more delicate tasting funghi. And though I don’t use garlic when serving this with seafood, I will add it for other dishes. You can easily alter this recipe to suit your own tastes.
* * *
Notes
Do not use water to clean these mushrooms. Use a damp paper or kitchen towel to gently wipe them.
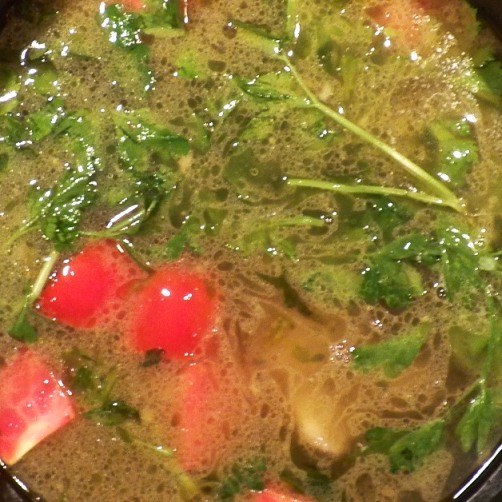
The stems of Shiitake are tough and inedible. They should be cut off. The same may be said of the base of Maitake mushrooms. Some believe the base of Oyster mushrooms to be edible. I find them to be a little tough and trim them away, as well. Earlier I mentioned that you should save the mushroom bits and pieces. Why toss them when you can easily use them to make stock? Once I trimmed and sliced the mushrooms used in today’s recipe, I was left with about 4 oz (114 g) of stems and woody parts. These  were roughly chopped and placed into a medium saucepan, along with an onion, a celery stalk, a carrot, a couple of parsley stems, a sprig of thyme, and a bay leaf but no salt nor pepper. I added a quart of water, brought it to a boil, and then reduced it to a simmer. Since I had relatively few stems, I wanted to concentrate the flavors, so, I left the cover off of the sauce pan while it simmered and reduced. Had there been more mushroom parts, I would have covered the pan for there would not have been as great a need to reduce the stock. In any event, after an hour, I had 12 oz (355 ml) of stock headed for the freezer. I’ll use it the next time I make risotto, soup, a gravy or sauce. And there’ll be no need to worry about its salt content ruining my dish.
If leftover, mushrooms cooked like this are worth their weight in gold. Use them for an omelet the next morning or to top off your burger for lunch. Yes, you can always use them to accompany your next supper’s protein but — and perhaps best of all — you could reheat them with a little more oil and some red pepper flakes. Add your favorite pasta and you’ve got a fantastic dinner, ready in minutes.
* * *
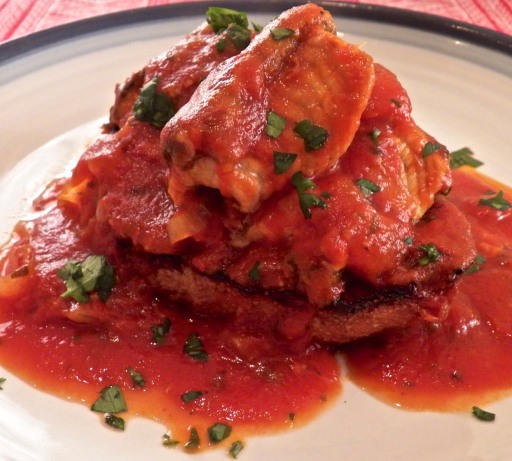
It’s déjà vu all over again …
 Easter is right around the corner and today’s Blast from the Past features a dish that graced our table any number of Fridays, both in and out of Lent. Our Tomato Sauce with Tuna is a simple tomato sauce with tuna as its protein. It’s easy enough to prepare and doesn’t require a long simmer, unlike its meaty cousins. If you’re at all curious, you can see the recipe by clicking HERE.
* * *
Coming soon to a monitor near you …

This is the First Way
Bourbon & Coke Soused Ham, Two Ways
* * *