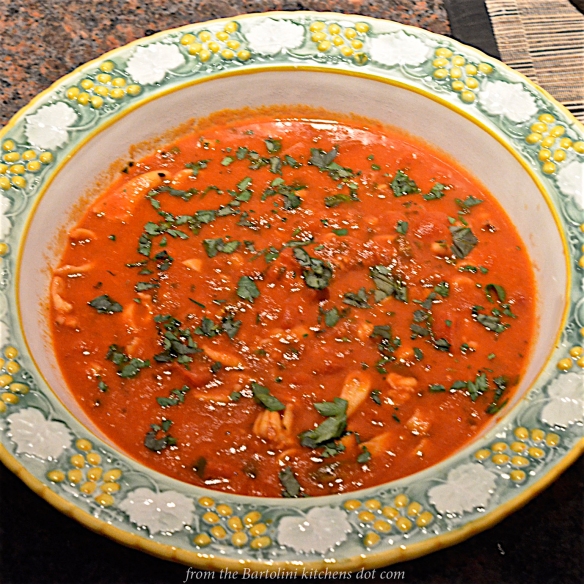
Sepia e Calamari in Umido
It’s that time of year when some will surf the net looking for seafood recipes. In many Italian households, you see, Christmas Eve will be celebrated with a Feast of the 7 Fishes … or 11 Fishes … or 12 Fishes … or 13 Fishes. The number itself is dependent upon: a) the number of Christian Sacraments (7); b) the number of Apostles minus Judas (11); c) the number of original Apostles (12); or, d) the number of original Apostles plus Jesus (13). No matter how or why you count them — and there are more versions than those I’ve listed — that’s a lot of fish dishes.
* * *
* * *
Although my family never celebrated with a Feast of however many Fishes, we did have a variety of seafood dishes to enjoy on Christmas Eve. I’ve shared those recipes, along with a meatless dish or two, in previous years. To make it easier for you to access them, I’ve created a “Christmas Eve” category that you can access at the end of this post or on the right side of the blog’s Home Page. If you need more suggestions, you may want to check out my Seafood (Frutti di Mare) category. There you’ll find every seafood dish I’ve shared over the past 5 years. (5 years!! Do you believe it?)
I doubt that today’s recipe was ever served at either home of the two-flat. The fact is, either cuttlefish (sepia) or squid (calamari) would have been served but never both in the same pot. Believe me. Initially I had no intention of doing it either. The fact is that the fishmonger was out of fresh cuttlefish and the box contained fewer than were needed to make today’s dish. As luck would have it, that was the only box that he had. It had been decades since either Zia or myself had even seen cuttlefish and I wanted to surprise her with them during the last Visitation. So, I bought some fresh squid and decided to sail into uncharted culinary waters.
Before getting into the recipe, lets talk seafood. Cuttlefish, squid, and octopus are all members of the cephalopod family. As you can see in the photo below, a cuttlefish has the shorter, more round body with tentacles that are also shorter and thicker than its squid cousin. If you own a parakeet/budgie, you may have purchased a cuttlebone for it to use to maintain its beak. That “bone” comes from cuttlefish. In squid, that bone is a smaller, clear, and flexible piece of cartilage. It’s known as the “pen”. The flesh of cuttlefish is thicker than that of squid and most believe it to be more tender. When cooked in umido, like today’s dish, the difference is too minimal to be noticed — at least to my palate. Lastly, because of the differences in body type, I sliced the cuttlefish lengthwise into strips. The squid’s body was cut into rings. The tentacles of both were cut in half but if you find them unappealing, just discard them. (See NOTES for help with cleaning squid.)
* * *

* * *
Stewed Cuttlefish and Squid Recipe
Ingredients
- 2 to 3 tbs olive oil
- 2 or 3 anchovies
- 4 cloves garlic, chopped or grated
- red pepper flakes to taste
- 1 lb raw cuttlefish, skinned, cleaned and cut into strips. If using tentacles, cut in half.
- 1 lb raw squid, skinned, cleaned, and cut into rings. If fusing tentacles, cut in half.
- 1 cup dry white wine
- 1 large can (28 oz, 800 g) whole tomatoes
- 1 small can (14 oz, 400 g ) diced tomatoes
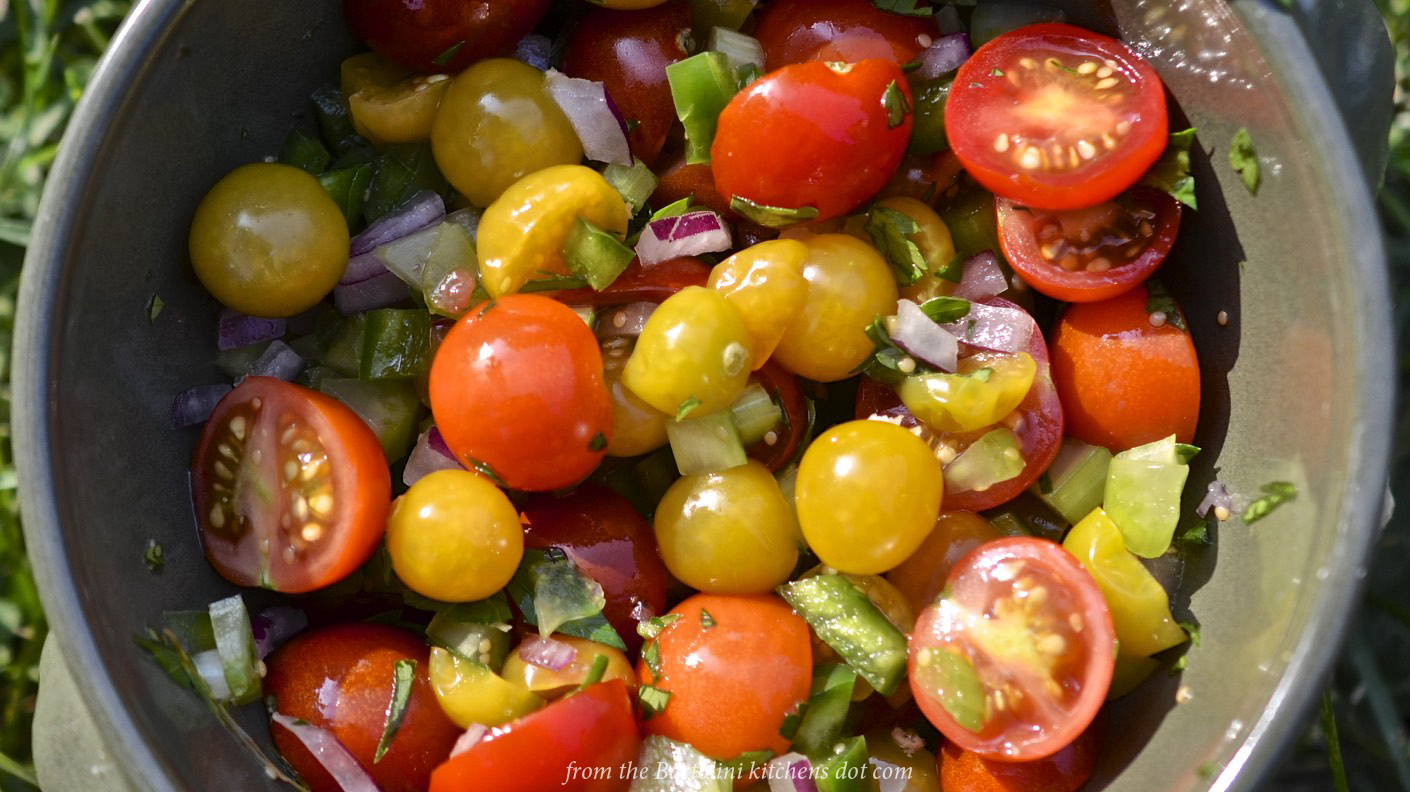
- 2 tbs fresh parsley, chopped
- 2 tbs fresh basil, chopped
- salt and pepper, to taste
- 1 whole clove garlic, minced or grated
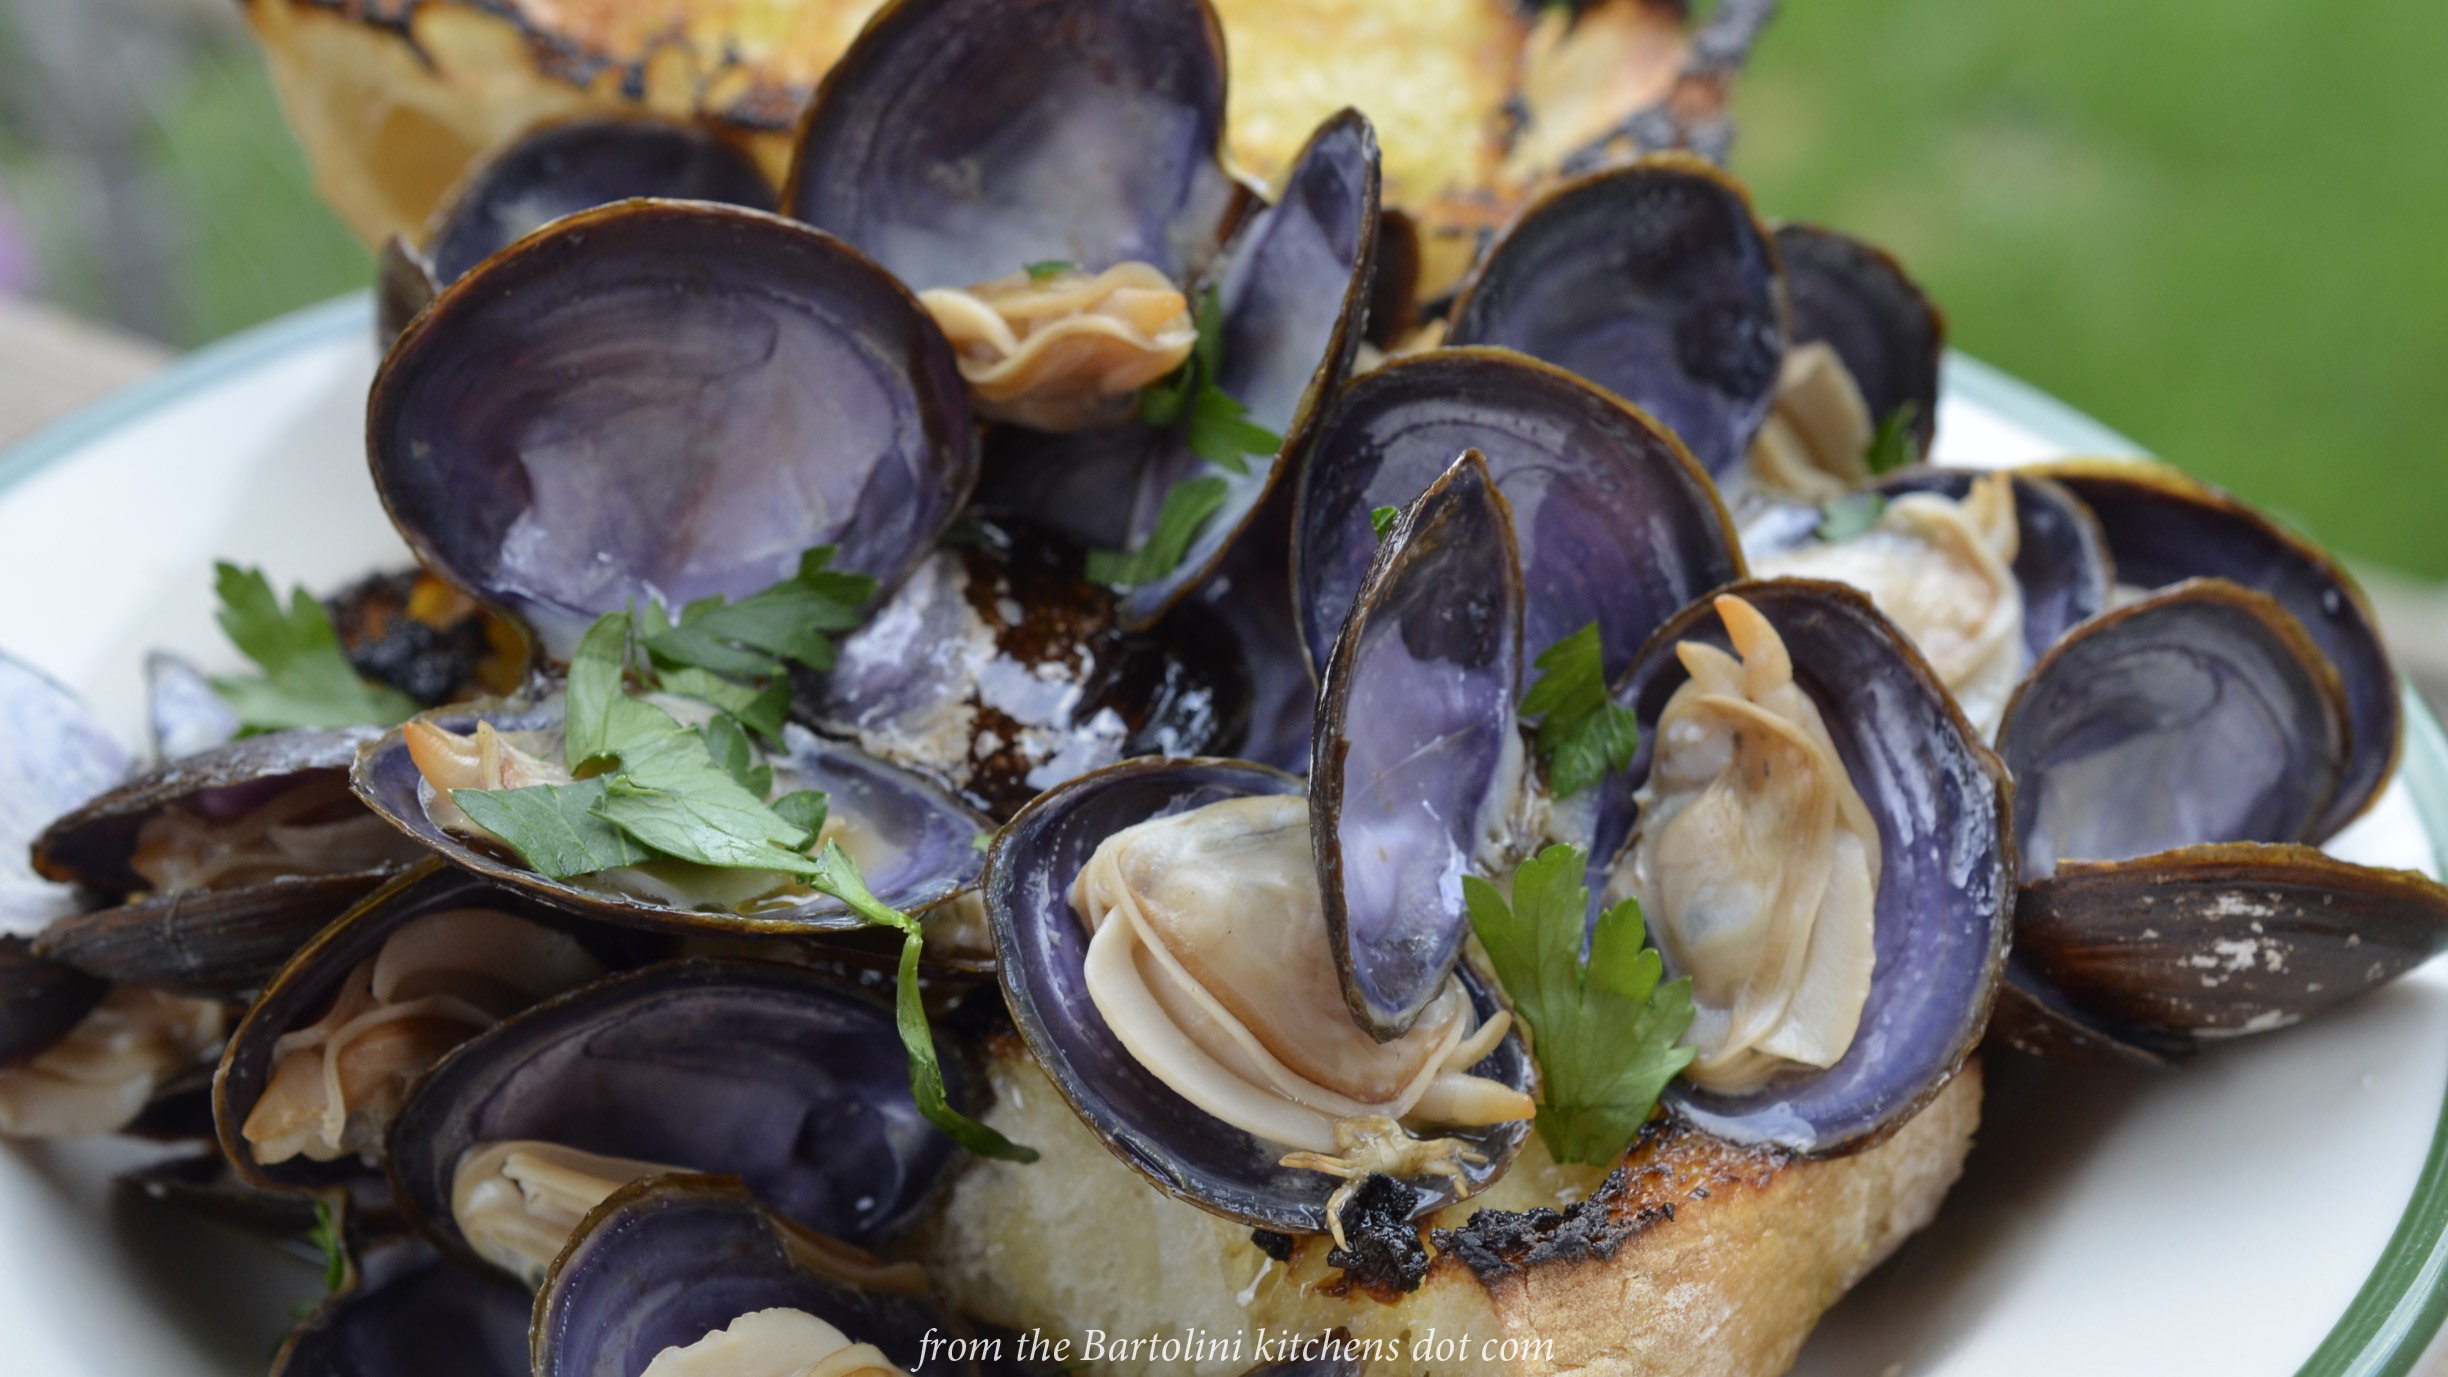
- sliced, thick crusted bread for serving
Directions
- Heat oil over med-high heat in a medium, heavy bottomed sauce pan.
- Add the anchovies, garlic, and red pepper flakes before reducing heat to med-low. Cook for about 2 minutes. Do not allow garlic to burn.
- Add cuttlefish and squid and continue to cook until flesh whitens – about 5 minutes.
- Add wine and increase heat to med-high. Continue to cook until wine is reduced by half – about 7 to 10 minutes.
- Add both cans of tomatoes, tearing the tomatoes by hand as you add them to the pot.
- Combine the parsley and basil and use 3/4 to season the pot. Reserve the rest. Stir to fully combine.
- Reduce the heat to medium and allow the pot to simmer for at least 20 minutes. It is ready to be served when the stew has thickened and grown deeper in color.
- Bring to the table garnished with the remaining chopped basil and parsley.
To Serve
While the stew simmers, toast some crusty bread, one slice per serving. While still warm. rub the remaining garlic clove across the bread. Place one slice of the now garlicky bread


into the bottom of each serving bowl. When it has finished simmering, ladle the stew over the bread in each bowl. Buon appetito!
* * *
Notes
When cooking cuttlefish or squid, either cook them for less than a minute or more than 45 minutes. Anything in between will result in seafood with the texture of rubber. Because this is a stewed dish, if in doubt, taste a piece. If it’s chewy, continue to cook until tender.
As you know, I work alone in the kitchen, taking all the photos as I go. Normally, there isn’t a problem that a time delay and remote shutter cannot handle. Cleaning squid, however, is a different matter completely. Being the ham-fisted person that I am, there really was no way for me to capture the cleaning without in some way impacting my camera. Is squid juice corrosive? I didn’t want to find out, so, I’ve found a video that will teach you what you need to know about cleaning squid — all in under 3 minutes. Enjoy! How to clean squid.
This is another seafood dish in which the flavors are relatively mild. Using grated cheese would pretty much obliterate them. Save that cheese for some other dish on the night’s menu.
* * *
Leftovers?

Was there any doubt?
* * *
It’s déjà vu all over again …

Whether you choose to serve this dish individually, with each dinner guest receiving a packet, or en masse, with a large packet placed in the table’s center, few dishes will delight your table mates like Linguine with Seafood in Parchment. After all, who doesn’t like receiving gifts this time of year and this one comes with a fantastic aroma that’s released upon opening. It doesn’t get much better than this and you can learn all about it HERE.
* * *
Coming soon to a monitor near you …
 Stovetop Braised Rabbit
(You may want to skip this one, Eva.)
* * *