Today, Ash Wednesday, marks the beginning of Lent for Western Rite Christians. In Catholic homes, it is a day of abstaining from meat, as are all the Fridays leading up to Easter Sunday. Although I consider myself a Recovering Catholic, I do think it a good idea to go meatless, for a number of reasons, and am trying to do so one day a week. So, whether you’re a practicing Catholic or just want to cut down on the amount of meat you eat, the Kitchens are here to help. Over the next several weeks, I’ll post a series of meatless recipes where fish is the primary protein. Well, that’s the plan anyway …
* * *

* * *
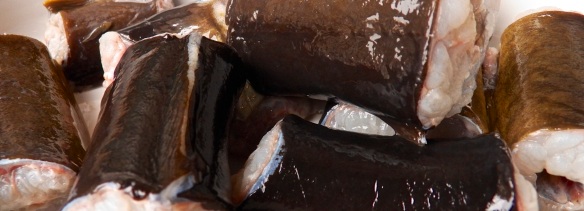
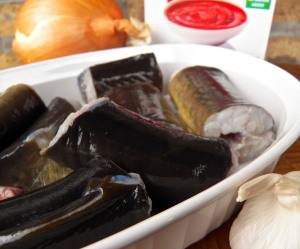
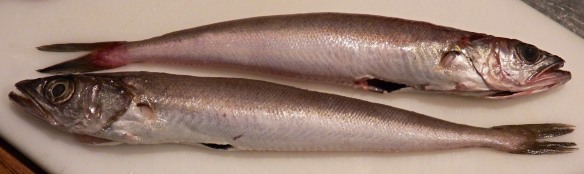
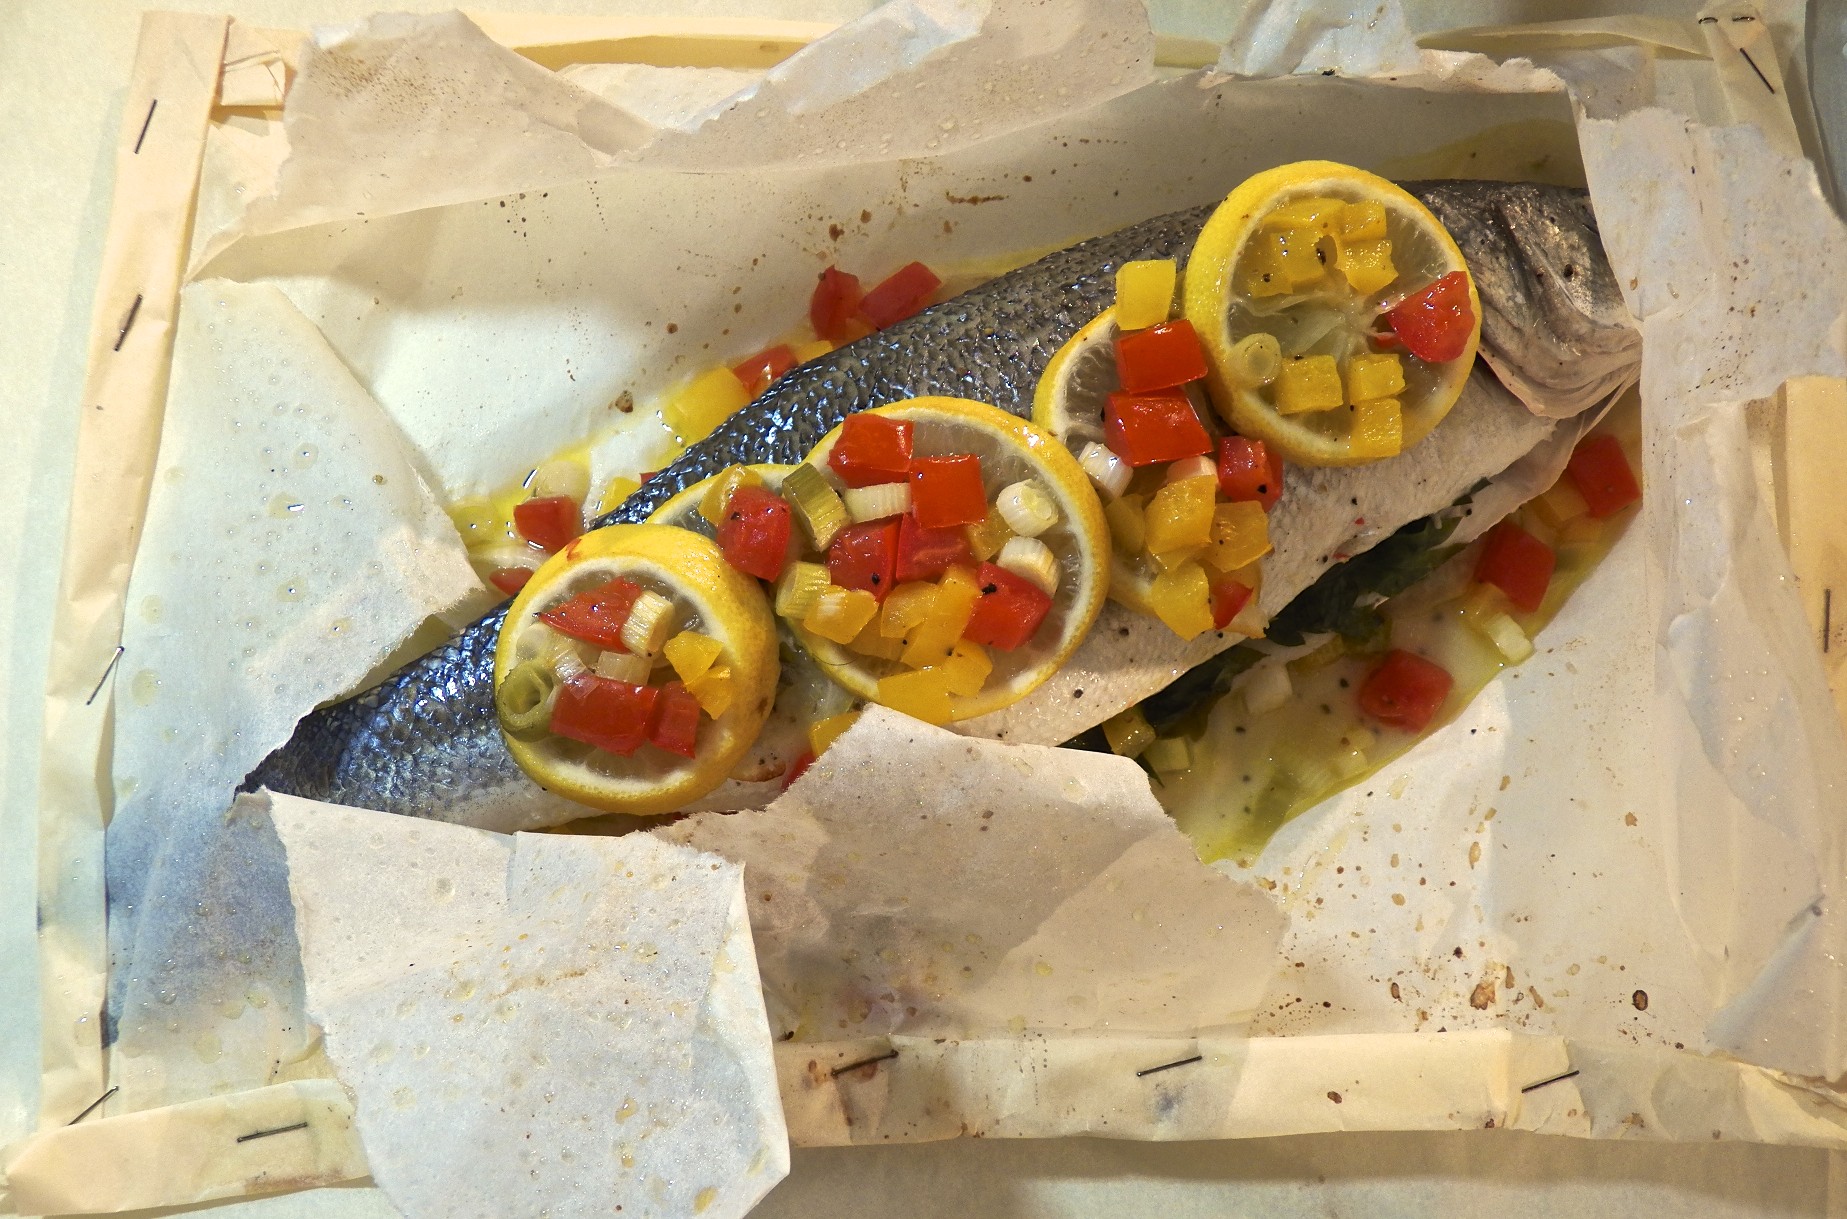
Today’s recipe is not one from the Bartolini playbook. I don’t recall sturgeon ever being on the menu when I was a boy. I do enjoy sturgeon, though, having ordered it at restaurants several times as an adult. Recently, when my fishmonger ran a sale on the fish, I couldn’t resist purchasing some. While wrapping my purchase, he suggested I grill it. Now, those of you who have written posts featuring grilled fish have read my comments in which I confess an utter lack of grilling skills, especially when it comes to seafood. Fearing another disaster, I nevertheless took the fish monger’s suggestion as a challenge and fired up the grill that evening. Well, what can I say? Not only did the fish cook perfectly, it actually bore grill marks instead of sticking firmly to the grill plates. I have since returned to the grill and had equally good results, as you’ll see in the weeks ahead.
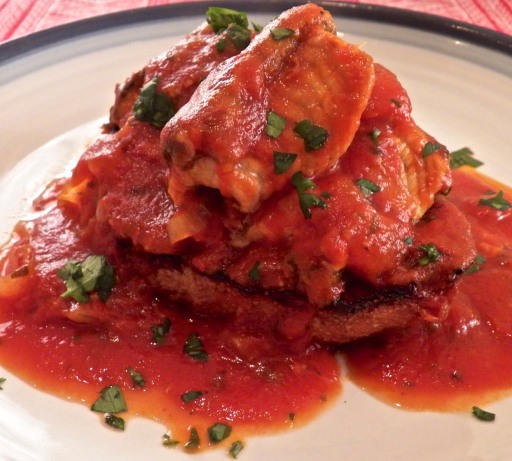
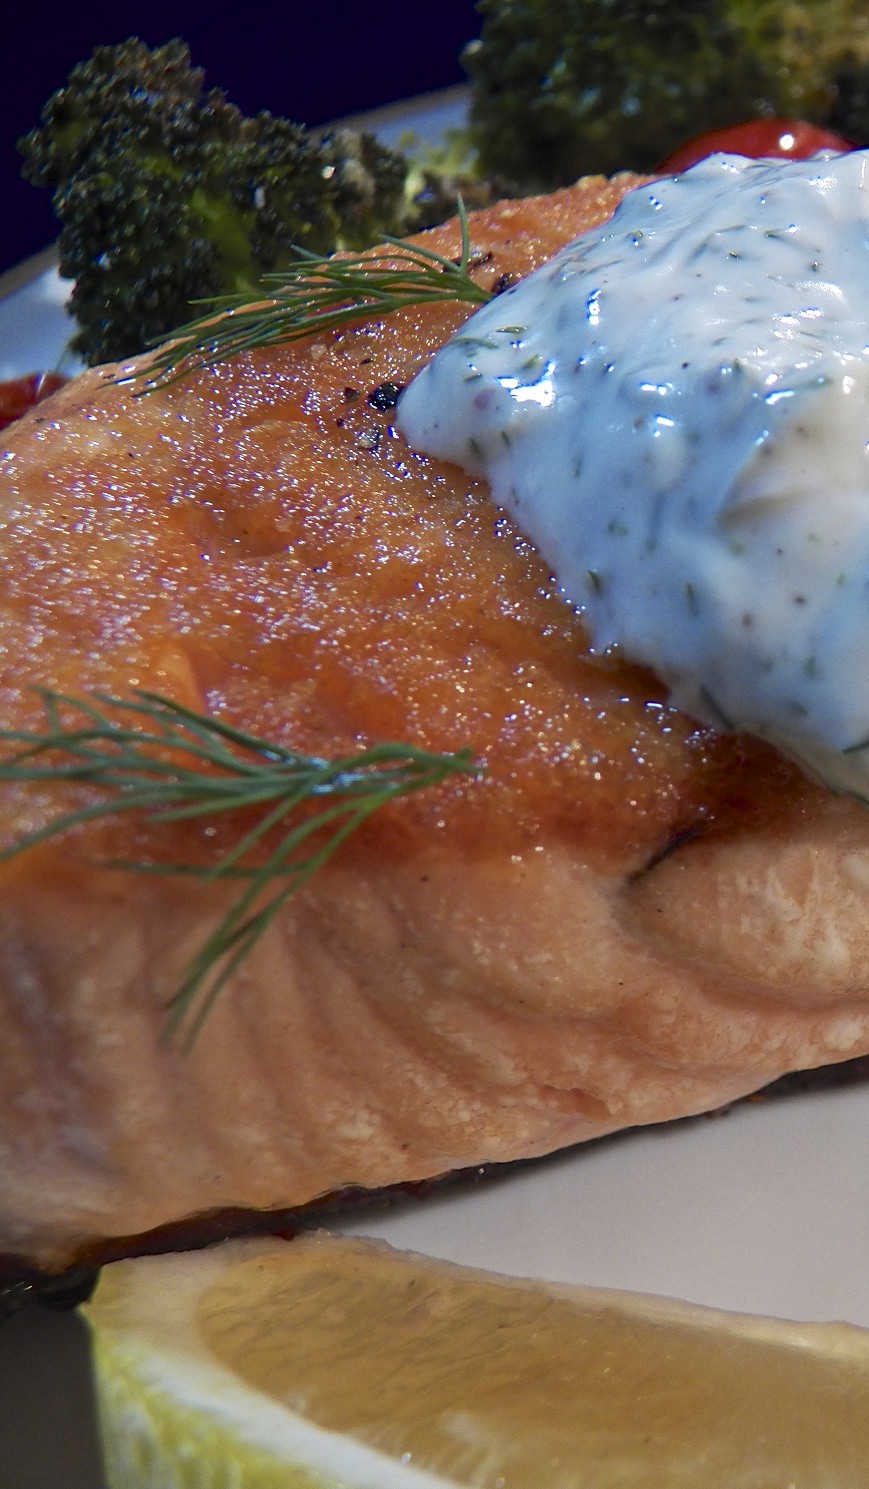
Once grilled, you’ll need some sort of sauce to compliment the fish. I’ve been served this sauce, or something closely resembling it, in restaurants several times. It couldn’t be easier to prepare and the amount of each ingredient may be modified to suit your own preferences. It’s, also, tasty enough that you can use it for just about any fish that makes its way to your dinner table.
And by the way, Happy Birthday, Sis!
* * *
Grilled Sturgeon with Lemon-Caper Sauce Recipes
Ingredients
- sturgeon fillets, about ½ pound each, skin removed

- salt
- pepper
- extra virgin olive oil

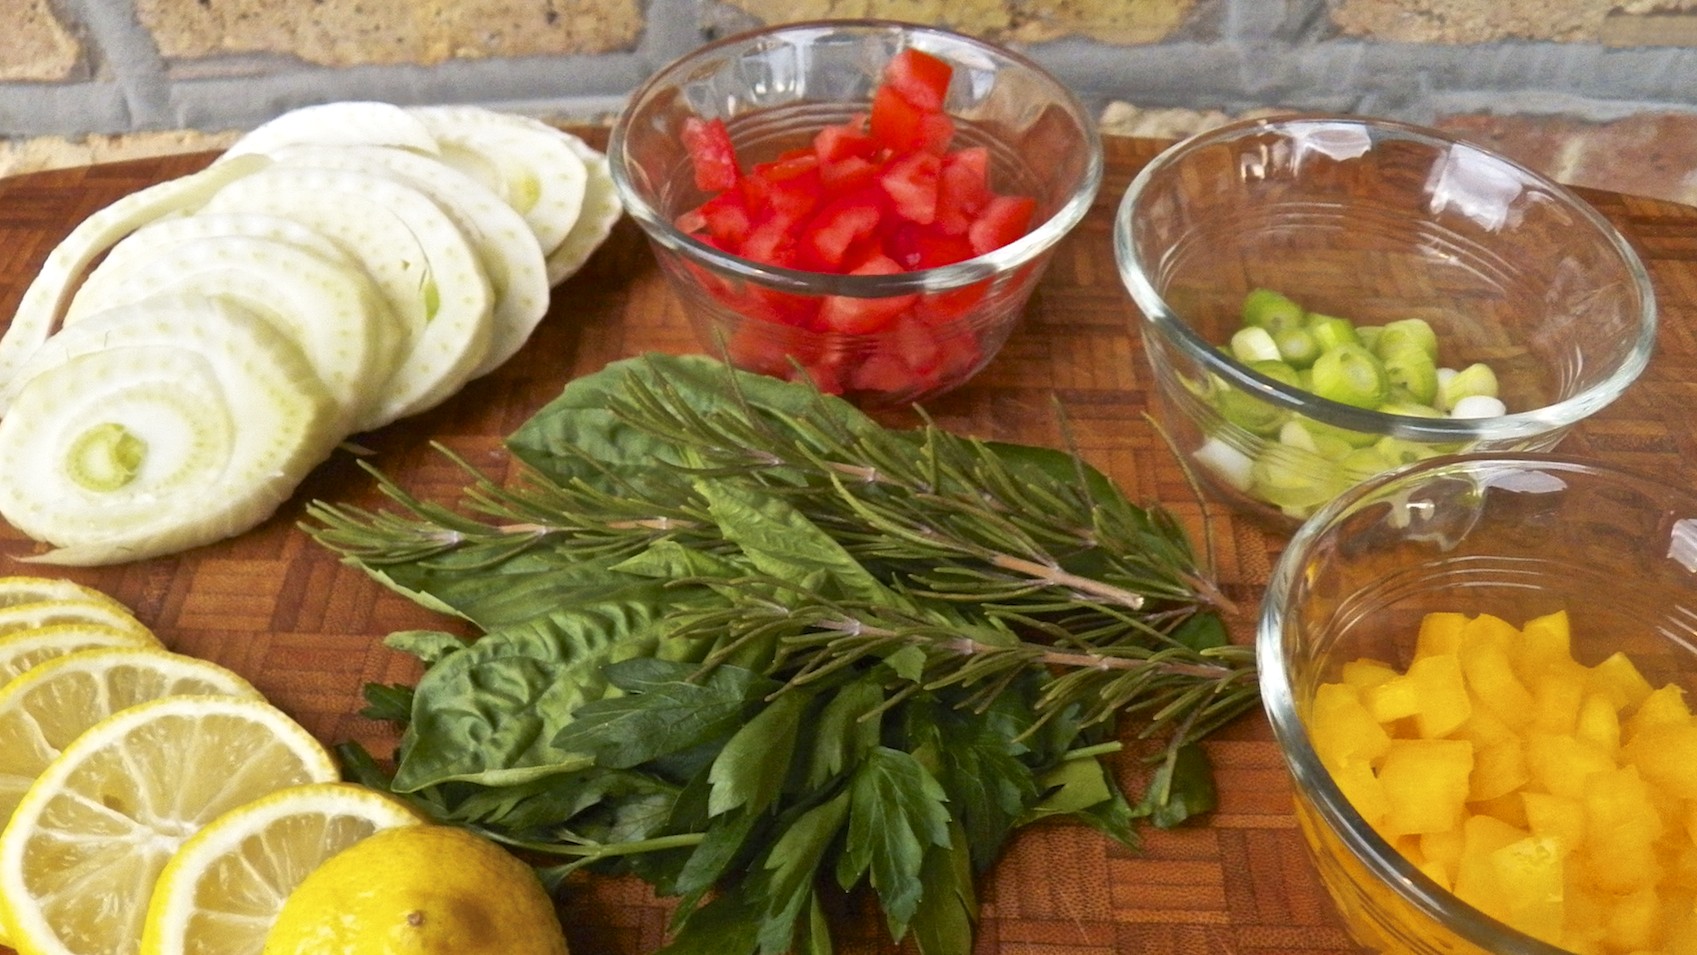
Lemon-Caper Sauce
- 4 tbsp butter
- 2 tbsp lemon juice
- zest from ½ lemon
- 1 tbsp capers
- 1 small clove garlic, grated or minced
- 1 tbsp fresh parsley, chopped
Directions
- Start grill. Will require a med-high heat.
- When grill is ready, thoroughly clean the grilling surface before using a towel soaked in vegetable oil to coat the grill plates.

- Lightly coat fish with vegetable oil, season with salt & pepper, and place on grilling surface. Do not move or disturb once placed on the grill.
- Grill for 3 to 4 minutes per side. Remove from heat, cover, and let rest.
- While the fish rests, melt butter in a small fry pan over med-high heat. Add garlic and sauté for about a minute. Add the lemon juice, zest, and capers, continuing to sauté for another minute. Remove from heat, add parsley and gently stir.
- Place sturgeon fillets on a serving platter, spoon lemon-caper sauce over the fillets, and serve.

* * *
Notes
Sturgeon is a meaty, delicate tasting fish. It can be served baked, fried, smoked, or grilled. It’s flesh is more dense than say, cod, so it won’t flake as one might expect. Keep this in mind when you prepare sturgeon because it may become a bit tough with a more pronounced fish flavor when overcooked.
It really does pay to heed the experts and ensure that your grill plates are as clean as possible and well-oiled before you begin grilling any type of fish. Believe me, a light cleaning and oiling just won’t do. And be sure those grill plates are good and hot. Meet these 3 basic requirements and you’ll notice a marked improvement in your grilling.
One of the reasons I’ve chosen to go meatless one day a week is to reduce the impact on Mother Earth of raising meat, no matter the kind. I’d be robbing Peter to pay Paul, however, if I chose endangered seafood to eat instead of meat for that day. There are now a number of seafood apps available for your smartphone or tablet that will let you know whether a particular sea dweller is endangered and offer substitutions when possible. Just go to your virtual app store and do a search for “seafood”. The rest is up to you.
* * *
It’s déjà vu all over again …
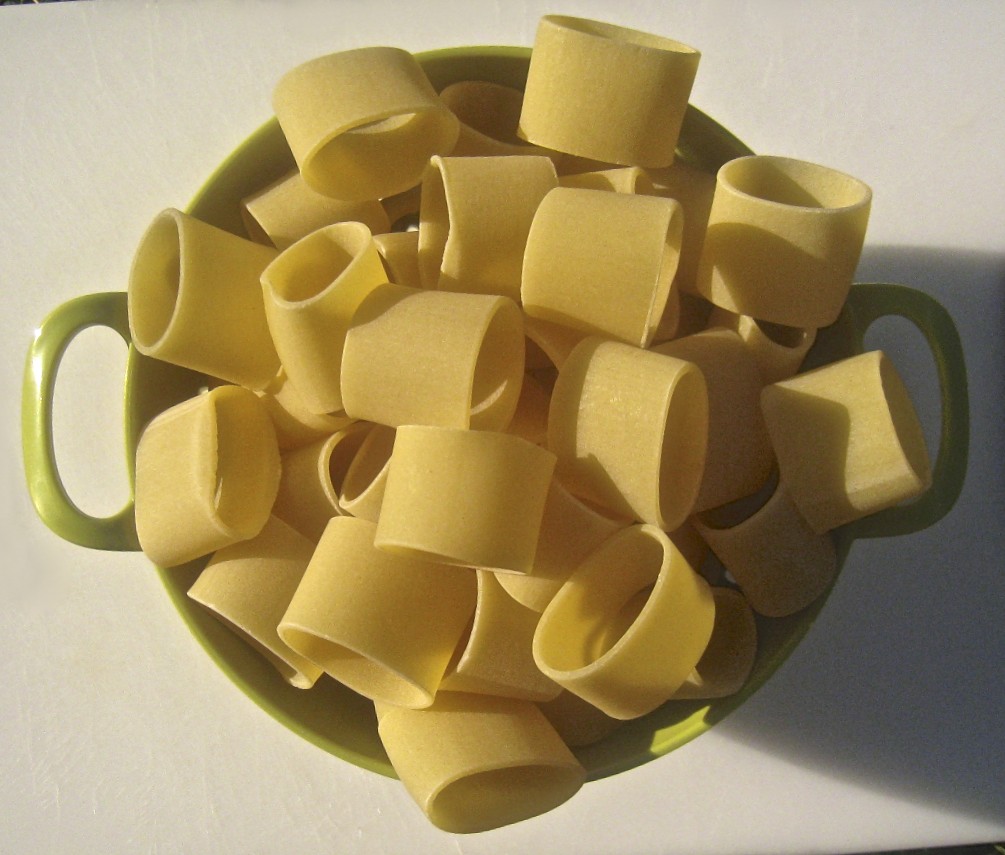
 Since we’re going meatless, we might as well take a look at some of the Kitchens’ previously posted meatless recipes, too. This week’s Blast from the Past will send you to my Pasta Puttanesca recipe. Originating in Naples, this flavorful pasta features anchovies, olives, and capers, all simmered in a rich tomato sauce. Not only that, its aroma is certainly one of a kind. You can find the recipe by clicking HERE.
* * *
Coming soon to a monitor near you …

Pasta with Sardines and Pickled Cherry Peppers
* * *