Easter dinner back at the old two-flat was the 4th of the big holiday meals, with Thanksgiving, Christmas, and New Year’s Day being the other 3. Of course, there was a platter of freshly made ravioli on the table, as well as a beautiful roast. When I was very young, that roast was a baby goat. I don’t remember those meals but I do remember 2 of the goats. You see, the “kid” was brought home live and kept in the basement awaiting execution. After hearing its bleating that first year, I must have been 4 or 5 years of age, I was warned to stay out of the basement. Warned to stay out of a basement that I was certain contained a gazillion boy-eating spiders? No problem! The following year, again I heard the bleating and again I was told to stay clear. Well, I was a precocious child and knew that I was safe from the spiders if I stayed in the center of the basement, avoiding all corners, walls, and anything hanging from the ceiling. So, when Mom told me to stay out of the basement, I headed down there as soon as she looked the other way. Now, I may have been a precocious boy but I wasn’t one much for clandestine operations. Yes, I went into the cellar. Yes, I saw the baby goat. Yes, I felt Mom standing behind me. Yes, it was a tearful return up the stairs and into my room. No, I do not remember having goat for that Easter dinner.
* * *

* * *
I think it was the next year when our dinner switched from goat to lamb, but lamb’s reign as our Easter dinner’s centerpiece was short-lived. My siblings — one or both — did not care for the meat and Mom prepared something else. The thing is, I can’t remember what it was she served. I was a bit older and, as I’ve said in other posts, my attention was fixated on that platter of ravioli. Everything else on that table was put there to distract the weak-willed, their appetites to be sated by these “lesser” dishes. I, being of strong heart and mind, kept my eyes on the prize, eating serving after serving of the tasty pillows. So, today, when asked what Mom served, I can honestly say is that all I remember is the ravioli.
I started preparing a ham for Easter about 15 years ago. As much as I enjoy a baked ham dinner, I love a good ham sammich and spilt pea soup even more. And you can not have the latter if you don’t make the former. Early on, I baked my ham with pineapple rings and created a glaze with the juices and brown sugar. Then about 5 years ago, I saw ham prepared this way and decided to give it a try. I liked it so much that today it remains the only way that I prepare ham but you needn’t take my word for it.
Four years ago, Max was just about a year old and celebrating his first Easter at my house. With my  lovely ham covered in foil and resting atop the stove, I was in the dining room preparing the table. I returned to find Max feasting on the back side of my lovely ham. The front of the ham was carved and Max spent the rest of Easter in his crate. Still not convinced? A year later and it’s now Max’s second Easter. This time, the ham was placed on a counter, back against the wall where Max surely could not reach it. Again, I left the kitchen to tend to the dinner table. When I returned, Max was in his crate — licking his chops. Sure enough, though he could barely reach it, he did manage to score a few bites off of the side of my lovely ham, though he was smart enough to go to his crate before I returned. Again, he spent the rest of Easter in his crate. So, even though he’s never been left alone again in the same room with one, this ham is so good that Max would risk spending Easter in a crate just to have another taste. The facts speak for themselves.
And as for the bourbon and Coke with the ham garnish? It was delicious!
* * *
Bourbon and Cola Sauced Ham Recipe
Ingredients
- 8 lb (3.6 kg) fully cooked, smoked ham
- 8 oz. (236 ml) cola
- 10 oz. (296 ml) bourbon divided
- 1/2 cup (100 g) light brown sugar – dark may be substituted
- 1/4 cup (116 g) mustard (See Variations below)
- 1/2 cup (170 g) honey
- 1 tsp fresh thyme leaves
- whole cloves
Directions
- Place ham on a counter one hour before you plan to start preparing it. This will remove the chill from the ham.
- Lightly score the fat side of the ham, cutting in one direction and then again at a 90˚ angle, creating a diamond pattern. Place a whole clove wherever the cuts intersect.
- Pre-heat oven to 325˚ F (163˚ C).
- Using a medium saucepan, add 1 cup (236 ml) of bourbon, the cola, brown sugar, mustard, and thyme — AWAY FROM HEAT. Once the ingredients are combined, then heat over a med-low heat, reducing it until it is thick enough to coat the back of a wooden spoon.

- Place oven rack just beneath the middle position. Add 1 cup (236 ml) of water and the rest of the bourbon to the roasting pan.
- Place the ham, cut side down, in the pan. Insert a thermometer into the ham’s thickest part without touching any bone and baste the ham with some sauce before placing the ham in the oven.
- Continue to baste ham every 15 minutes until the ham’s internal temperature reaches 140˚ F (60˚ C) — about 90 minutes.
- Remove from oven, place ham on cutting board, tent with foil, and rest for 15 minutes.
- Meanwhile, pour pan juices into a grease separator and, after a few minutes, pour off the juices, leaving the grease behind.
- Into a small saucepan, add the pan juices and the remaining sauce over a med-high heat. Once it starts to boil, reduce heat to a simmer and reduce the sauce to the thickness of your choosing. Keep an eye on the saucepan lest it boil over.
- Once fully rested, place ham on a serving platter, bring to table with bourbon~cola sauce, and serve

Inspired by Tyler Florence, “The Ultimate”, reprinted HERE.
* * *

* * *
Variations
The recipe calls for mustard and I’ve used yellow, Dijon, and whole grain mustard when preparing the sauce, all to good effect. My mustard of choice, however, is a Guinness-based, whole grain mustard that I make with a recipe I received from Mandy’s wonderful blog, and, she received it from Celia’s delightful blog. So, for those keeping track, this mustard uses Irish stout and came to my Chicago table from Australia, by way of South Africa. (What, no frequent flier miles?)
Today’s post featured a fully cooked, smoked ham (“City Ham”). I’ve also prepared smoked and partially cooked hams with this sauce, as well. Since both of these types of hams require being heated to 160˚ F ( 71˚C), it will take longer to roast them. So, I take a low and slow approach. I’ll pre-heat the oven to 300˚ F (149˚ C) and tightly tent the ham in its pan. I estimate it will take 15 to 20 minutes per pound to roast and at the 90 minute mark, I’ll start basting every 15 minutes. After 2 hours, having basted it twice, I’ll remove the foil for good and continue basting until the ham has reached the proper temperature.
* * *
Notes
Though the ham will have a slight glaze by the time it has finished roasting, this is the bourbon, cola, & honey mixture is more sauce than glaze. Frankly, I don’t prepare a ham nearly often enough to experiment with glazes to accompany this sauce. If I were to test glazes, I’d probably start with a honey-whole grain mustard glaze since those flavors are present in the sauce.
No matter the ham or the roasting time required, I prefer putting it into the pan with the cut-side down. Though the first slice may not have the darkened color we’re all accustomed to seeing, I find that slice, as well as the rest of the ham, to be far more moist than a ham roasted on its side.
* * *
So, why bake a ham?

Roast ham, Swiss cheese, baby kale, and whole grain mustard on Ciabatta, with sides of potato salad and deep-fried pickle slices.
For the Sammiches and, later, Split Pea Soup (recipe coming)
* * *
It’s déjà vu all over again …
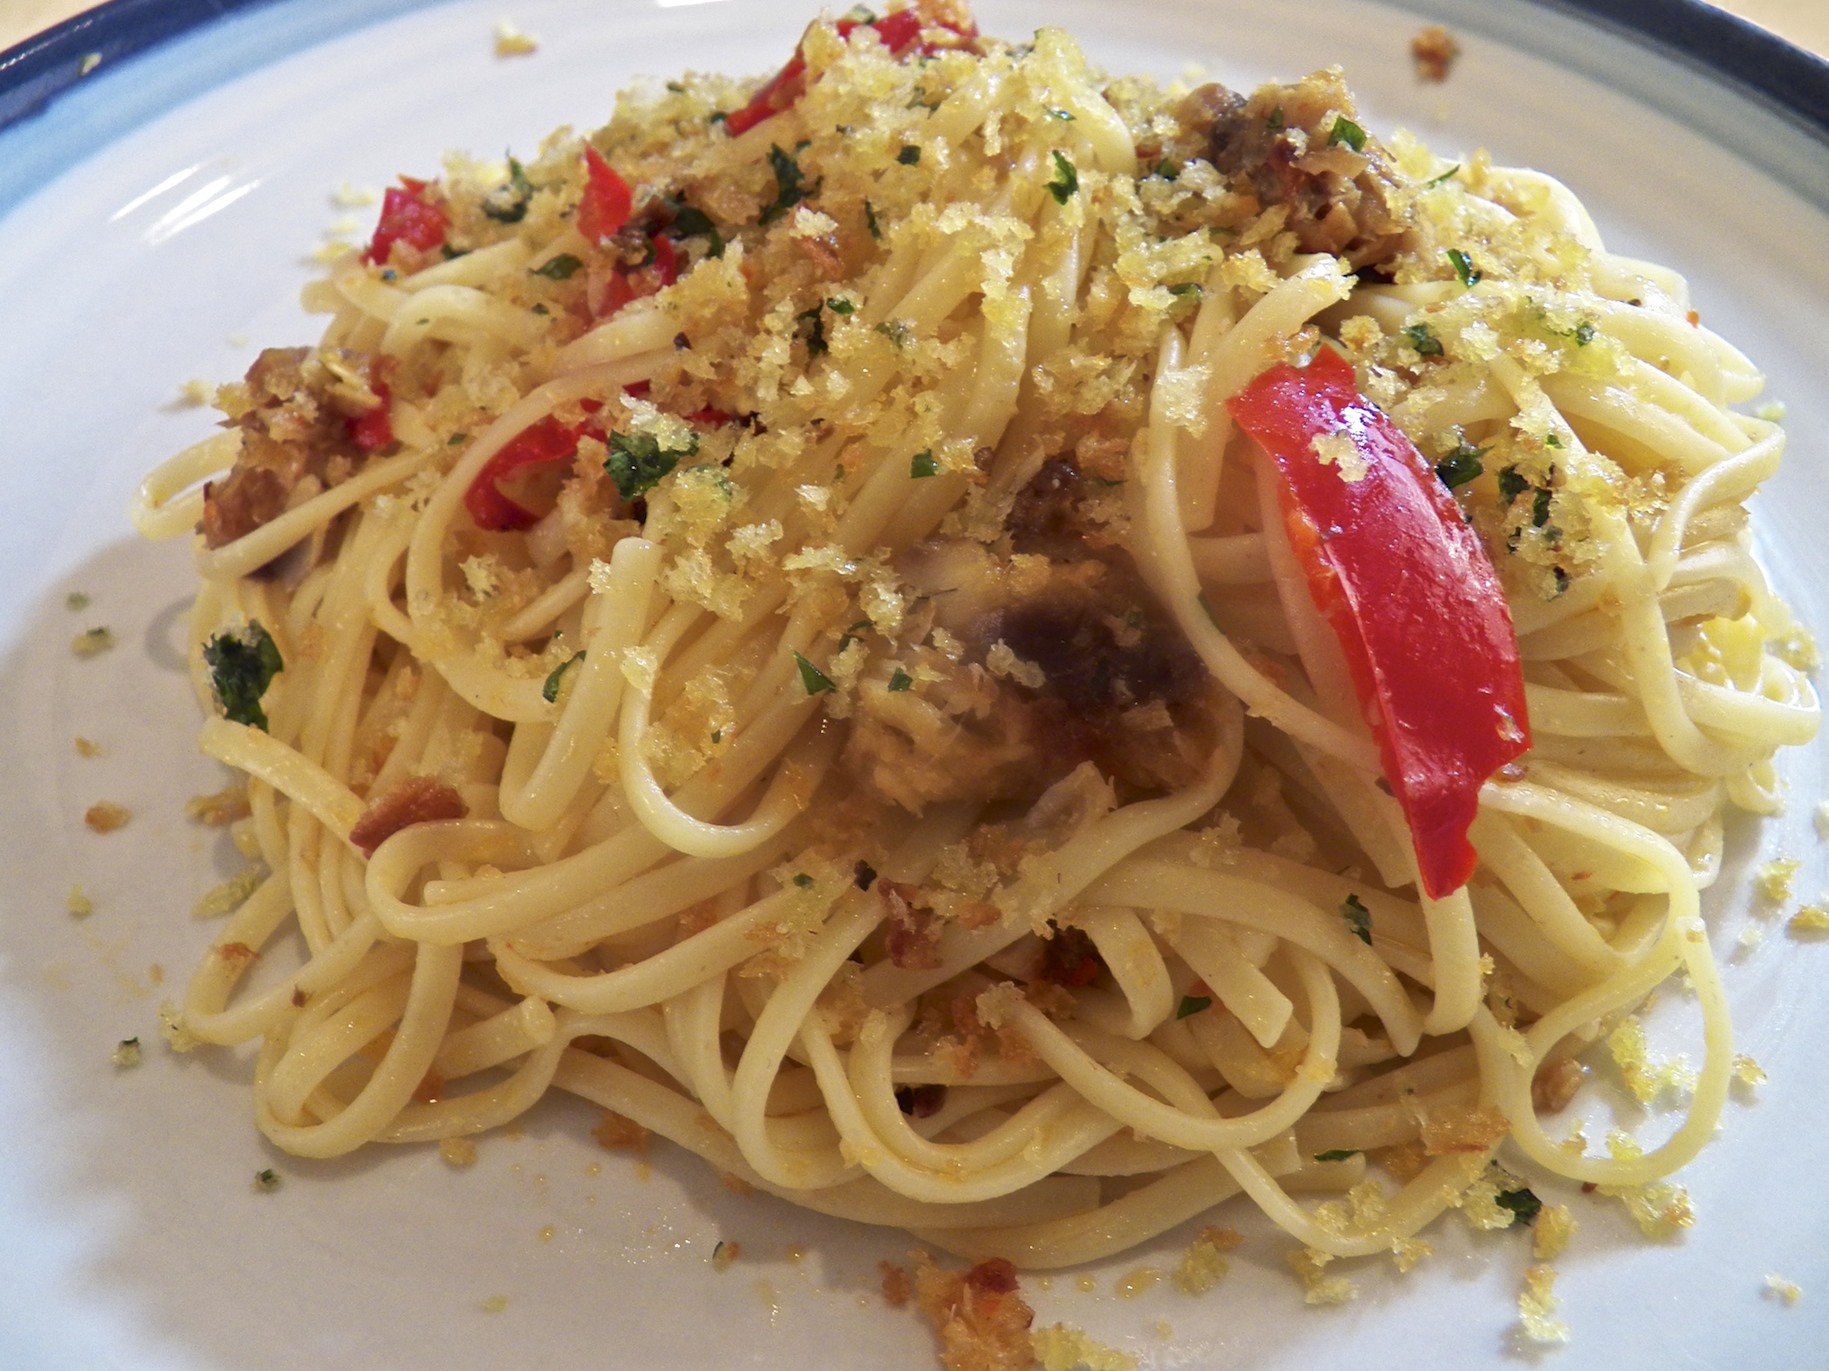
 When I wrote this post 2 years ago, I told of going to high-end groceries if I wanted to prepare the dish and, once there, the price was per clam!?!?! Well, not anymore. I now have a choice of places to buy my clams and all are priced per pound — and linguine with clams has graced my table more than ever. If you have access to fresh clams, you won’t want to miss our recipe. You can see it by clicking HERE.
* * *
Coming soon to a monitor near you …

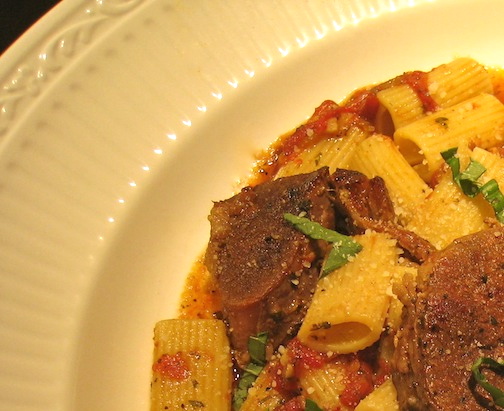
Sugo alla Bolognese
* * *