This is more an informational page than a recipe. As such, it only involves making the pasta noodles. Should you wish to see the pasta dough recipe, please refer to Mom’s Pasta Dough recipe.

Fettuccine
As was mentioned in the pasta dough entry, Mom cut the sfoglia by hand for much of my youth. Occasionally, I’ll do it myself although, to be honest, the width of my noodles aren’t nearly as consistent as were Mom’s. Whereas hers were perfect trenette, mine are more a collection of the various noodle sizes known to Man. Either way, thick or thin cut, you just can’t beat the taste of home-made pasta.
Although I follow Mom’s recipe for making the dough, I roll it into sheets using an attachment for my Kitchen Aid stand mixer, before using a hand-cranked machine to cut the noodles. Mom, as has been mentioned, used a machine with a hand-crank to roll out her dough and cut it into noodles. Both types of rolling devices work under the same principle. The dough is passed between 2 rollers, which are manually set at varying widths. Using the Kitchen Aid attachment as a guide, the no. 1 setting is where the rollers are at their widest, producing a very thick sheet of dough; no. 10 setting will produce an extremely thin dough strip. The relative thickness of the dough strips will depend upon their eventual use. When needed for lasagna, I stop after they’ve passed through the no. 5 setting. For noodles, I stop after setting no. 6. I use the same setting for large ravioli but will use no. 7 for small ravioli, where there isn’t so much filling. Zia, on the other hand, prefers to use no. 5 for her lasagna and noodles, with no. 6 being used for all of her ravioli. Again, let your own palate be your guide.
* * *
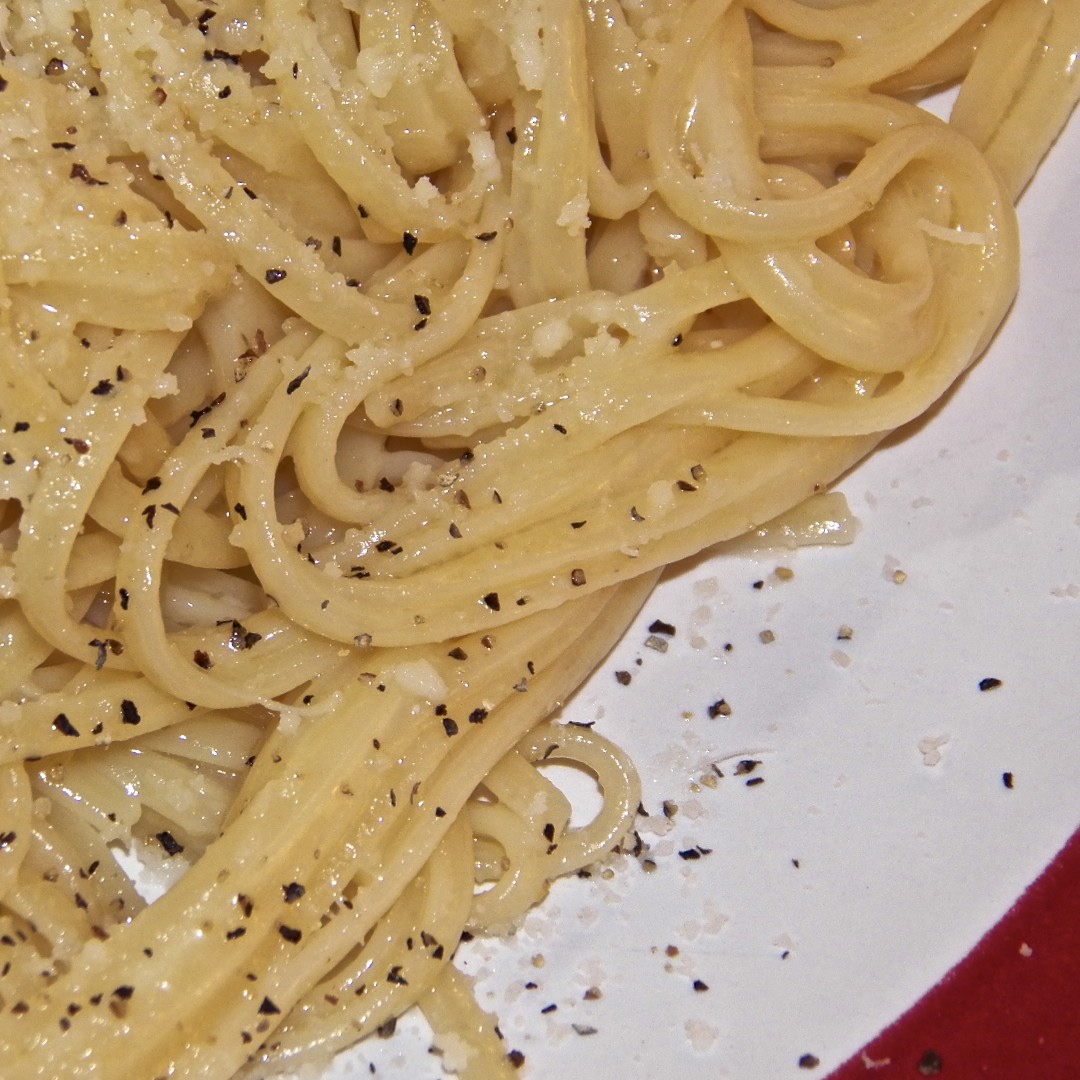
Home-Made Fettuccine, Linguine, Capellini
total time: approx. 45 minutes (includes drying time)
Ingredients
- 1 1/2 lbs. fresh dough, made using Mom’s Pasta Dough recipe
- extra all-purpose flour for dusting the work surface and pasta sheets
Directions
- Be sure the dough has been allowed to rest at least 15 minutes before starting to roll it.
- Using a knife or dough scraper, separate a ball of dough, roughly the size of a very large egg. With your hands, flatten the dough somewhat, making a square. Set your machine’s rollers to the widest setting and dust the rollers with flour.
 Place one edge of the dough between the rollers and turn the crank, causing the dough to grow thinner as it passes through the rollers. Lightly flour the dough, fold it in half upon itself, and pass it through the rollers again. Repeat this, without adjusting the rollers, a few times.
- Get another dough “egg” and repeat steps 2 & 3. In fact, get as many dough “eggs” as you are comfortable handling. Just remember to keep the remaining dough covered while you work with the “eggs.”
- Once you have rolled a few “eggs”, adjust the rollers to the next setting and pass each dough sheet through the rollers. If the dough is at all sticky, dust the sheets with flour. When all the sheets have been rolled, fold each in half and send through the rollers again.

- Adjust the rollers and repeat Step 5, again and again, until the strips are the desired thinness. You shouldn’t need to flour the strips between passes through the rollers.
- At this point, the dough strips will need to dry a bit before cutting. This could take anywhere from 5 to 20 minutes, or so. Much depends on your home’s temperature and humidity. If the strips aren’t dry enough, the freshly cut pasta will stick together and you’ll need to separate the noodles by hand. Just as strips that are too moist are a problem, so are strips that are too dry. In the latter case, the dough will crack & break during the cutting process. The dough strips need to be pliable.
 Once the sheets are suitably dried, pass them through the cutting rollers on your machine. Work the crank with one hand as you catch the noodles with the other. The freshly cut pasta may be lightly formed into bird’s nests or spread out on baking sheets, table tops, or floured towels. The pasta may be cooked immediately or allowed to dry completely, which should occur relatively quickly. If heat and humidity are a problem, freeze the freshly cut pasta to prevent mold from developing. Your pasta will store for weeks, whether dried or frozen, but the sooner used the better.


 Variations
The steps outlined above use a machine to cut the fresh noodles. You can, if you like, try cutting them by hand. Take a strip of dough and fold it in half, thereby reducing its length by half. Fold it again in half, then again, and again, and again. The result should be a multi-layered dough strip about 2 – 3 inches wide. This is called sfoglia. Starting at one end and using a sharp knife, cut strips as thin as you like. Once the entire sfoglia has been cut this way, unfold the thin strips and these are your noodles.
* * *