Gnocchi with Lemon, Spinach, and Burrata

If you came here expecting to find a recipe for those tasty little Italian potato dumplings, well, SURPRISE!  The gnocchi of today’s post are a type of pasta and have nothing to do with their namesake other than a similar shape. Now, I wish I could say that my family has prepared these for years but, the fact is, I stumbled upon these gnocchi during one of my voyages of discovery down the pasta aisle of the Italian market. Since I had already planned to share this recipe, I merely substituted one pasta for another.

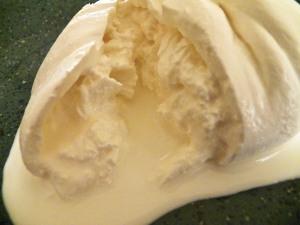
The pasta aside, the reason I wanted to share today’s recipe was to introduce burrata. If you’ve never tried nor heard of burrata, you’re in for a treat. Originating in Puglia, burrata is a fresh cheese that is closely related to mozzarella. To make it, a piece of newly formed mozzarella is stretched into a flat sheet and used to form a pouch. It is then filled with fresh cheese curds, “topped off” with heavy cream, and sealed.  (See photo below.) The result is about as rich a cheese as one could ever expect.

*     *     *

*     *     *

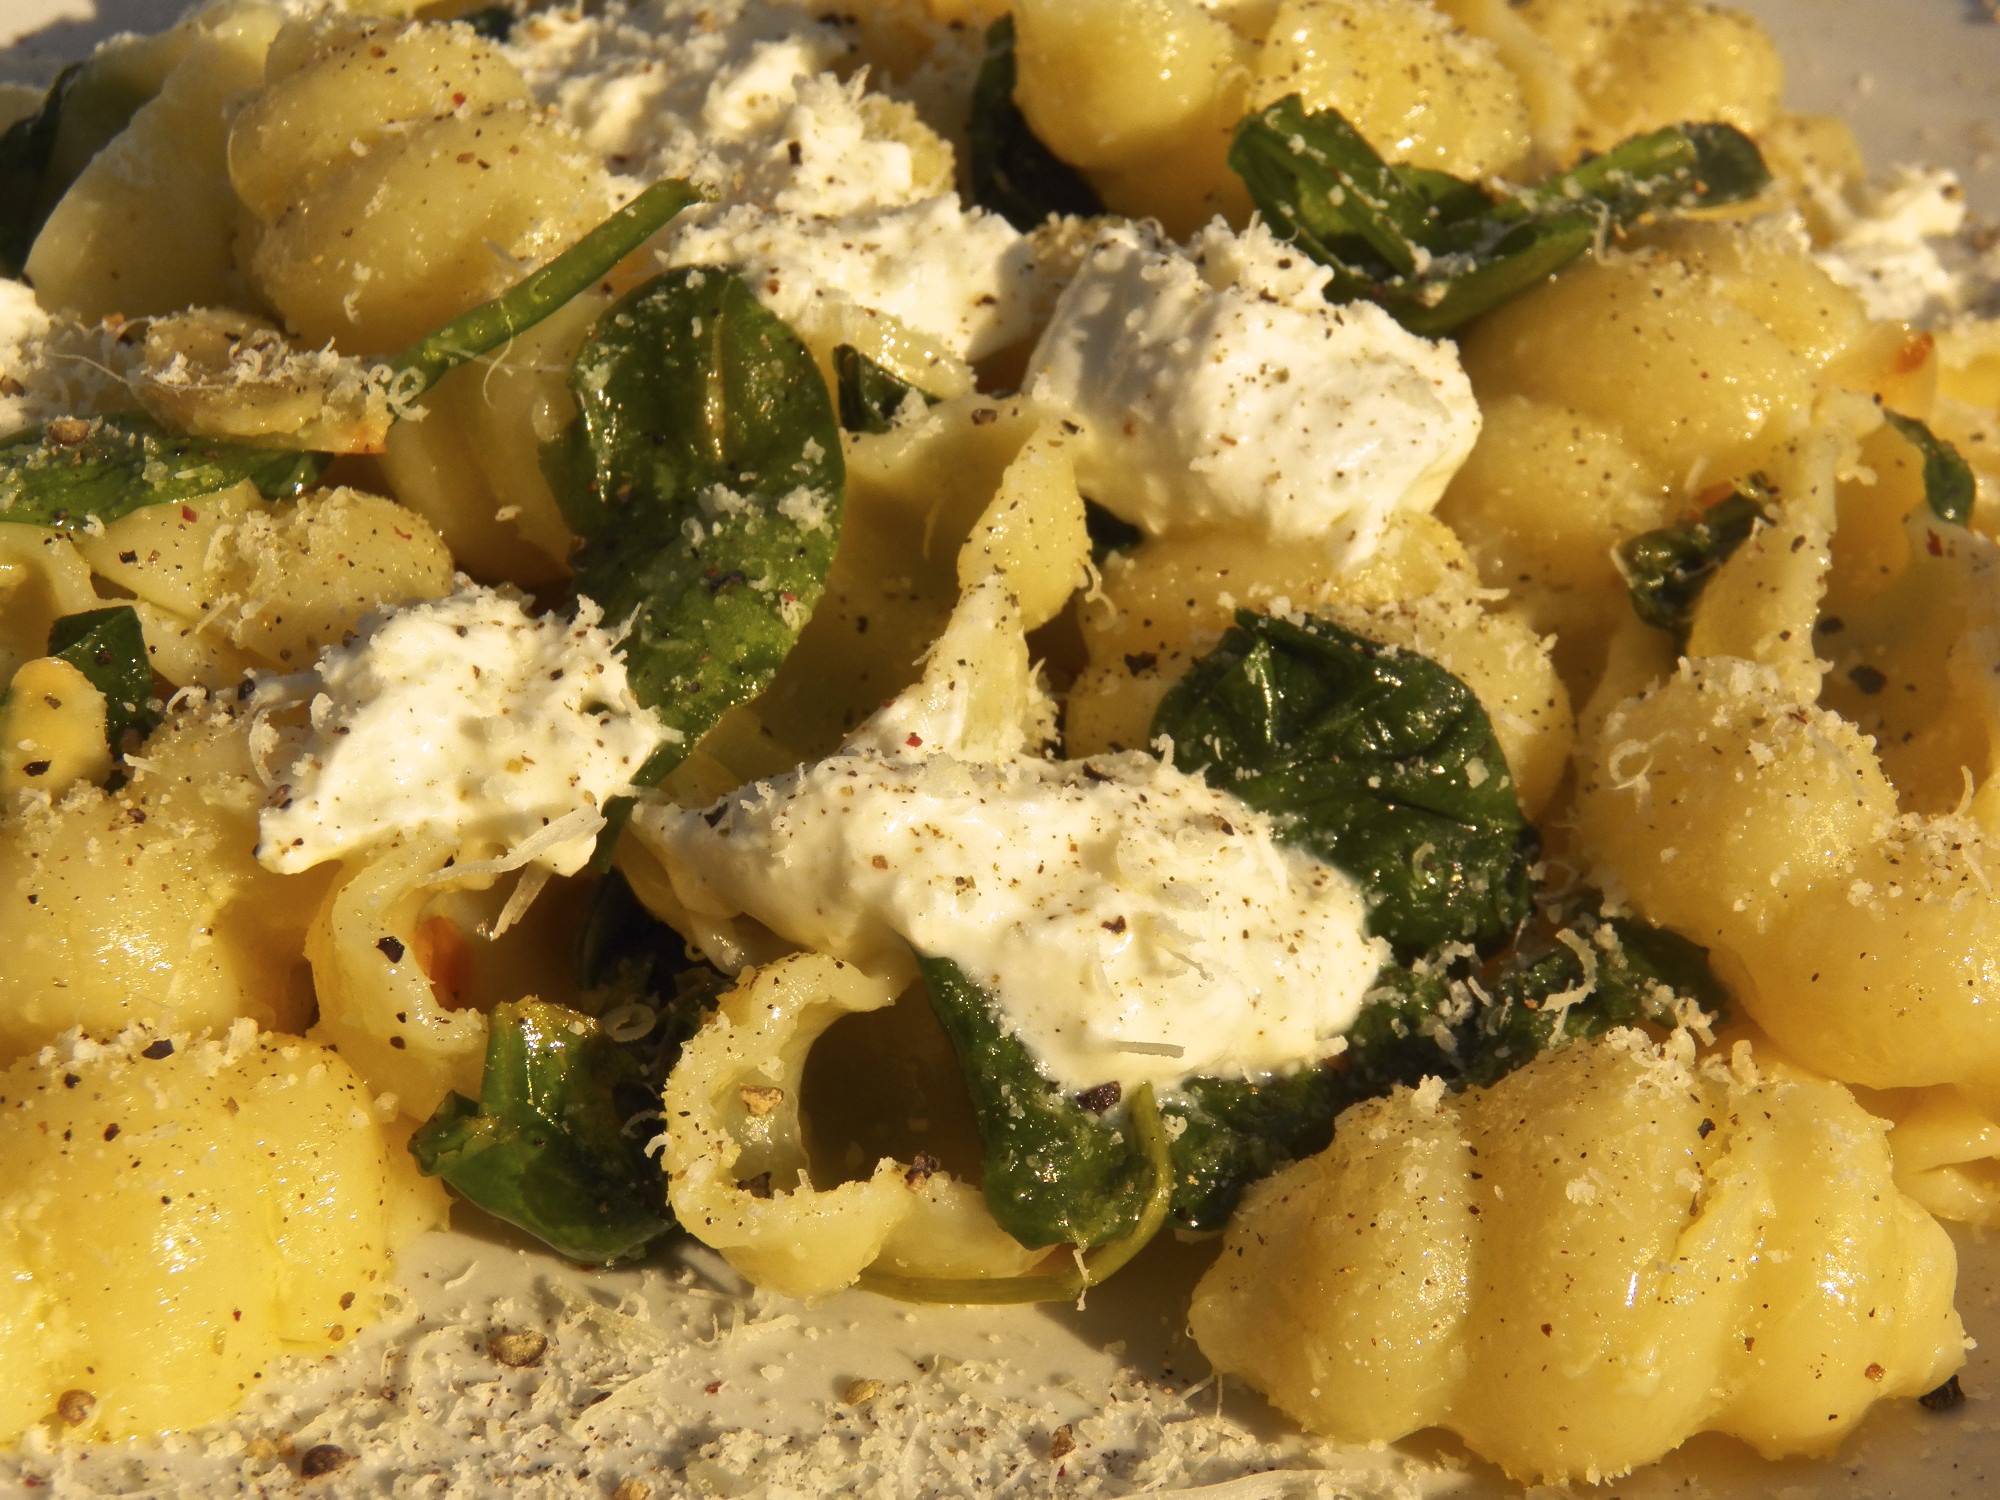
There are many recipes that feature burrata but the use of lemon is what drew me to this one. None of its flavors are so bold as to hide or overpower burrata’s creamy taste while the pasta shape lends itself to providing spots to capture bits of cheese and drops of cream.  Add some toasted slivered almonds for texture and you’ve a great dish of pasta, whether you serve it as a primo piatto or secondo.

Today’s recipe is straight-forward with little need for clarification. Just be sure to slice burrata on a rimmed dish or cutting board. You do not want to let any of the cream go anywhere but into your pasta. Beyond that, you’ll need to work fast. The pasta and olive oil mixture must be hot enough to wilt the spinach and, soon thereafter, melt the burrata.  A little reserved hot pasta water will help, as will bringing the burrata out of the refrigerator an hour earlier than needed to remove its chill. See? Nothing at all difficult and an incredible pasta is your reward.

*     *     *

*     *     *

Gnocchi Pasta with Lemon, Spinach, and Burrata Recipe

Ingredients

yield: 6 servings

  • 1 lb gnocchi pasta
  • ⅓ cup extra virgin olive oil
  • 2 tbsp butter
  • 2 cloves garlic, minced or grated
  • juice and zest of 1 Meyer lemon
  • 1 pkg (6 oz) fresh baby spinach
  • ¾ cup slivered almonds
  • grated nutmeg, to taste
  • 1 lb. burrata cheese, sliced and cut into 1 inch cubes
  • grated Pecorino Romano cheese
  • freshly cracked black pepper

Directions

  1. Place almonds in a small skillet over med-high heat and toast until lightly browned.  Remove from heat and set aside.
  2. Bring a large pot of salted water to boil and cook gnocchi per package directions or to taste.
  3. When pasta is approximately 4 minutes before being al dente, heat a large skillet over medium heat. Add butter and olive oil.
  4. Add the garlic to the hot oil/butter mixture and sauté until soft, about 1 minute. Do not allow to brown.
  5. Add the lemon juice and zest to the skillet and stir to combine. Keep hot until pasta is ready. If it reduces too much, replenish with pasta water.
  6. Drain the pasta and put it into a large bowl.
  7. Add the spinach, in thirds, to the gnocchi and mix well. Continue until all the spinach has been added to the bowl of gnocchi. (Adding it in batches will help to prevent clumping.)
  8. Add the almonds and a dash of nutmeg. Mix well.
  9. Add the hot butter/oil/lemon mixture to the pasta and toss, wilting the spinach as you do.
  10. Work quickly and once the spinach is lightly wilted, apportion 6 servings.
  11. Place an equal amount of burrata on top of each serving.
  12. Finish each serving with a sprinkle of Pecorino Romano cheese and freshly cracked black pepper, to taste.
  13. Serve immediately.

Inspired by Bon Appetit, December 2004

*     *     *

Variations

Not all of us have ready access to Meyer lemons, and, gnocchi pasta probably won’t be found in your neighborhood grocery. Don’t let a lack of either stop you from making this delicious pasta. If missing Meyer lemons, use the juice and zest of 1/2 “normal” lemon. If unable to find gnocchi pasta, try using campanelle (little bells), gigli (lilies), or, as pictured on the right, conchiglie (shells).

*     *     *

Notes

It cannot be stressed enough, the key to this dish is to work fast to insure that the spinach wilts and the burrata melts. Success means a great pasta for dinner.

Burrata’s creaminess makes it a natural for crostini and you may wish to reserve a bit just for that purpose. Use it in place of mozzarella to make the crostini described HERE and pictured on the left.

*     *     *

It’s déjà vu all over again …

Kale-filled Pieda

Kale-filled Pieda

Flatbread are common to many cuisines and Italian is no different. Originating in Emilia-Romagna, this flatbread is called piedina but in my Dad’s area within Italy, the Republic of San Marino, it’s called pieda. Easy to prepare, Mom served pieda with sautéed Swiss chard but you can serve it with cheeses, lunch meats, salad greens, or any combination of those. You can find the recipe by clicking HERE.

*     *     *

Coming soon to a monitor near you …

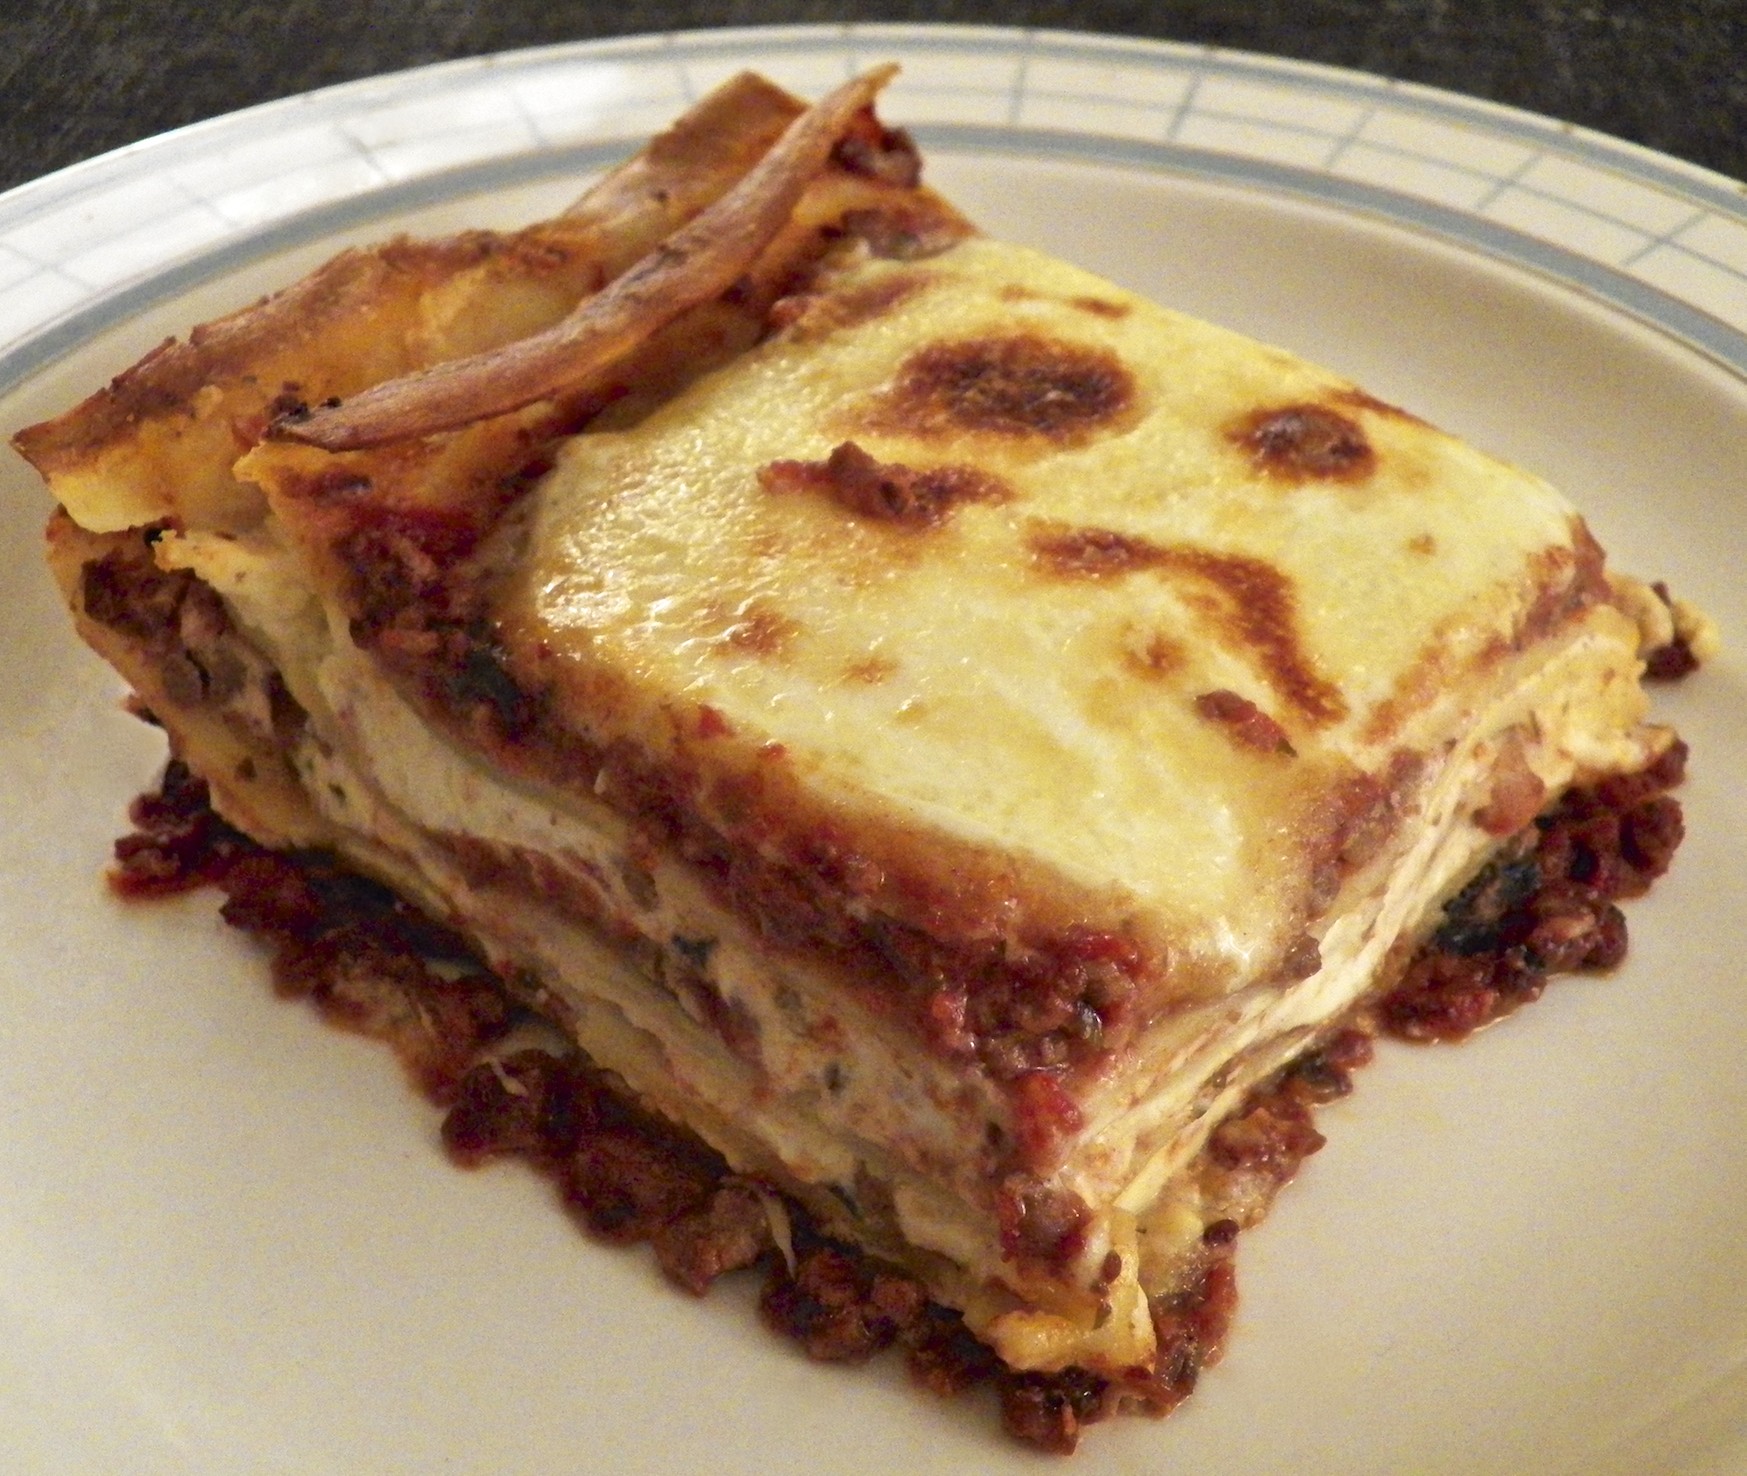
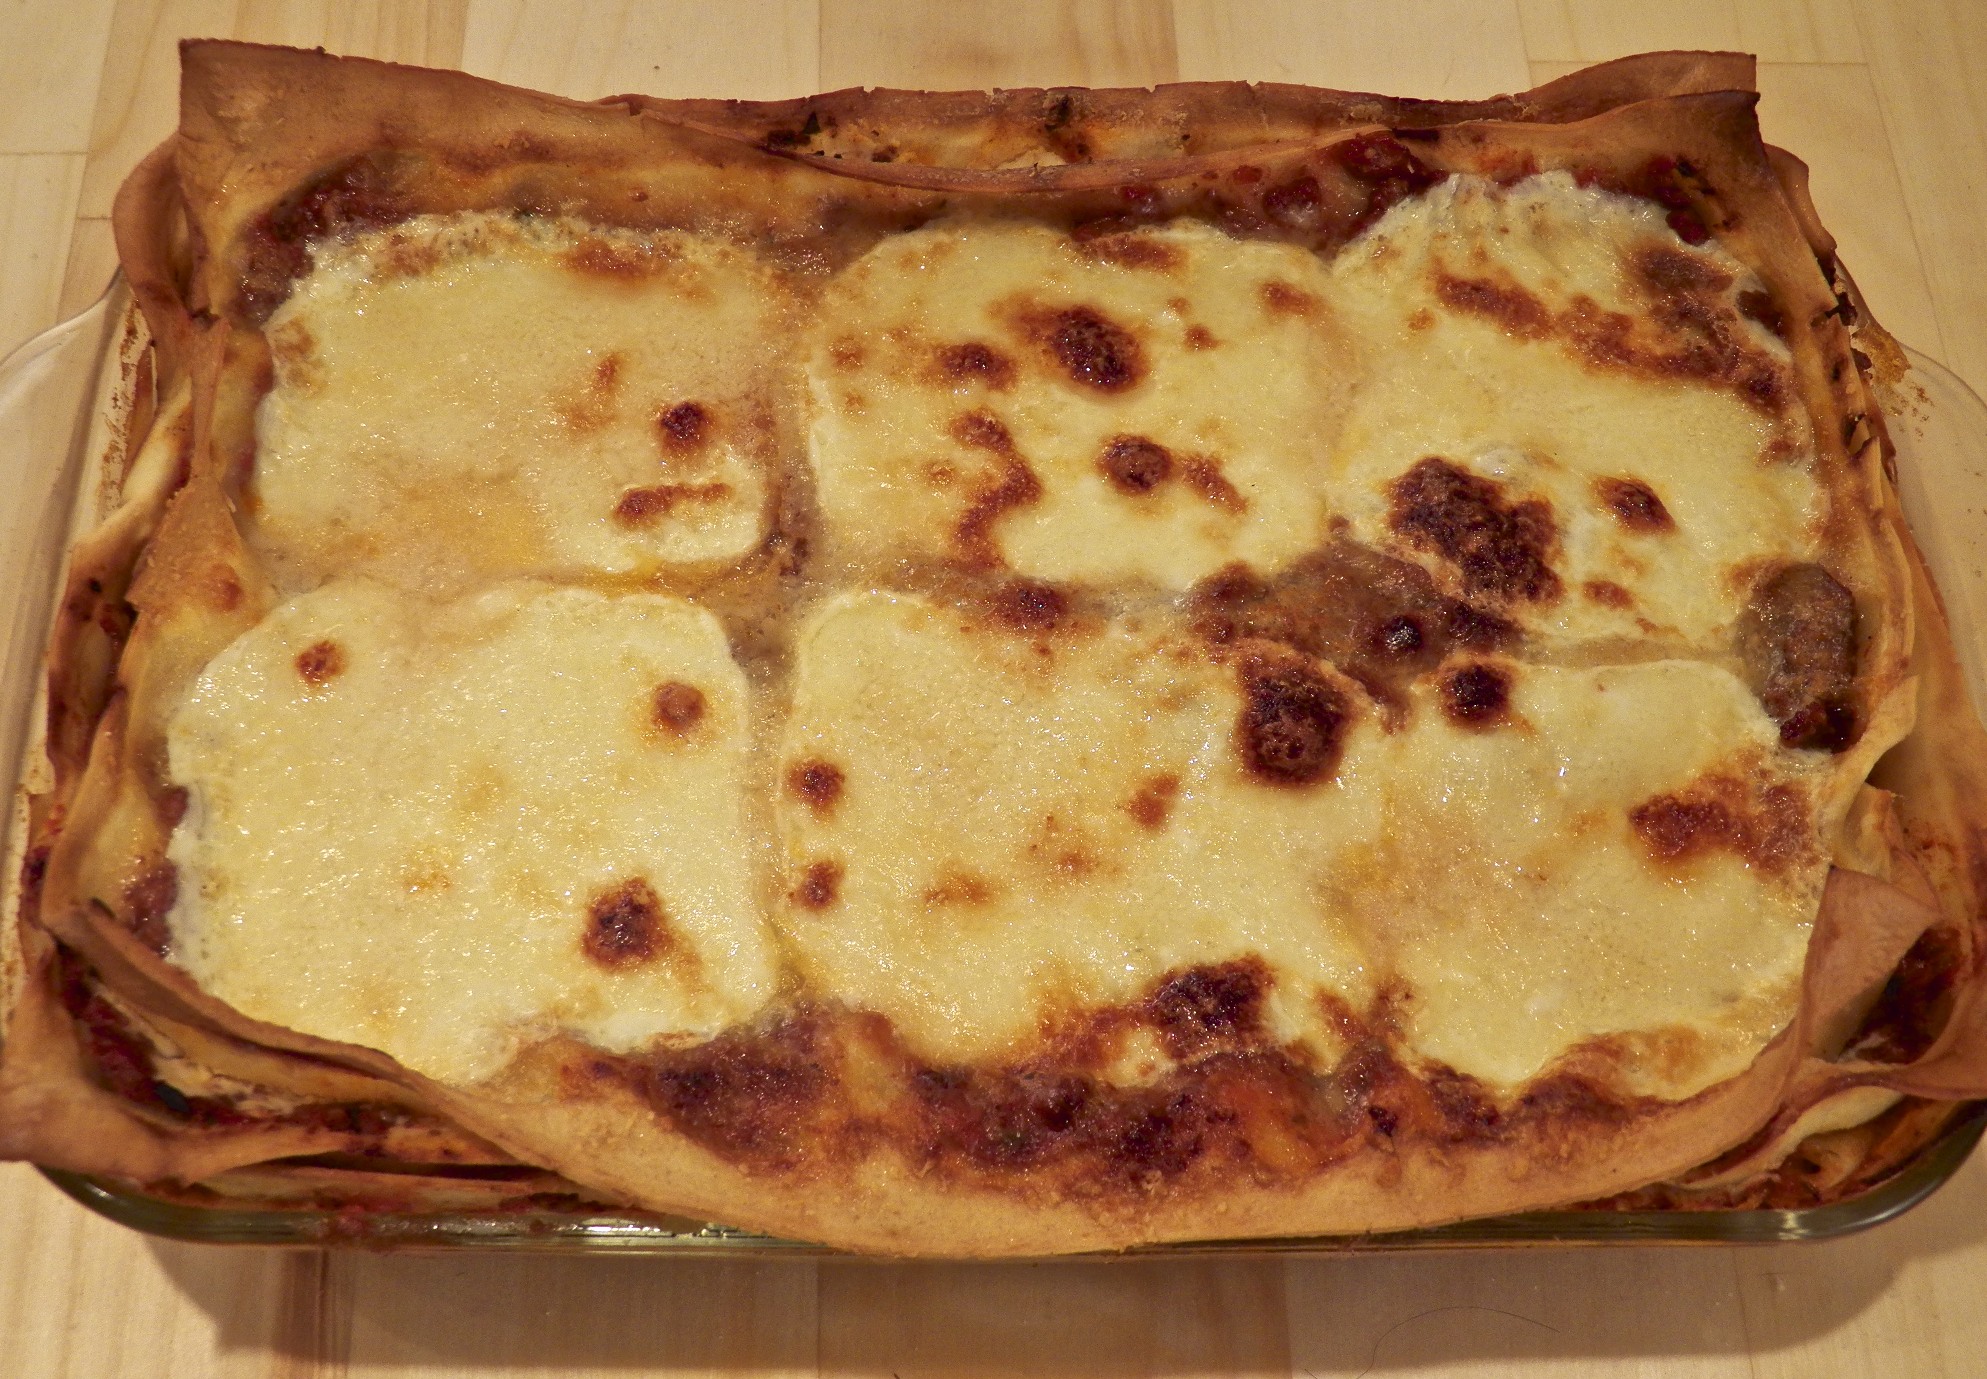
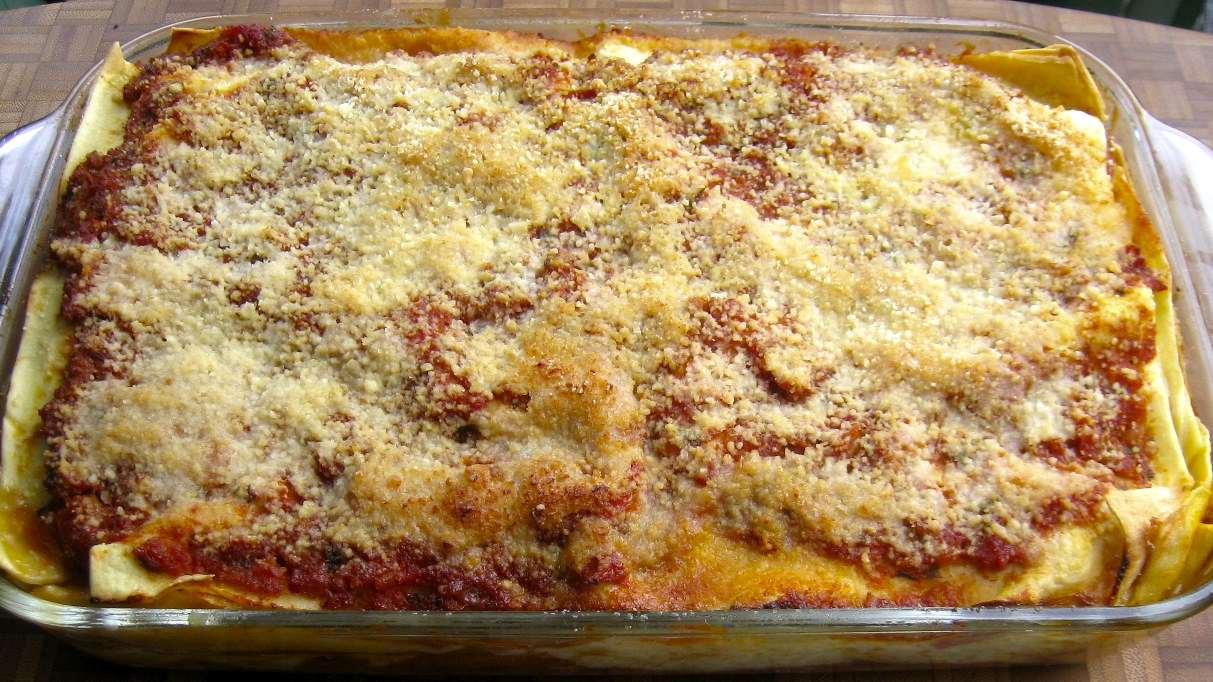
Last week I shared the recipe for Bartolini Lasagna. At the time, I called it “one of the jewels in the Bartolini Crown of Recipes.” Well, next week I’ll present another of our Crown’s jewels: Mom’s recipe for Cappelletti. Although not made in the traditional shape, these raviolini will turn an ordinary bowl of brodo into something really quite special.

*     *     *

The Lasagna of My People — Lasagna dei Bartolini

The third week of January is another birthday week for the Bartolini Clan. Nonna’s birthday was January 26th, a date my Cousin shares with her. Not to be outdone, tomorrow, the 24th, is my birthday. It’s not a significant one but, boy, am I getting close! In the past, I’ve tried to pick a dish as a means of celebrating the person and birthday. Well, with that in mind, today I’m going to share what I consider to be one of the jewels in the Bartolini Crown of Recipes: Bartolini Lasagna.

*     *     *

*     *     *

As I’ve mentioned in prior posts, ours is not a ricotta-filled lasagna. In fact, ricotta isn’t even among the three cheeses used. (I’ve a recipe for a ricotta lasagna and I’ll share it sometime in the future.) This lasagna’s cheese filling is entirely a Bartolini invention, although not the way I had always believed. For years, I assumed that this was one of the recipes that my Grandma had taught her girls. I told my friends that, as well. You can imagine my surprise when, a short while ago, Zia corrected me and explained how this recipe came about.  Years ago — certainly before my memories begin — she & Mom had grown tired of ricotta-filled lasagne and were dissatisfied with those that called for a besciamella sauce. They decided to try something different and, Ecco! Bartolini Lasagna was born. This is a lasagna that is unlike most others and one that family and friends alike thoroughly enjoy.

Speaking of friends, did I mention that this lasagna has therapeutic qualities? Yes, there is that. You see, one of the unfortunate consequences of maturing is that the good health one took for granted before reaching the age of 40 may not be as apparent beyond that age. Things happen and, when they do, oftentimes friends and family will respond with a variety of foods and baked goods to assist in the recuperation. Well, when illness strikes a friend, I hit back with lasagna. That’s right. Bartolini Lasagna. I know that when I’ve been in a similar situation, there were times when eating was, shall we say, problematic. On those occasions when my appetite did return, it often vanished — or worse — by the time I got my meal on the stove. A casserole, however, solves that problem. A serving can be placed in the microwave and served within a few minutes, ensuring the patient receives much-needed calories to fuel the recovery. And what better casserole-type dish is there than lasagna? It certainly has the calories and, by any standard of measurement, Bartolini Lasagna has proved beneficial to each friend’s convalescence. OK, to be fair, our lasagna isn’t comparable to the waters of Lourdes and you certainly won’t find any crutches hanging from my kitchen’s ceiling. Follow our recipe, though, and you’ll have one tasty lasagna. Even Lourdes can’t do that.

*     *     *

*     *     *

This is normally where I would mention points of concern for the day’s recipe. I really have none for our lasagna recipe other than to mention the noodles used. Today, you can purchase noodles that need to be cooked before use, “boil”, or those that need no prior cooking, “no boil.” Of course, if you prefer, you can make you own — which I would highly recommend.  No matter whose lasagna recipe you follow, using homemade noodles will transform your dish. (A friend once compared my lasagna noodles to pastry.) If you do make your own (see Notes), remember that they only need to be boiled for a few minutes and they’ll be ready for use in your lasagna. If you use “boil” noodles, follow the package directions. Once boiled, you can lay them flat on a baking tray, coating each with a little olive oil, or, lay them flat in a baking dish filled with cold water. Work quickly or they may stick to each other. If using “no boil” noodles, I’ve found that they work better if each is given a quick rinse in hot tap water before being placed in the lasagna dish/pan. Don’t fret if your noodles are a little larger that your baking dish or pan. The exposed edges will crisp during baking and many find that very enjoyable.

*     *     *

The Bartolini Lasagna Recipe

Ingredients

Tomato Sauce (click on sauce name for recipe)

Cheese Sauce (see Notes)

  • 6 tbsp (85 g) butter
  • 12 oz (1½ pkg) (339 g) cream cheese
  • 2 – 3 tbsp (29 – 44 ml) milk
  • Pecorino Romano cheese, grated

Lasagna

  • Enough cooked lasagna noodles (or “No Boil”) to make 3 or 4 pasta layers (see Notes).
  • mozzarella (sliced or grated)
  • Pecorino Romano cheese, grated

*     *     *

*     *     *

Directions

Prepare the Cheese Sauce

  1. Place butter, cream cheese, and milk in a microwave proof bowl. Place in microwave and cook, on High, for 3 to 4 minutes, depending upon the microwave’s power.
  2. Remove and whisk until smooth.
  3. Set aside

Assemble the Lasagna

  1. Pre-heat oven to 350* F (177˚ C).
  2. Generously butter a baking dish or non-reactive pan.

*     *     *

3. Coat the bottom of the dish with tomato sauce.

*     *     *

 4. Add 1 layer of noodles.

*     *     *

5. Coat the noodles with tomato sauce.

*     *     *

6. Add ½ or ⅓ of the cheese sauce, depending upon the number of layers,  and spread evenly. Sprinkle with Pecorino Romano.

Repeat Steps 4, 5, and 6 once or twice depending upon noodles used and dish/pan’s depth. (See Notes)

*     *     *

7. Add a final layer of noodles.

*     *     *

8. Cover with the rest of the tomato sauce.

*     *     *

9. Place the mozzarella on top and sprinkle with Pecorino Romano cheese.

*     *     *

10. Place in pre-heated oven and bake until heated through, 40 – 45 minutes or until top layer of cheese is cooked to your liking. If using sliced mozzarella, once the lasagna has baked for 45 minutes, raise the oven temperature to 400˚ F (205˚ C) and continue until top layer of cheese is done.

*     *     *

Let rest 15 minutes before serving.

*     *     *

Notes

I use Mom’s Pasta Dough recipe for making lasagna noodles. This will result in approximately 1½ pounds (680 g) of dough. I used about 14 oz (500 g) of dough to make my noodles for an 11 X 7″ (28 X 18 cm) pan. Now, you can cut Mom’s recipe to make less dough, or, you can do as I do. Roll out the extra dough and use it to make linguine, fettuccine, pappardelle, fazzoletti,  or quadretti.

*     *     *

Fold, Cut, & Unfurl Pappardelle

*     *     *

When making homemade lasagna noodles, I roll them by machine until they are a little thicker than what I use for making linguine or pappardelle. If your rollers are at their widest at a setting of 1, then roll your dough up to and including setting 5. If your rollers are at their widest at 10, then roll your dough up to and including setting 6.

Much depends upon the type of noodles you use and the size of the baking dish or pan. If using store-bought noodles, “boil” or “no boil,” you’ll probably only be able to have 3 layers of noodles. If using homemade noodles, you can create another layer, if you wish. This is because store-bought noodles are thicker than those you’ll make by hand.

The amount of cheese sauce prepared in the recipe is intended for use in a 9 X 13″ (23  X 33 cm) baking dish. For that size dish, I estimate about 4 oz (113 g) of cream cheese and 2 tbsp (28.3 g) of butter for every layer of cheese sauce needed. Since I used homemade lasagna noodles, there were 4 layers of noodles and 3 layers of cheese sauce.

For a smaller dish/pan of 11 X 7″ (28 X 18 cm), no matter what kind of pasta or how many layers are created, I use 8 oz of cream cheese (226 g) and 4 tbsp (56.6 g) of butter with a little milk. If you prefer, you can scale back the ingredients, following my example with the larger pan. For me, frankly, scaling back the cream cheese would result in an ounce or 2 of cream cheese left in my fridge, where it will probably spoil before I think of it again. As they say, “In for a penny, in for a pound.” Might as well use all 8 oz and be done with it.

*     *     *

Variations

While discussing this recipe with Zia this past weekend, I learned that she prepares the cheese sauce differently than Mom did. Where Mom prepared her cheese sauce using butter, cream cheese, and a little milk, Zia only uses cream cheese and milk. She does, however, use enough milk to make up for the amount of butter Mom used. In short, Zia has never used butter in her lasagna while Mom and I’ve never made lasagna without it. Who knew?

As is the case with any lasagna or homemade pasta, you can go green, verde, if you like. When making your dough, add a few tablespoons of cooked, finely chopped spinach. The effect will be to die your pasta dough green. Use as you would any regular pasta dough.

*     *     *

It’s déjà vu all over again …

Not My Mom’s Lasagna

Since today’s post shared a lasagna recipe, I thought I would end with another. Using last week’s Blast from the Past Marinara Sauce, this lasagna features a parmesan besciamella with a layer of mushrooms and another with prosciutto.  Surprisingly light, the flavors within this lasagna are equally delicate. You can check out the recipe by clicking HERE.

*     *     *

Basic Meat Sauce

Sugo di Carne Odd, isn’t it? The part of each post that will give us trouble. Last week it was the photos and labels. Just how many pictures does one need of meat & vegetables floating in water? And do I call it “broth”, “brodo”, or “stock”? In the end, I chose one photo and used all three monikers.

This week it’s the post’s title. First off, I thought using the word “Sugo” might be confusing to a few people.  In English, sugo means “gravy” but, unlike some, we never referred to tomato sauce as “gravy”. It was either “sauce” or “sugo”. “Gravy” was the stuff you put on mashed potatoes. But that’s not the only problem in the title. This sauce is not a Bolognese, although I have that recipe and will share it later. I am a Marchigiano but it would be arrogant for me to call my sauce alla Marchigiani, meaning “in the style of Le Marche”. I guess I could say it’s dei Bartolini, meaning “of the Bartolini”, but that would imply that there’s one common sauce for us all. That’s hardly the case.

Back in the old two-flat, each adult was quite capable of making a sauce for pasta. Granted, it was exceptionally rare for one of the men to make a sauce but that doesn’t mean each didn’t consider himself to be a master chef when it came to making one. Oddly enough, each of the adults’ sauces was as different from the others as the cook who prepared it. In fact, I’d be willing to bet that if it were somehow possible to recreate each individual’s sauce, I would still be able to determine who prepared each. Yes, they were that distinctive despite using almost the exact same ingredients. “Almost” because there were two minor differences: Mom had her “secret” spice (See Notes) and Nonna might use a little marjoram. It remains a mystery to me how 6 people could have used the same ingredients and achieve such different results. Today, I add a little wine to my sauce and I don’t recall anyone else having done that. The point to all of this is to make clear that there is no one sauce of the Bartolini and for me to use that title for my sauce would be mighty presumptuous. Nevertheless, the bottom line is that I still needed a title for this post, so, I took the path of least resistance. “Basic Meat Sauce” it is.

"Until the juices run clear"

“Until the juices run clear”

There are a few techniques that all of our tomato sauces include. In the first place, all of our sauces use onions. This is significant because the sweetness of the onion eliminates the need for the sugar that some add to their tomato sauces. When it comes to preparing a meat sauce, at one time large pieces of beef and pork were used and later served alongside of the pasta. Today those meats are ground before being added to the pot. Personally, I no longer buy ground meat and, as a result, am in better control of both the quality and fat content of my ingredients. Beyond that, the instructions for many sauces state to “Brown the meat.” Well, that’s half-right. If you only sauté the meat until the pink is gone, you’re missing an opportunity to add flavor to your sauce. As Zia says, make sure “the juices run clear” before you add anything else to the pot. This will ensure that all the liquid has evaporated, concentrating the flavor and leaving just fat behind. Only then can the meat really begin to brown and I’ll continue to sauté it for a few minutes more to do so. Lastly, I’ll add parsley and basil to the pot just like everyone else but I, also, go back and add more just after the sauce is taken off the heat. I find that doing so not only boosts the flavor of the sauce but adds to its aroma, as well.

 *     *     *

Basic Meat Sauce Recipe

yield: 2 quarts (1.9 l)

Ingredients

  • 3 tbsp extra virgin olive oil
  • 3/4 to 1 lb. (340 to 454 g) ground beef
  • 3/4 to 1 lb. (340 to 454 g) ground pork
  • 1 large onion, chopped
  • 8 cloves garlic, minced or grated
  • 4 tbsp fresh parsley, chopped – separated
  • 1 cup dry red wine
  • 10 crimini mushrooms, sliced – optional
  • 4 tbsp tomato paste
  • 2 quarts (1.9 l) tomatoes or 2 large (28 oz) cans, chopped
  • 2 tsp marjoram
  • 4 tbsp fresh basil, chopped – separated
  • salt & pepper

Directions

  1. Heat oil in large sauce pan over a medium-high heat. Once hot, add beef and pork, season lightly with salt & pepper, and sauté until the liquids run clear and the meat browns.
  2. Add onion, garlic, and half of the parsley. Stir, season lightly with salt & pepper, and continue to sauté until onion is translucent.
  3. Add the wine and sauté until all but a trace has evaporated.
  4. Optional: Add mushrooms and continue sautéing until soft, about 5 minutes.
  5. Add tomato paste, mix thoroughly, and continue to sauté another 2 minutes.
  6. Add the tomatoes, basil, marjoram, and stir to thoroughly combine.
  7. Bring to boil and reduce to a soft simmer.
  8. Continue to simmer until the sauce deepens in color and thickens — about 2 hours. Stir occasionally.
  9. Remove from heat, add remaining parsley & basil. Stir to combine.
  10. Sauce is ready for use with your favorite pasta or, once cooled, for storage in your refrigerator or freezer.

*     *     *

*     *     *

Notes

Although this recipe makes two quarts, it can easily be halved to make one quart of sauce.

When you choose to add wine to your sauce will affect its impact on the end-result. If added early, as I did in today’s recipe, the wine will blend into the background, adding to the overall taste of the sauce. Adding it later, towards the end, the wine flavoring will be much more prominent. When preparing a meat sauce, I add the wine early on. For a marinara, I add it later, as you’ll see below. It is yours to decide which you prefer.

Mom did have a “secret” spice that she added to her sauce.  It’s not that I’ve a problem revealing the secret, it’s just that we cannot agree on what that spice was. It’s been over 10 years since I last had a taste and, speaking for myself, my memory isn’t what it used to be. Now, normally this would have meant the end of the discussion, except for one little thing. Recently, while rearranging my basement freezer’s contents, I came across a quart of Mom’s sauce that had fallen in among the ice bags that I used to create a false bottom in the freezer. (The bags were supposed to make things easier to reach and, ironically, prevent something from “getting lost” down there.) Granted, as far as discoveries go, this is not on a par with King Tut’s tomb but is it still a great find. I seriously doubt that the sauce is in any condition to be eaten but, hopefully, we’ll be able to determine just what Mom’s secret ingredient was. To that end, I plan to bring it to Zia — when I remember — and let her palate settle this matter, once and for all. Lest there be any doubt, let me assure you that Zia is a fair and impartial judge. She would never be swayed by the fact that I arranged for her to hold the hand and receive the blessing of her Patron, the soon-to-be-Saint Pope John Paul II.

*     *     *

It’s déjà vu all over again

Since I shared one tomato sauce today, I might as well take you back to an earlier post in which I shared a marinara (meatless) sauce. You can see the recipe by clicking HERE. It was one of my earliest posts, so, be kind.

And while you’re there, be sure to take the link to check out that lasagna recipe. I doubt you’ve seen one like it.

*     *     *

Mom’s Broth — Il Brodo della Mamma

Although I had planned today’s post weeks ago, it really could not have come at a better time. When that virus most vile invaded my world just before New Year’s, I was about as prepared for it as could be. In my freezer were quarts of turkey stock that had been made after Thanksgiving, as well as a nice supply of Mom’s broth, brodo, that I’d prepared for this post. As soon as I detected the contemptible contagion’s presence, I was off to the store for a few odds & ends, returning home where I would remain for the duration. The bastardly bacillus had chosen the wrong host, for the brodo that had served me so well as a child would now be called upon to see me through the dark days that loomed ahead.

I’ve mentioned in the past that we lived on the same block as the parish church which was across the street from our grammar school. Living so close to the school, we were expected to go home for lunch, for the school was relatively small and there was no cafeteria. Children who stayed for lunch sat at their desks and ate. We, on the other hand, raced home where Mom had lunch ready for us. To be sure, at the start of the school year, our lunches often consisted of sandwiches, an occasional burger or hot dog, and fish sticks, tuna salad, or some other meatless delight on Fridays. As the year progressed and the weather grew colder, soup would come to play a larger role in our noontime meals. It was no coincidence that, just as the temperatures began to dip, Mom’s old stockpot would make its first appearance on a Sunday morning, having spent weeks in hiding someplace out of sight.

Sunday was the only day that Dad didn’t work at the restaurant. That morning, Sis and I often accompanied Dad on his morning rounds, returning home just in time to sit down for lunch. Once the weather turned cold, that stock pot was atop Mom’s stove virtually every Sunday morning until Spring. Some days, our Sunday lunch was just soup, with the boiled meats served on the side. (See Notes.)  Other times sandwiches accompanied our soup and, of course, there were other Sundays where soup wasn’t served at all. Still, no matter how much, or how little, was used on Sunday, Mom had plans for that brodo.

On the coldest of school days, we could count on a bowl of steaming soup waiting for us at lunchtime. With Dad home for supper on Wednesdays, Mom often used her brodo to prepare risotto for us that night. And throughout the week, if a recipe required a cup of broth, Mom need look no further than the refrigerator. Beyond that, she always kept a quart of brodo in the freezer should one of us be visited by an ancestor of the beastly bacterium that recently called upon me. If Doctor Mom surmised that the malevolent microbe was not going anywhere for a few days, her stockpot was called back into duty so that when the quart of frozen brodo was gone, she’d be ready with a full pot of brodo to continue the battle.

Before detailing Mom’s recipe, a few points need mentioning. None of the soups I’ve mentioned was chicken noodle soup. To be sure, she prepared that for us but it certainly wasn’t very often. We were much more likely to be fed her brodo plain or with quadretti or acini de pepe pastas when ill and, maybe, with capelli d’angelo pasta when we were feeling better. And her brodo wasn’t made with chicken only. Like most Italian broths, chicken and beef were used to create them. This isn’t to say Mom never made a purely chicken broth. It was, however, fairly rare for her to do so. Lastly, many cooks today will brown the chicken and vegetables before adding water to the pot. This will result in a flavorful broth, which some call “brown” chicken stock. I’ll make either one, depending upon how the broth will be used. If I intend to use the brodo to make risotto or chicken noodle soup, I’ll brown the meats (like Mom, I’ll include a piece of beef) and vegetables first. If, however, I’m going to use the brodo for cappelletti, stracciatella, or passatini, I’ll follow Mom’s lead and not brown anything. The meats, vegetables, herbs, and spices are put into a pot of cold water and then the heat is turned on. This results in a cleaner, less complex-tasting broth, one that will let the flavor of the pasta shine. (You’ll note that the photos accompanying this post are from the making of a pot of  “brown” chicken stock for interest’s sake. Photos of Mom’s brodo being prepared would be nothing more than beef, chicken, and vegetables floating in water.)

*     *     *

Mom’s Broth Recipe

total time: approx.  3.5 hours

Ingredients

  • 1 or 2 chicken thighs, with skin and bones
  • 1 or 2 chicken backs

or

  • 2 or 3 chicken thighs, with skin and bones

—————-

  • 1 medium-sized slice of beef shank or beef “soup bone” with meat attached.
  • (2 – 3 tbsp extra virgin olive oil, if browning meat and vegetables)
  • 1 large onion, cut into large chunks – or – 2 medium, cut into chunks
  • 2 carrots, cut into chunks
  • 2 celery stalks, leaves included, cut into chunks
  • 2 – 4  garlic cloves, smashed
  • 1 tomato, rough chopped
  • 4 – 6 parsley sprigs
  • (salt & pepper, if making soup and not broth)
  • 4 to 7 quarts of water, depending upon amount of meat used

Directions

  1. For true “brown” chicken stock, purists will omit the beef.
    1. Heat the olive oil in a large stock pot over medium-high heat. Add the onions, carrots, and celery. Stir occasionally while sautéing until the vegetables are lightly carmelized, about 10 minutes. Remove from pan and reserve.
    2. In the same pan, sear the meats. You may have to work in batches.
    3. When the last of the meat has been browned, return the vegetables to the pot, add the garlic, tomato, parsley, and enough water to cover all the pan’s contents by 3 inches, at least.
  2. For Mom’s brodo:
    1. Add all the ingredients to a large stock pot, and add enough water to cover all the pan’s contents by 3 inches, at least.
  3. Bring the ingredients to a boil, then reduce to a soft simmer. Periodically skim the film off of the surface.
  4. For a pot this large, I will continue simmering the broth for 2.5 to 3 hours. Your cook-times may vary depending upon how much brodo you’re making.
  5. When finished simmering, take the brodo off of the heat to cool somewhat. Remove the meats and reserve. Pour the broth through a fine mesh strainer, discarding the cooked vegetables and herbs. Depending upon its intended use, you can pour the broth through a clean kitchen towel, resulting in a clearer brodo. Refrigerate once strained.
  6. Once the broth is well-chilled, the fat will have risen to the top and can be removed relatively easily with a large spoon. Once the fat has been removed, store the brodo in air-tight containers in the refrigerator for a few days, or, in the freezer for several weeks.

*     *     *

Notes

More than anything, the amount of meat used will determine how much broth to make. I have a 10 quart stockpot and usually make 5 to 6 quarts of brodo. The ingredients listed reflect this and will ensure that I’ve plenty of broth my soups, risotto, or for sipping when a malicious malady attempts an invasion of my pulmonary system. Lacking a large stock pot, you should scale back the amount of meat you put into the pot. The same would hold true, for example, should you only intend to make enough brodo for that night’s risotto or soup.

You’ll note that I do not use salt and pepper in my broth unless I’m sure it will be used for soup and nothing else. Even then, I prefer not to salt it. I can always add salt to my brodo as I use it but I can do nothing, for example, to fix a risotto that’s over-salted and nothing ruins a bowl of cappelletti like a salty brodo.

Sticking with the tradition of nothing going to waste in the kitchen, Mom rescued and served whatever meat she could from the stockpot. Granted, if only chicken backs and a beef soup bone were used that morning, there’d be nothing to save. On the other hand, if there was a nice piece of beef or chicken to be found, she would shred each separately, add some of the boiled onion, and dress with a bit of olive oil and vinegar, salt & pepper. These two “salads” would be served at room temperature along with the tureen of soup.

Today, although I, too, will often make a salad with any beef that’s present, I’ll use the chicken meat in another way. After chopping the meat, I’ll sauté it in a bit of butter, seasoning it with some herb (rosemary, tarragon  or thyme) and salt & pepper. In the meantime I’ll assemble the rest of the ingredients needed for a chicken salad. When the chicken is ready, my salad gets prepared, and I’ll enjoy a chicken salad sandwich with my bowl of soup.

*     *     *

So, you’ve made brodo. Now what?

Well, you could make chicken noodle soup but, as I said, that would not have been Mom’s first choice. I’ve already shared a few of her options and all are listed below. (Click on the photo’s caption to see its recipe.) In the future, I’ll share her recipes for soup ravioli (cappelletti) and Bartolini risotto .

*     *     *

Passatini

*     *     *

Acini de Pepe with Little Meatballs

*     *     *

Stracciatella

*     *     *

Quadretti

*     *     *

It’s déjà vu all over again … 

When I wrote earlier that I needed some odds & ends, one of those was flour. Thinking ahead, I knew that at some point I would want a little something more to eat along with my soup. Bread came to mind. Spianata, to be more specific. Made with 3 of my favorite things — garlic, onion, and rosemary — this focaccia-like bread is easy to prepare and a welcome addition to any meal — like a bowl of soup. Best of all, it will fill your kitchen with a heavenly aroma like only freshly baked bread with rosemary can. You can see the recipe by clicking HERE.

*     *     *

Engineering the Standing Rib Roast

In the past, I’ve mentioned how my family traditionally cooked porchetta, a fantastic pork roast, on New Year’s Day. To be sure, that is a remarkable main course for a New Year’s Day dinner — but it’s certainly not the only one. A number of years ago, I started serving standing rib roast for my dinner on New Year’s Day. At first, not knowing any better, I prepared it like I would any beef roast and, though the results were good, I was expecting fantastic. In the years to follow, I tried different roasting temperatures and even starting on a high temperature before shutting off my oven and letting the roast sit, undisturbed in the oven for 4 hours. Yes, that roast was cooked well but all the dinner’s side dishes had to be cooked on the stove top because the oven door was not to be opened under pain of poorly roasted meat. After I cooked a second standing rib following that method, I decided I wanted to try something else. Luckily, I stumbled upon a different approach. Analytical.

*     *     *

Engineers can cook. Who knew?

Engineers can cook. Who knew?

*     *     *

On another sleepless night — it’s 4:15 AM as I write this, by the way — I went surfing for a way to cook the perfect standing rib roast. I soon came upon a website, Cooking For Engineers, where an analytical approach is used for cooking — or so the site’s header claims. Well, I may not be aware of the analysis, if any, that lead them to this recipe but I do know a perfectly cooked roast when I see one. I have followed their instruction now 4 times and each roast has been roasted evenly throughout. There are no well-done slices at either end or gray area on the edges of each slice, with a medium-rare center.  As you can see in the photos, it is medium-rare throughout. And the best part of it all is that this is one easy roast to prepare. Incredibly so.

Day 1: Tsk. So young

Day 1: Tsk. So young.

One of the keys to this dish lies in the aging of the meat. As much as one week before the dinner, you’ll want to select your roast. Once you get it home, unwrap the roast and place it on a rack, bone-side down, over a baking sheet in your refrigerator, where it will age for at least a day and no more than 7. Don’t be surprised if the aging causes changes in the roast’s appearance. It’s normal for it to darken and to lose from 10 to 15% of its weight, depending upon how long it is aged. According to our Engineer friends, aging will lend a “buttery texture” to the already richly flavored meat. Believe me. You do not want to skip this step.

Day 5: Aged & ready to go.

Day 5: Aged and better than ever.

Once you’ve aged the meat, you’ll need to prepare it for roasting. Remove the roast from the refrigerator and let it sit on the counter top for a couple of hours. For an evenly cooked roast, it must be at room temperature throughout. You may notice some unusually dark spots on the roast. These should be trimmed away. Use butcher’s twine to tie the roast lengthwise, in-between each pair of bones. This will help to ensure that the roast’s shape is maintained during the cooking process. Once the roast has been brought to room temperature, place a roasting pan on to the stove top and begin heating it. When hot, add a little olive oil to the pan. Place the roast into the now hot oil and sear it on all sides, spending about 3 minutes on each side to do so. Pre-heat your oven to 200˚ F (93˚ C). That’s right: 200˚ F (93˚ C).

Remove the seared roast from the hot pan and place a wire rack into the roasting pan. Heavily season the roast with salt & pepper on all sides. Place the roast on to the rack, insert a meat thermometer into its center, away from any bone, and place the roast & roasting pan on to the lowest rack in the oven. Set the thermometer for 125˚F (52˚C) for rare; 130˚F (55˚C) for medium rare; 145˚F (63˚C) for medium. Sorry but you’re on your own if you want to cook a fine piece of beef like this beyond medium.

For roasts under 5 pounds, it should take about 45 minutes per pound to roast. For roasts greater than 5 pounds, it will take between 4 and 5 hours to cook properly. Once your target temperature has been reached, remove the roast from the oven, place it on a cutting board, tent it with aluminum foil, and let rest for 20 minutes. In the meantime, you can deglaze the roasting pan and use the drippings to create a sauce or add flour to make a roux before adding beef stock to make a gravy. Once rested, use your carving knife to first trim the entire roast off of the rib bones. If you prefer, you can also trim off the fatty end of the roast. Once trimmed, slice the roast in however many slices as are needed to serve everyone. Serve with a little horseradish sauce on the side. (Recipe to follow.)

Now, I ask you. Could it be any easier to cook standing rib than to age, season, sear, and roast at a low temperature? Once again, look at the photos. Each time I’ve listened to the Engineers, I served a roast that was evenly — dare I say perfectly? — cooked throughout.

Oh, one more thing. Leftovers. If you’re blessed with an extra slice, it will make a delicious sandwich the next day. Just sauté it in a little butter until heated through and serve on a favorite bun with a bit of horseradish or horseradish sauce.

To make horseradish sauce: combine equal amounts of plain yogurt (Greek pref.) and sour cream. Add horseradish to taste, some brown whole grain or Dijon mustard, a dash or two of Worcestershire Sauce, and salt & pepper to taste. Mix well and set aside. Serve at room temperature.

*     *     *

Notes

The original recipe specifically mentions to leave the roast uncovered as it ages. I’ve never aged it less than 3 days and certainly not more than 7, as the Engineer states. I’ll replace the fridge’s box of baking soda a day or two before I start the aging process and have never noticed any scent in my fridge. Of course, that just as well might have been the case had I not replaced the box. I guess I’ll never know.

Roasting a piece of meat at a low temperature means that its surface may not color as it would if roasted at a higher temperature. This is why the meat is seared before going into the oven. Just be careful to only sear the meat for 3 minutes per side. Searing it for longer periods will begin to cook the meat on the roast’s inside. Later, when the roast is carved, the end pieces will be cooked more than the rest of the roast, defeating the purpose for roasting the meat this way.

*     *     *

You can see the original recipe on the Cooking For Engineers website by clicking HERE.

*     *     *

It’s déjà vu all over again …

More gravy, please.

More gravy, please.

Since we’re starting the year off with a beef rib recipe, I’ll use another to end this post. With Winter here and snow having reached as far south as Texas, there are few better ways to heat up the kitchen than with a delicious braise in the oven. These beef short ribs will not only warm your kitchen, their aroma will fill your home like only good comfort food can. Be sure to serve them with mashed potatoes or polenta because you’ll want to take full advantage of that gravy. Click HERE to view the recipe.

*     *     *