Yes, there was something in the air, all right, and I’m not talking about leaves changing color in mid-August. Mid-August!!! You see, I had Max groomed the afternoon before we left for Michigan. Lucy would never forgive me if she had to share a car for seven hours with a dog that smelt. Early that evening, I picked up Max at the groomer’s, drove home, and parked my newly repaired car in the garage. Walking through my yard, I stopped to set the timer for the garden sprinkler, meeting Max on the porch no more than three minutes later. It’s amazing how much can happen in three teeny, tiny minutes, especially when skunks are involved.
Those whose dogs have encountered skunks will tell you that their attacks come in three forms. The first — and most foul — is the “direct hit”, where the dog gets sprayed with everything the skunk can throw at it. I had a Cairn Terrier that chased a skunk into a culvert, taking a direct hit to the mouth. His head was soaking wet, as were my shirt and arms after carrying him to a tub for the first of many baths. He was terribly ill for three days and reeked both inside and out, if you catch my drift. The second strike is the “glancing blow”, where just a little of the skunk’s spray hits the dog. Though the dog still smells awful, at least its coat isn’t sopping wet with the stuff, contaminating everything the dog rubs up against. The third — and preferred — encounter is best described as “collateral damage”. It’s when a dog comes in contact with an area that was very recently sprayed. Lucky for Lucy, Max was a victim of collateral damage, apparently having stuck his nose where it didn’t belong. His muzzle carried only faint traces of skunk and, from past experience, only if his snout were to get wet would the full effect of the skunking become noticeable. What, me worry? Like Max was somehow going to get his muzzle wet …
* * *
(Click to enlarge any/all photos)


* * *
Max’s muzzle finally dried out while in the car during our return to Chicago. Lucy was — and is — so not happy.
My “fuming” dog and angry bird aside, I had a wonderful visit back home. Zia’s Eldest Son and my Nephew arrived on their Harleys and spent the weekend with us, making Max one very happy dog. He adores my Cousin and won’t leave his side whenever he comes to visit his Mom. He takes Max on “nature walks” that can last hours, covering terrain that I can no longer walk — at least that’s what I’ve always thought. Max is not one to talk but, this time, my Nephew, also, walked the walk and, when they returned, he talked about the walk. It’s safe to say that this is one walk unlike any I’ve experienced and if duty calls, Max is ready to serve in the Canine Corps of the Navy Seals.
With Max away for hours at a time, Zia and I had our own little vacation. I’d brought my chitarra and we made a few pounds of pasta together. In fact, I made sure that her pasta board was covered with pasta when I left for home. I, also, made gelato — over 2 gallons — for Zia and her friends. One night, I cooked us a Moroccan-inspired chicken dish and, on another, we conspired to roast a goat shoulder. That recipe will be featured in a future post, as well as on my own table. We really did enjoy it.
* * *

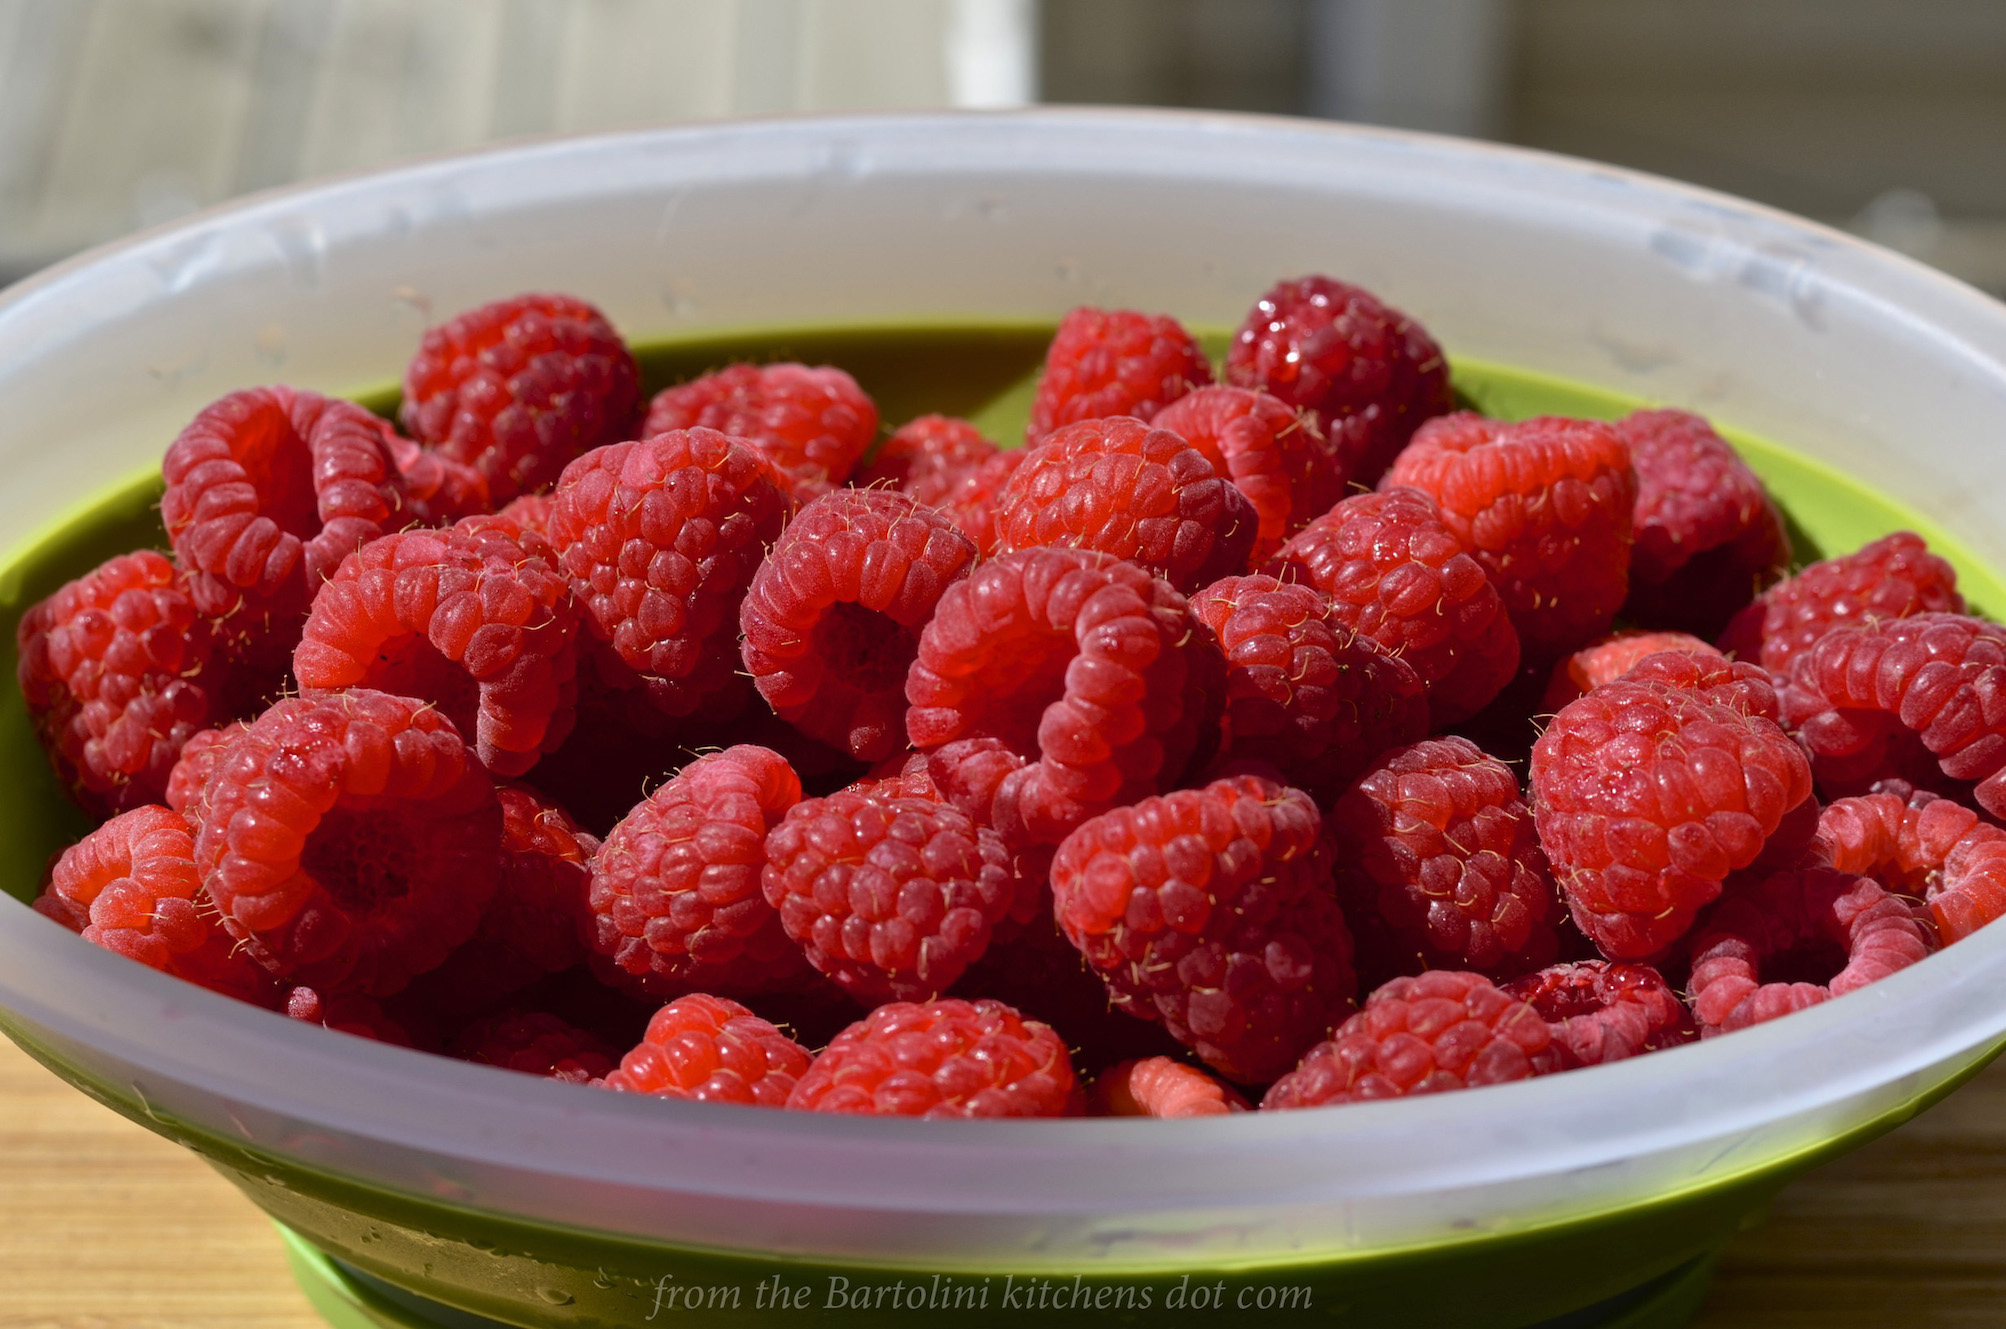
Adding another 6 inches of water since June, Lake Huron’s water level is about 14 inches higher than last year.
* * *
All facts considered, it was a great visit that ended too quickly. The weather was warm though not as warm as it should have been, a complaint heard throughout the Mid-West this year, I’m afraid. Heavy rains, too, caused flooding throughout much of South-Eastern Michigan and Lake Huron’s water level continued to rise. It hasn’t been this high in at least 15 years. For me, though, seeing leaves already turning color was a bit of a shock and I couldn’t help but wonder what sort of Winter lies ahead. Best get the snowblower tuned up.
* * *
You might recall that I had scheduled our recipe for roast duck for today’s post. That was before I returned home to find that the WordPress gods were angry and once again had me in their cross-hairs. Just as was the case when I was in Italy, I no longer receive notifications of most of your posts and, again, they’re to be found in my SPAM folder — all 800+ of them. As a result, I’ve had no time to finish up the roast duck post but will have it done for next week. I guess the WP gods don’t like me being away which is most unfortunate, for I’ll be leaving again in a few weeks. The Honey Man will soon be open for business and Zia and I will be there to get our share.
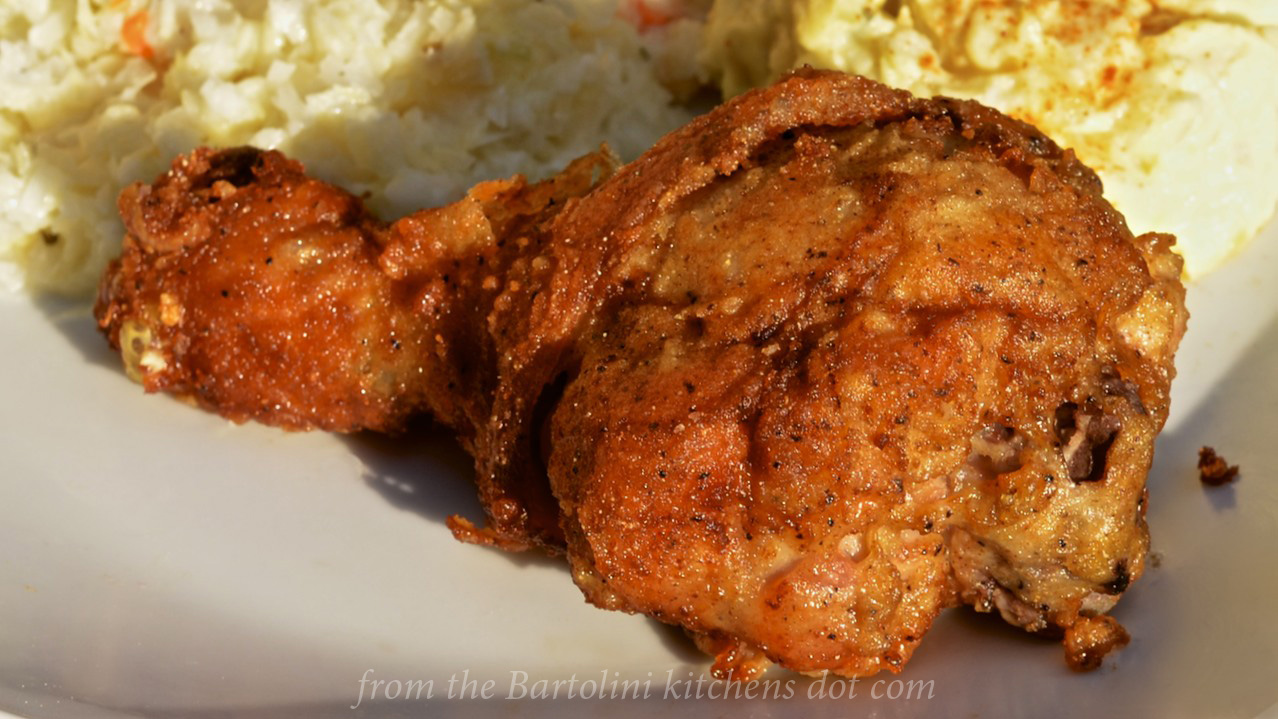
As for today/s Fried Chicken recipe, I cannot think of a better recipe to post. This weekend, we in the States will be celebrating a three day weekend for the Labor Day Holiday and what picnic or yard party is complete without a platter of fried chicken? For me, the colder the chicken the better. Make it as much as a few days in advance and stick in the fridge until party time.
* * *
 * * *
* * *
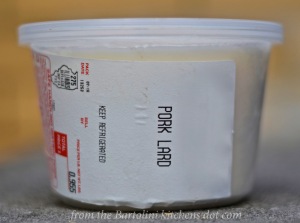
No, the above pic is correct. That’s a photo of bacon frying to start a post about fried chicken. There’s really nothing so shocking about that but my using lard with the bacon fat to fry chicken may raise a few eyebrows.
Mid-Winter, I learned of a CSA (Community Supported Agriculture) that serves my area of Chicago. Granted, much of their Winter offerings were “imports” — there’s nothing growing in these parts — but all were organic and the quality was very good. It was nice, too, not having to hunt for Meyer lemons, kumquats, Mandarin oranges, and, later, ramps. Then, one day while browsing the website, I saw that they had fresh, organic lard. My search had ended.
You see, I’ve been looking for fresh lard for some time now. Let’s be clear. I’m not talking about the stuff you might see on your grocer’s shelf. That stuff is hydrogenated so that it will “keep” and should be avoided. Fresh lard, though not perfect, is a far healthier choice. Speaking of healthier choices, the bacon used is low-sodium and uncured, with no nitrites and nitrates used in its processing. As is the case with any fried foods, though, moderation is the key. In the past three years, I’ve fried chicken twice. Now, I’d like for you to believe that it’s because I’m so health conscious but the reality is that I hate having to deal with a pot of used grease. Shallow frying, as I did here, minimizes the amount of grease used but its disposal is still a problem. So, when I do fry chicken, I fry quite a bit, freezing future dinners in the process. And a couple pieces of fried chicken is a nice treat to enjoy during a seven hour drive. Place the frozen pieces in the car when you leave home and, by the time you’re hungry, it will be thawed but still cold — just how I like it.
* * *
* * *
Fried Chicken Recipe
Ingredients
- chicken pieces with skin and bones — I used legs and thighs
- 1 quart (950 ml) buttermilk
- 2 tbsp Sriracha hot sauce – optional
- 4 rashes/slices bacon
- 1 lb (2 cups or 455 g) lard
- 1 cup all-purpose (AP) flour
- 2 tsp kosher salt
- 1 tsp black pepper
- 1 tsp smoked paprika
- 1 tsp onion powder
- 1 tsp garlic powder
- 1 tsp marjoram
- 1/8 tsp cinnamon
Directions
- Place chicken pieces in a large bowl, non-reactive pot, or plastic bag. Combine buttermilk with Sriracha, if using, and pour over the chicken pieces. Cover/seal the chicken and refrigerate for 8 hours or overnight.
- In a large, seal-able plastic bag, combine flour, salt, pepper, paprika, onion powder, garlic powder, marjoram, and cinnamon. Mix until well blended.
- In a large (cast iron) frying pan over medium heat, cook the bacon until crisp. Remove bacon and reserve for another use.
- Place the lard into the pan with bacon grease, raise the heat to medium, and melt the lard. Do not allow the pan to be filled more than halfway with grease. (See Notes)
- Meanwhile, drain the chicken, raise the heat to med-high, and when the grease reaches a temperature of 350˚ F (177˚ C) (see Notes), place 5 or 6 pieces into the bag with the flour. Seal the bag and shake to evenly coat the chicken pieces.
- Shake off the excess flour and place each piece individually into the hot grease, skin-side up. Watch out for splatters and do not over-crowd. Fry for 7 minutes.
- Turn each piece over, lower the heat to low, cover the pan, and fry for 12 minutes.
- Uncover, turn each piece over, raise heat to med, and fry for another 5 to 7 minutes. Chicken is fully cooked when it reaches a temperature of 165 F (75 C). (See Notes)
- Place cooked chicken on a rack over a baking sheet, season with salt, and place in a pre-heated, 200˚ F (95˚ C) to keep warm while the remaining chicken is fried.
- Serve immediately.

* * *
 * * *
* * *
Notes
No matter what type pan you use to fry, never fill it more than halfway with grease. Higher than halfway and you’ll run the risk of the grease bubbling over once the food has been added. Serious burns and/or fire may result.
I like to fry chicken in oil at a temperature between 350˚˚ to 355˚ F (177˚ to 180˚ C). If the oil’s temperature is a little higher at the start, that’s fine. Adding the chicken to the pan will drop the temperature down to what I consider to be acceptable levels.
A chicken’s dark meat takes more time to fry than does the white meat. Here I cooked only dark meat. When frying both white and dark meat, start the dark meat pieces a couple minutes before adding the white meat pieces. When frying a large amount of chicken, I’ll fry a batch of only dark meat and another of white.
* * *
Now, about that reserved bacon …
 A bacon, lettuce, & tomato sandwich for lunch the next day.
* * *
It’s déjà vu all over again …
 In this part of the country, it’s corn season and our groceries and farmers markets have bins of sweet corn for sale. Fresh corn is one of Summer’s great gifts and I take full advantage. Unfortunately, like all of Summer’s bounty, its season is far too short, leaving us corn lovers seeking the prized kernels in our grocer’s frozen foods aisle. Today’s look back is one way to enjoy Summer corn in mid-Winter without having to defrost it first. Zia has made this corn relish for years and it’s a family favorite. You can learn her recipe by clicking HERE.
* * *
Coming soon to a monitor near you …

The Once-Postponed Roast Duck
* * *