A few years ago, I watched a cooking show featuring a number of chefs making pizza. One West Coast chef used chopped peppers for her signature pizza. Now, there’s nothing new about using peppers atop pizza. Many of us have done that for years. What set her apart was the peppers she used, shishito peppers. Right then and there I decided to find them.
* * *

* * *
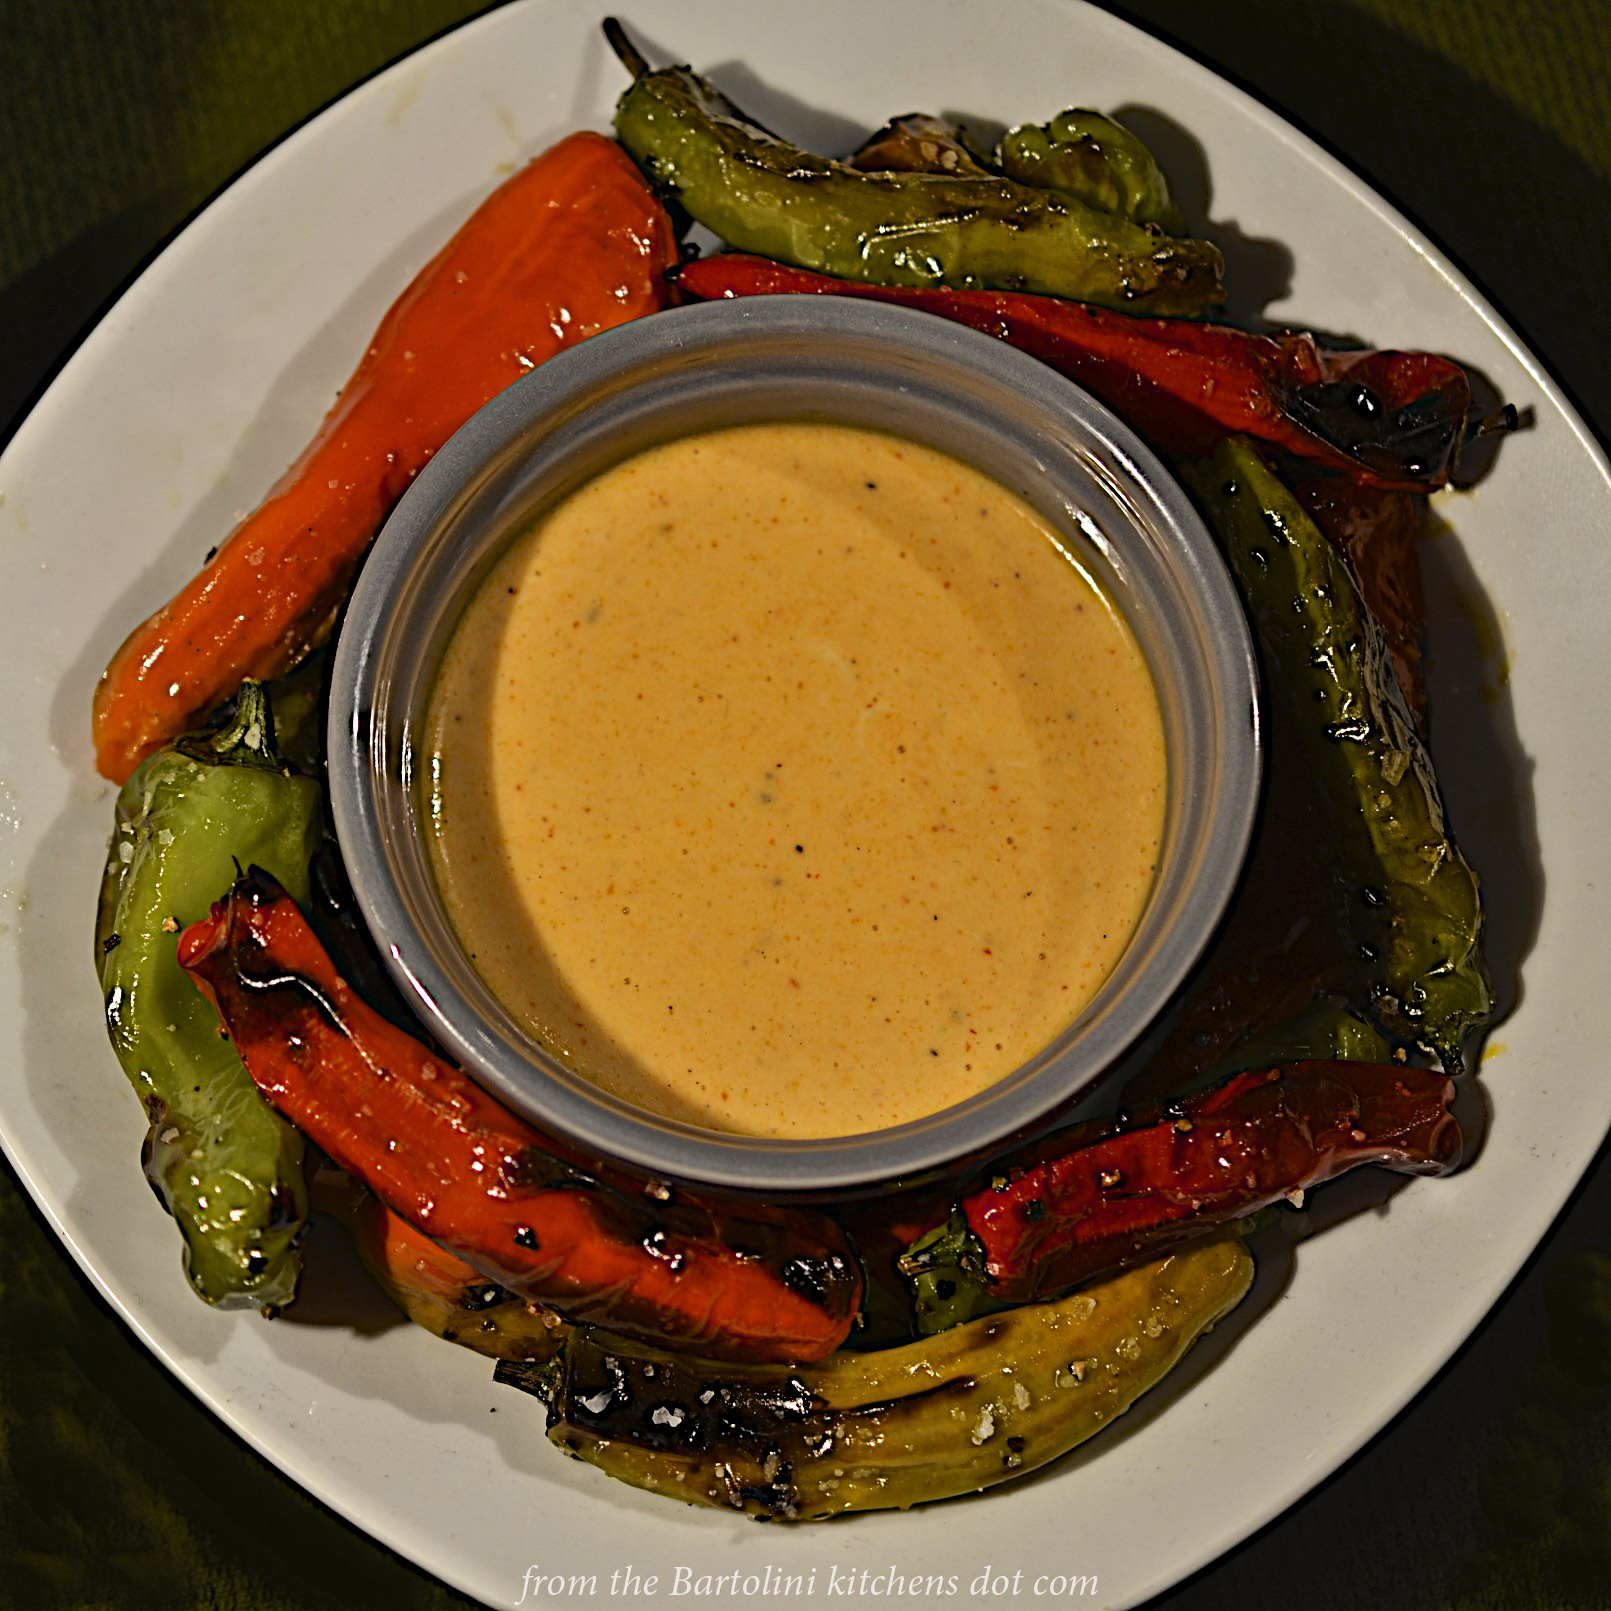
Shishito peppers are a sweet pepper that originated in Japan, like the name suggests. Very often you may see only green shishito peppers for sale, but as you can tell from the photo above, ripe shishito peppers can run from green to red, and all colors in-between. Some claim that the redder the pepper, the sweeter. Nothing unusual here. So, why did I go searching for them?
Think of eating one of these peppers as a game of non-lethal Russian roulette. Although technically a sweet pepper, about one in ten can be as hot as a jalapeño — and you have no way of knowing which is which. As a result, a platter of shishitos can be more than just a tasty appetizer or game time snack. Although certainly not as hot as a Habanero, the “right” shishito pepper can bring even the most unconscious of snackers back to reality.
Now, it is possible that the peppers you buy will all be sweet. In fact, one of the vendors at this year’s farmers market told me that she hadn’t come across a single hot pepper in this year’s crop. Another vendor, the one from whom I buy Lucy’ jalapeños and my fresh peas and beans, said that his crop maintained the ten to one ratio of sweet to hot peppers. Some believe it is the environment — sun, water, temperature — that affect the peppers’ heat. Perhaps this Spring’s heavy rains and cooler temps affected her crop.
* * *
* * *
I’m sure there must be a number of ways to prepare and serve shishitos but I’m only aware of a few. Ofttimes in Japanese restaurants, you’ll find these peppers served as appetizers after they’ve been dipped in tempura batter and fried. As you’ll soon see, I chose to roast mine and served them with a spicy garlic aioli. I also pickled some, though I think it was a mistake to preserve them. More about that later.
None of the preparations are all that involved nor do any require the full recipe treatment. I’ll just describe what I did and leave it at that.
* * *
To Prepare the Garlic Aioli
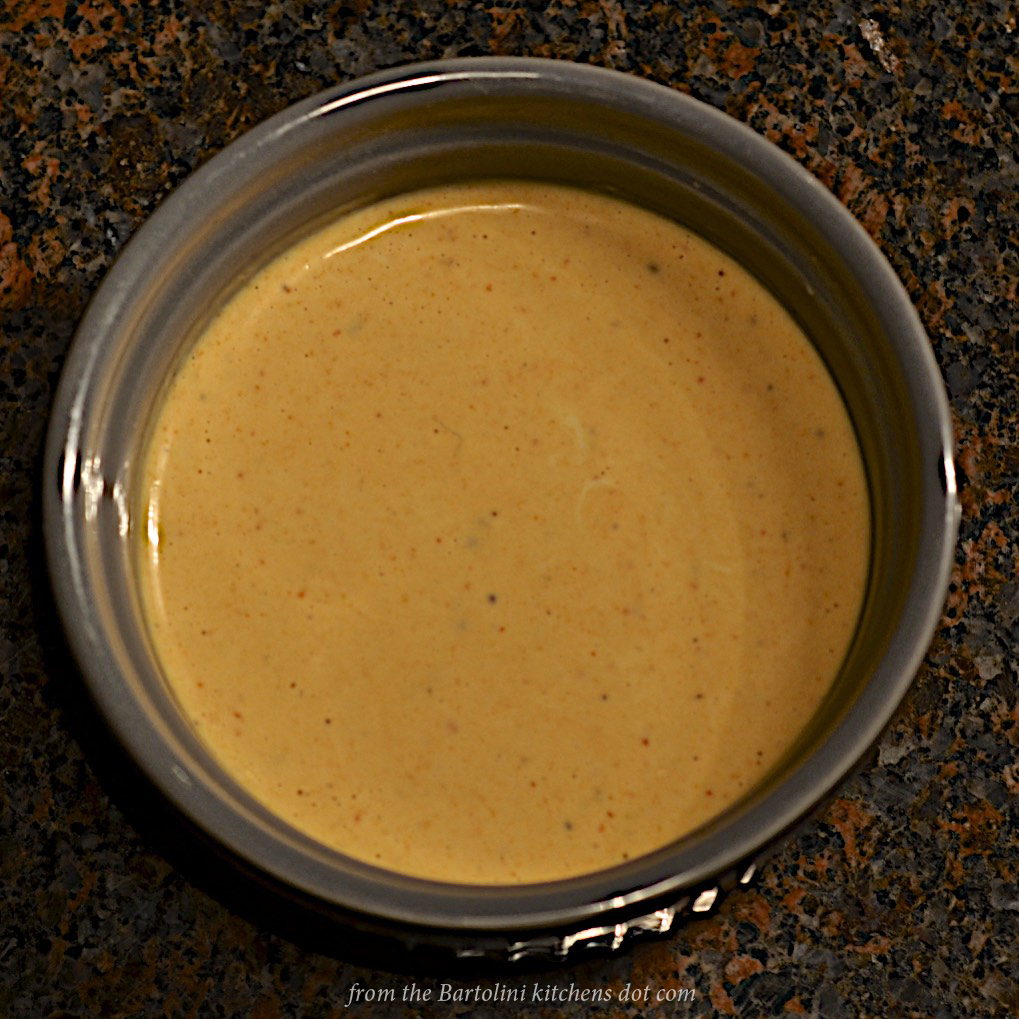 Place one large egg, 2 grated garlic cloves, 1 tbsp Sriracha sauce, juice of 1/2 small lemon, 1/4 tsp dry mustard, 1/8 tsp salt, and a pinch of pepper into the bowl of a food processor or blender. Process to fully combine the ingredients. Continue to process while very slowly adding 1/2 cup of extra virgin olive oil. Process until the sauce emulsifies and thickens. Cover and refrigerate a couple of hours before use.
This will create about 2/3 cup of spicy aioli. If you prefer, substitute canola oil for the olive oil and adjust the remaining ingredients to suit your own tastes.
* * *
To Roast Shishito Peppers
Place a cast iron skillet under your oven’s broiler and pre-heat.
In a large mixing bowl, add the peppers, which have been washed with the stems trimmed leaving just a bit attached. Remember: piercing prevents peppers popping in your oven. Drizzle a bit of olive oil over the peppers and season with salt and pepper. Mix to evenly coat the shishitos.

Once the pan is ridiculously hot, add the peppers and place the pan back under the broiler. Remove after the peppers begin to blister — from 3 to 6 minutes, Season with coarse salt and serve immediately with the garlic aioli dipping sauce on the side. ShIshito peppers that are allowed to sit after roasting tend to soften, becoming less palatable.
Shishitos can be prepared on the stove top, on a baking sheet in the oven, or on a barbecue grill. I prefer to place them under the broiler in a screaming hot cast iron pan thereby eliminating any need to toss/turn the peppers while roasting.
* * *
Pickling Shishito Peppers
 Never having canned these peppers before, I thought I give it a try. After chopping them into rings, I placed them in sterile jars, and then filled the jars with Dave’s pickling liquid, along with some sliced onion, garlic, and green peppercorns. (Dave’s pickling method has become my “go-to” recipe for preserving pickled peppers. Quite simply, it’s the best.) The jars were then placed in a boiling water bath and processed. The result was a delicious batch of pickled peppers — but I doubt that I’ll do it again. Although tasty, these peppers are probably too delicate for boiling in the bath and their texture suffered. They were quite soft and that is not something I like. Next time, I’ll use them in a quick pickle and, although they cannot be stored nearly as long, the peppers should retain a bit of their crunch since they will not be boiled.
* * *
It’s déjà vu all over again …

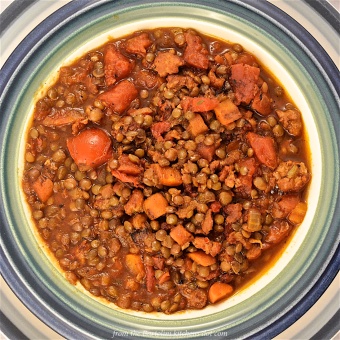
With temperatures falling, it’s time to start cooking comfort foods. One of our favorites and one that I make for Zia every year is Pasta and Beans Soup, Pasta e Fagioli. Easy to make, this soup is the very definition of comfort. Best of all, if you’re as lucky as I was just last weekend, you can still find fresh Borlotti/cranberry beans at your local farmers market. The recipe for this traditional Italian dish can be found by clicking HERE.
* * *
Coming soon to a monitor near you …

A Summer Pickle (Served with Grilled Pork Chops)
* * *
* * *